Sewzy
Interfacing is a layer of fabric-like material attached to the wrong side of your fabric to add stiffness, shape or stability. Fusible interfacing has heat-activated glue on one side and is pressed on, while sew-in interfacing is stitched into the seams. Choose one a little lighter than your fabric, and fuse it by pressing straight down, never by sliding the iron.
TL;DR
- Fusible is ironed on and is the easiest choice for most projects. Sew-in is for fabrics that cannot take heat or steam, and for stiff parts like hat brims.
- Weight: light for thin fabrics, medium for quilting cotton, heavy for canvas and bags. Go slightly lighter than your fabric.
- Type: woven has a grain, non-woven does not, and knit stretches.
- Fusing: glue side down, press about 10 seconds in each spot, lift, move and overlap. Do not slide the iron.
- Fusible fleece adds padding. Interfacing adds firmness.
Sew the Zipper Pouch from this guide, step by step, in the Sewzy app
Pick your size, print it from your phone, and follow every step with a sewing coach beside you.


What does interfacing do?
Interfacing sits between the outer fabric and the facing or lining, where you cannot see it. It does three jobs: it adds crispness, so a bag opening or collar stands up; it adds stability, so a waistband or neckline does not stretch; and it adds strength behind spots that take stress, such as snaps, buttonholes and cord openings. Most quilting cotton projects need very little. Light or loose fabrics, and any part that must hold a shape, are where it helps most.
What is the difference between fusible and sew-in interfacing?
| Fusible | Sew-in | |
|---|---|---|
| How it attaches | Glue on one side, melted with an iron | Stitched into the seam allowances |
| Best for | Most beginner projects: bags, pouches, collars, facings | Velvet, nylon, vinyl, very textured fabrics and stiff brims |
| Pros | Fast, flat and easy to place | No heat or steam on the fabric, and a softer drape |
| Cons | Can bubble if the bond fails | Slower, and the layers can shift while you sew |
Woven, non-woven or knit: which should I buy?
- Woven interfacing looks like a thin fabric. It has a grain, so cut it with the grain matching your fabric. It drapes well and suits woven garments.
- Non-woven interfacing is made of bonded fibers, like a thin felt. It has no grain, so you can cut it in any direction, and it is the most common and budget friendly choice. It can feel papery on soft fabrics.
- Knit interfacing has some stretch. Use it on stretchy fabrics so the support moves with the fabric.
If you are unsure, a medium non-woven fusible is a good all-round pick for bags and pouches. Check the packaging for iron temperature, steam and washing instructions, because they vary from product to product.
How do I choose the right weight?
The interfacing should support the fabric without overpowering it. A common rule is to choose one slightly lighter than your fabric. Light interfacing suits thin fabrics such as lawn. Medium suits quilting cotton and poplin. Heavy suits canvas and bags, while hat brims usually want a stiff sew-in. For a bag you may go heavier on purpose, because structure is the goal. Always fuse a scrap of your actual fabric first. If the sample feels stiffer than you want, go lighter.
If the fabric will be washed, prewash it before cutting, and shrink the interfacing as the packaging says. Our guide to the best fabric for beginner sewing explains which fabrics are easier to handle.
How do I fuse interfacing step by step?
- Cut. Cut the interfacing to the same shape as the fabric piece, unless the pattern says to cut it smaller. Trimming it out of the seam allowances, or at least snipping off its corners, reduces bulk.
- Find the glue side. It is the rough, slightly shiny or dotted side. Place it against the wrong side of the fabric.
- Set the iron. Use the heat the packaging gives, and steam only if it says so. Use a press cloth so any glue that peeks past the fabric edge does not reach the iron or the ironing board.
- Press, do not slide. Put the iron down, hold it about 10 seconds, lift it, and move to the next spot with a small overlap. Sliding drags the interfacing and makes ripples. The Sewzy Star Bag steps say the same for its fusible fleece: press about 10 seconds in each spot.
- Cool. Let the piece cool flat before you move it. The bond sets as the glue cools.
- Check. Press once more from the fabric side with a cloth, then check the edges and corners. Re-press any spot that lifts.
- Sew. Cut or stitch as the pattern says. Clip curves and trim corners after sewing to cut bulk.
What is the difference between fusible fleece and interfacing?
Fusible fleece is a thin layer of batting with glue on one side. It adds padding, loft and a soft, puffy structure, which is why it appears in quilted and padded bags. Interfacing is thin and adds firmness or stability without the puffiness. Because fleece is thick, many patterns cut it smaller than the fabric piece, so it stays out of the seams. In the Star Bag, the fleece pieces are cut along a dashed line, smaller than the fabric, with a bigger handle hole. In the Needle Book, the fusible layer is fused ¼ in in from every cut edge, inside the seam allowance.
Which interfacing goes where?
| Where | What to use | Why |
|---|---|---|
| Bag or pouch outer in a light fabric | Medium fusible, woven or non-woven | Gives body so the bag holds its shape |
| Puffy, padded bag | Fusible fleece | Adds padding and structure |
| Behind a snap, grommet, cord opening or buttonhole | A small square of fusible | Stops the fabric tearing or stretching |
| Collar, cuff, waistband, facing | Medium fusible, lighter for thin fabric | Keeps edges crisp |
| Hat brim | Stiff sew-in interfacing or buckram | Holds the brim flat and firm |
| Cotton points on a hat | Fusible interfacing | Helps the points hold their shape |
| Stretchy knit necklines and hems | Knit fusible or stretch tape | Supports without losing stretch |
| Velvet, nylon, vinyl | Sew-in | Heat and steam can crush or melt these fabrics |
Which Sewzy patterns use interfacing?
Here is what each pattern really calls for.
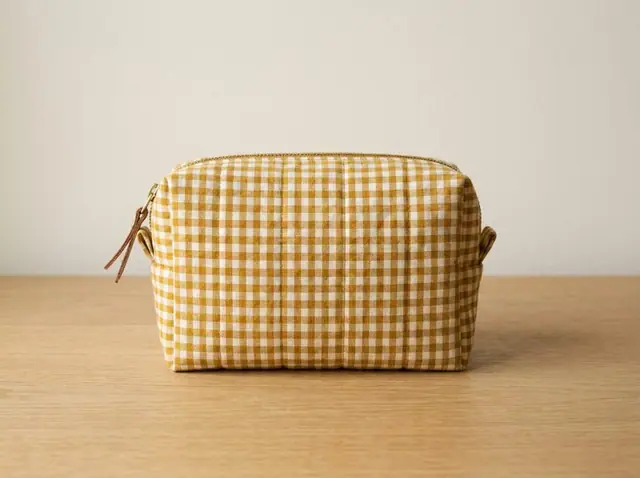
- Zipper Pouch (free): medium fusible interfacing on the outer pieces, especially for light fabrics. See how to sew a zipper pouch.
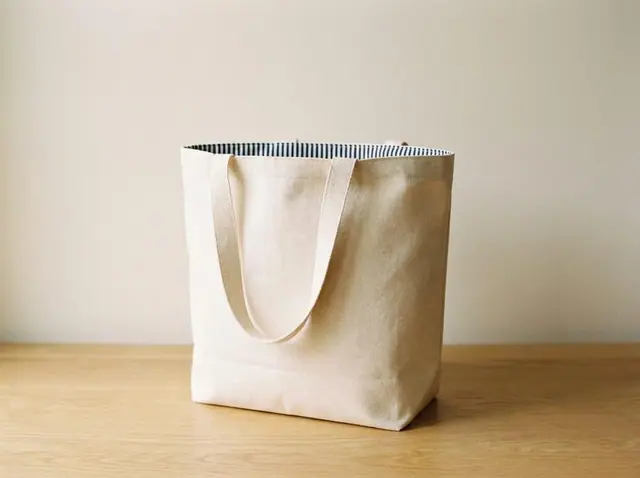
- Boxed Tote Bag (free): medium fusible on a light outer. The pattern's tip is to add an optional 1 in strip of interfacing along the top edge for a crisp opening.
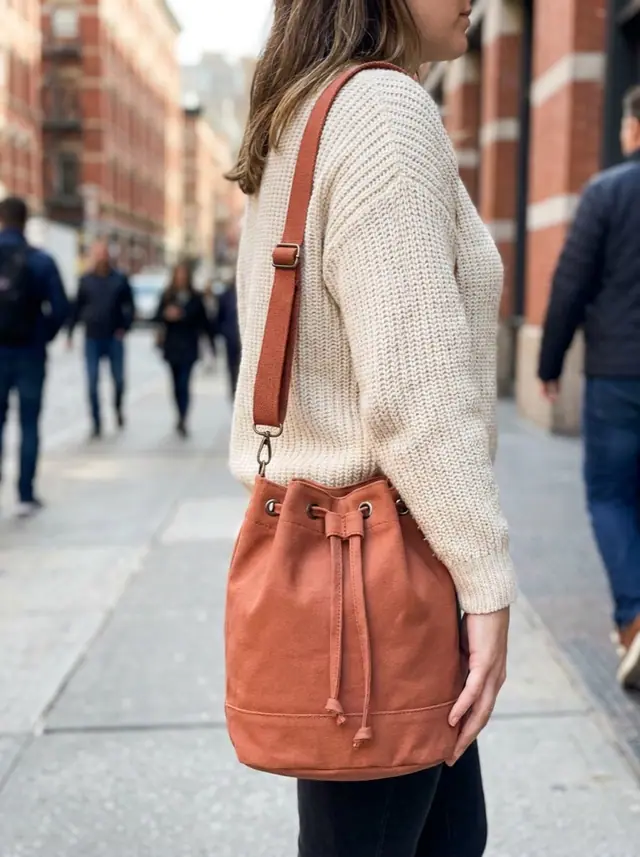
- Bucket Bag (Premium, in the Sewzy app): small fusible interfacing squares behind each cord opening, so the fabric does not stretch or tear where the cord rubs. See how to make a bucket bag.
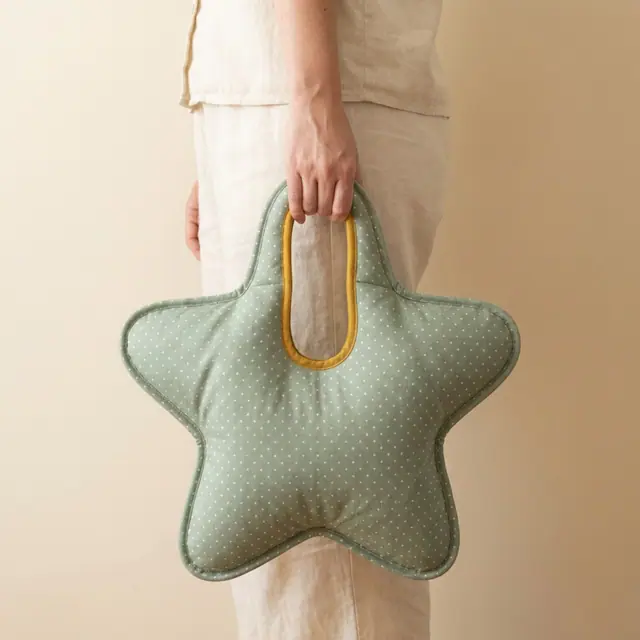
- Star Bag (Premium): fusible fleece on both outer pieces, and a 1½ in square of iron-on interfacing behind each snap mark.
- Puffer Bag (Premium): a scrap of interfacing behind the magnetic snap. The padding is batting, not fusible. See how to sew a puffer bag.
- Needle Book (Premium): one interfacing piece fused to the wrong side of the outer cover, ¼ in in from every cut edge (the fabric list names fusible fleece for it). See how to sew a needle book.
- Jester Hat (Premium): the crown top circle is interfaced, and the fabric list says fusible interfacing on cotton points helps them hold their shape. See how to sew a jester hat.
For more bags, see the bag sewing patterns collection.
Common mistakes with interfacing
- Glue side up. The glue melts onto the iron or press cloth. Check the side before you press.
- Sliding the iron. This stretches the interfacing and leaves ripples. Press, lift and overlap.
- Too hot or too steamy. Heat can melt nylon, polyester or shiny fabrics and leave a sheen. Test a scrap.
- Interfacing that is heavier than the fabric. The piece feels stiff and boardy. Use a lighter weight.
- Not enough time. A missed spot will lift or bubble later. Hold each press for a full count.
- Interfacing in the seam allowances. Layers add bulk at the corners. Trim or cut smaller when the pattern says so.
- Mismatched grain. With woven interfacing, match the grain to the fabric.
If you are still choosing supplies, our list of sewing tools for beginners covers an iron and a press cloth.
 How to sew with minky without the mess (beginner guide)7 min read