Sewzy
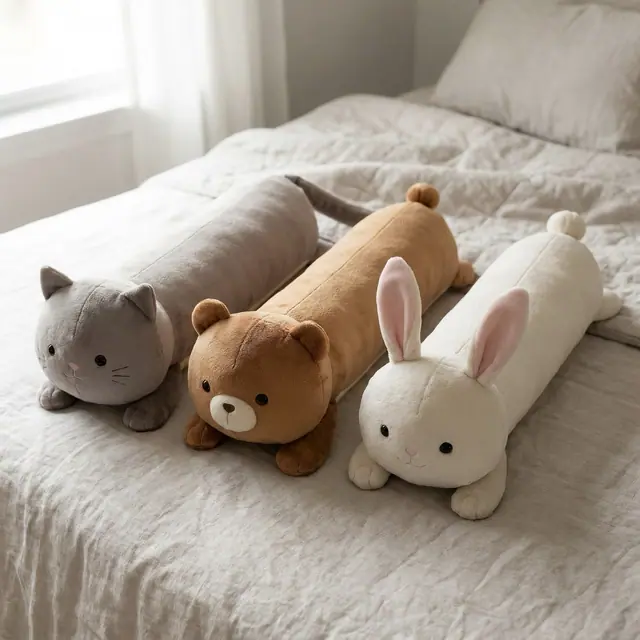
To sew with minky, cut each piece on a single layer with the pile running the same way, clip or pin often, use a walking foot if you have one with a longer stitch, and use a ballpoint or stretch needle. Do not press the pile with a hot iron. A few changes in handling are all it takes, and minky makes the softest plush toys, bibs and animal ears.
TL;DR
- Cut: single layer, pile direction marked, with sharp scissors or a rotary cutter.
- Hold: clips or plenty of pins, because the layers creep.
- Sew: walking foot, stitch length about 3 mm, and an 80/12 ballpoint or stretch needle.
- Seams: use the seam allowance on your pattern. The Long Cuddle Plush and Bat Plush use ¼ in, and the Animal Bottle Cover uses ⅜ in.
- Press: finger-press, do not iron the pile.
- Baby toys: embroider the eyes.
Sew the Long Cuddle Plush from this guide, step by step, in the Sewzy app
Pick your size, print it from your phone, and follow every step with a sewing coach beside you.


What is minky fabric?
Minky is a soft polyester fabric with a short, plush pile on one side. It stretches, sheds fluff and slides under the presser foot, which is why beginners often find it messy. It is not hard to sew. It just needs different handling from quilting cotton. For help picking other fabrics, see best fabric for beginner sewing.
Which Sewzy patterns use minky?
| Pattern | Level | Time | Seam allowance | Free or in the app |
|---|---|---|---|---|
| Long Cuddle Plush | Intermediate | 150 min | ¼ in | In the app |
| Plush Whale | Intermediate | 120 min | ¼ in | In the app |
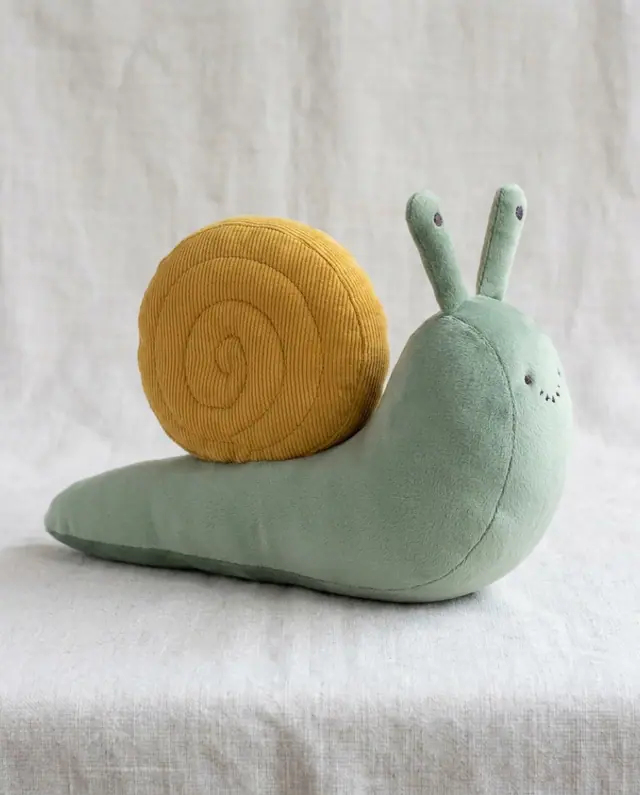
| Snail Plush | Intermediate | 180 min | ¼ in | In the app |
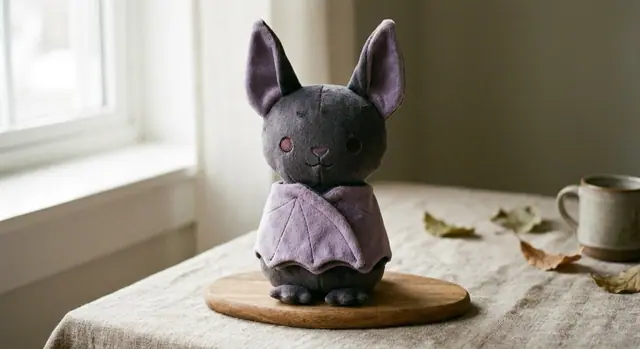
| Bat Plush | Intermediate | 150 min | ¼ in | In the app |
| Animal Bottle Cover | Beginner | 60 min | ⅜ in | In the app |
| Animal Ears Headband | Beginner | 45 min | ¼ in | In the app |
| Animal Tails | Beginner | 45 min | ⅜ in | In the app |
| Dinosaur Tail | Intermediate | 120 min | ⅜ in | In the app |
| Baby Bib | Beginner | 20 min | ¼ in | Free |
The free Baby Bib uses minky, flannel or terry for the back. For a first project, pick the bib or the headband: both are beginner patterns with few pieces.
How do you sew with minky, step by step?
- Find the pile direction. Stroke the fabric. The smooth direction is the pile running down. Mark an arrow on the wrong side of every piece before you cut so the nap runs the same way on both sides of a plush.
- Cut single layer. Minky shifts when folded. Cut one layer at a time with sharp scissors or a rotary cutter and mirror the pieces that need to be in a pair. For long seams, mark notches so the pieces match.
- Control the shedding. Work over a towel or outdoors. Shake each piece and brush the cut edges with a lint roller before sewing.
- Clip or pin often. Minky creeps, so hold the edges often with wonder clips or pins. The Long Cuddle Plush pattern says to pin often on long seams. Use clips if your pile is thick or pins keep getting lost in it.
- Set up the machine. Fit a walking foot if you have one, an 80/12 ballpoint or stretch needle and a stitch length around 3 mm. The Bat Plush pattern lists the 3 mm stitch and the 80/12 needle; the walking foot is our extra tip for keeping the layers even.
- Sew slowly. Use the seam allowance on your pattern and let the foot feed the fabric. Tuck the pile away from the stitching line with a seam ripper tip or pin so it does not get caught in the seam.
- Press carefully. Finger-press seams open or to one side. A hot iron can flatten or melt the polyester pile. If you must press, use a low heat setting from the wrong side with a pressing cloth, after testing a scrap.
- Clean up. Trim the seam allowance fuzz and pull trapped fibers out of the seam with a pin or a seam ripper.
How do you turn and stuff a minky plush?
Clip inner curves and notch outer curves before you turn so the toy does not pucker. Turn through the gap, push out limbs with a chopstick and stuff in small handfuls, starting with the head and extremities. The Long Cuddle Plush pattern stuffs the head first, then the neck, then the long body. Close the gap with a ladder stitch, shown in how to sew a stuffed animal by hand. For the steps of a full plush, see how to sew a long cat plush and how to sew a whale plush. If this is your first toy, try how to sew a plushie first.
Is minky safe for babies?
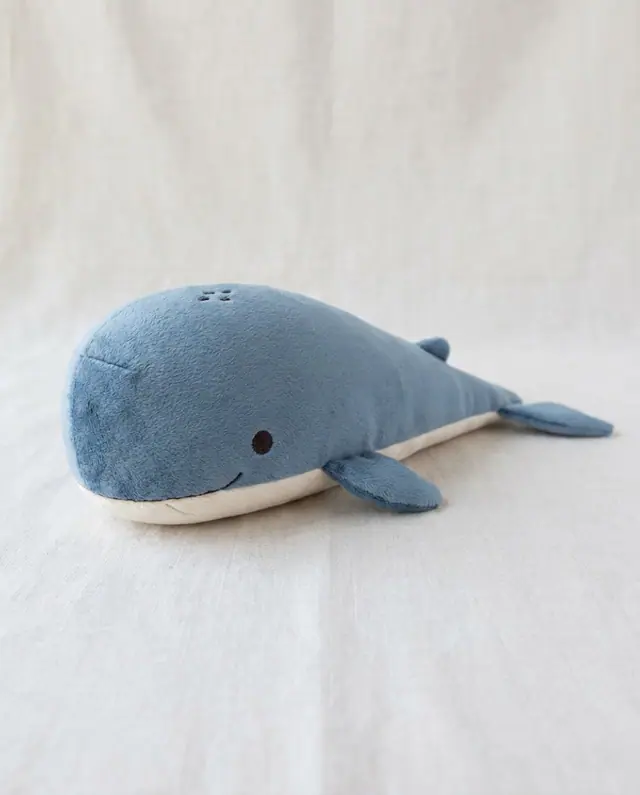
Embroider the eyes instead of using plastic safety eyes on any toy for a baby or toddler. The Plush Whale pattern uses embroidery thread for the eyes, smile and blowhole with no plastic eyes. The Snail Plush pattern notes that for a baby you should embroider the eyes and skip the pipe cleaners. Check every seam, ear and paw before giving a toy to a child. A bib sits at the neck, so skip ties and cords, close it with the snap or hook-and-loop the pattern lists, and never leave a baby in a bib while sleeping. Read how to sew a baby bib.
What are the common minky mistakes?
- Folding the fabric to cut. The layers slide and the pieces are different sizes. Cut one layer at a time.
- Ignoring the pile. A plush with pile running different ways looks patchy. Mark arrows.
- Pressing with a hot iron. This flattens or melts the pile.
- Using the regular foot. The top layer stretches and ends up longer. Use a walking foot if you have one, and clip often if you do not.
- Stuffing too much at once. Lumps show through thin fabric. Stuff in small handfuls.
- Weak seams. A plush gets hugged and tugged. Use the pattern's seam allowance, backstitch at the start and end of every seam and check the seams before stuffing.
Start with the free bib, then move on to a plush when the fluff no longer scares you.
 10 gifts to sew for teachers (desk to classroom)6 min read
 How to topstitch: a beginner's guide to straight lines6 min read
 How to sew a ruched tote bag (3 sizes, 12 steps)7 min read