Sewzy
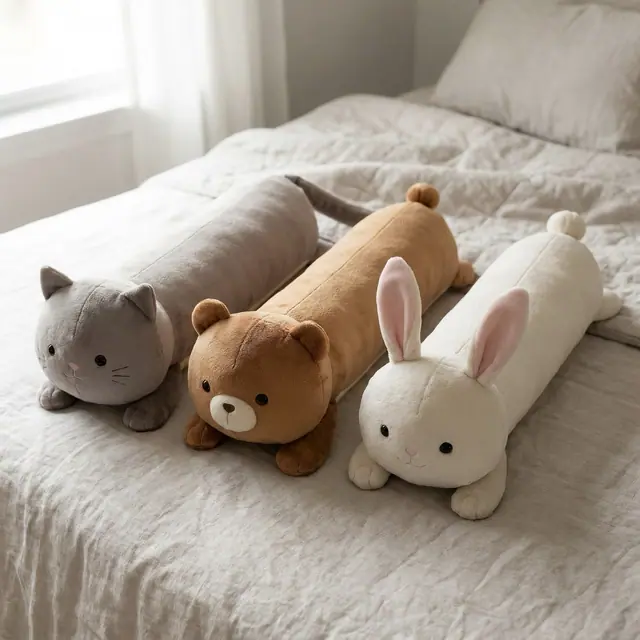
To sew a long cat plush, cut two mirrored side bodies and a belly, sew the top seam, set the belly into the bottom edges, turn the toy through a gap, stuff it and ladder-stitch the gap closed. The Long Cuddle Plush pattern in the Sewzy app makes a cat, a bear or a bunny in three sizes, is rated intermediate and takes about 150 minutes.
TL;DR
- Sizes: Small about 19 in, Medium about 30 in, Large about 38 in long.
- Fabric: ¾, 1⅛ or 1⅜ yd of 58 in minky or fleece, plus ¼ yd for a contrast belly.
- Level and time: intermediate, about 150 minutes in 8 steps.
- Seam allowance: ¼ in, already included in the pattern pieces.
- Safety: embroider the eyes and skip whisker threads for babies and toddlers.
- Price: Premium, in the Sewzy app.
Sew the Long Cuddle Plush from this guide, step by step, in the Sewzy app
Pick your size, print it from your phone, and follow every step with a sewing coach beside you.


What is a long cat plush?
A long plush is a stretched-out stuffed animal shaped like a huge sausage with a face at one end. It sits somewhere between a toy and a pillow, which is why people search for it as a "long cat plush pillow". The body is only a few pieces, so it is much quicker than a plush with four sewn-on legs. If you have never made a toy before, read how to sew a stuffed animal by hand first, or try a smaller shape such as the whale plush.
Which size should you make?
| Size | Length | Fabric (58 in wide) | Contrast belly |
|---|---|---|---|
| Small | about 19 in | ¾ yd | ¼ yd |
| Medium | about 30 in | 1⅛ yd | ¼ yd |
| Large | about 38 in | 1⅜ yd | ¼ yd |
Small is a nice stocking-size surprise for a bed. Medium is the one most kids can hug with both arms. Large is a real body pillow that looks big under a tree, but it takes the most stuffing, so buy extra fiberfill.
What fabric and supplies do you need?
- Body fabric: minky, fleece or velboa, 58 to 60 in wide. Minky is the softest. Fleece does not fray and is easier to handle.
- Contrast belly: ¼ yd cut across the width. A cream belly gives the classic plush look.
- Extras: scraps of contrast for bunny ears, and cream felt if you make the bear muzzle.
- Eyes: safety eyes in 9, 12 or 15 mm plus fusible interfacing scraps, or embroidery thread for babies.
- Tools: a tube turner for the cat tail, fiberfill, perle cotton and a doll needle. Stuffing amounts are in the app.
How to sew a long cat plush, step by step
These are the 8 steps in the app, with the key point of each.
- Cut. Cut 2 side bodies (a mirrored pair), 1 belly and 8 paws. Cut 4 ears for the cat or bear (bunny: 2 body and 2 contrast), plus 2 cat tails, or 1 pom tail for the bear and bunny, and 1 felt muzzle for the bear. Transfer every notch and mark, including the chin, rump and the gap.
- Eyes. Fuse a small circle of interfacing behind each eye mark, because minky stretches. Fit the safety eyes and lock the backs before any sewing. For babies, embroider the eyes instead.
- Ears, paws and tail. Sew each pair right sides together along the curve, leave the straight edge open, clip and turn. Stuff the paws lightly. Sew the cat tail around the long edges, turn it with a tube turner and stuff it softly.
- Top seam. Put the two side bodies right sides together and slip the tail between them at the tail notches. Stitch from the chin corner over the head, along the back and round the rump.
- Belly. Pin the belly to the two open bottom edges, one round tip to the chin and the other to the rump, matching the notches. Pin often, because minky creeps on long seams. Stitch all round and leave the gap open on one side.
- Turn and stuff. Turn through the gap. Fill the head firmly first, then the neck, then the long body in small handfuls. Ladder-stitch the gap closed.
- Ears and paws. Tuck the raw edges in, pinch a small pleat at the base and ladder-stitch each ear and paw over its mark. Bear and bunny: gather the pom tail, stuff it and stitch it on.
- Face. Bear: whip-stitch the felt muzzle over the front seam. Satin-stitch a small nose over the front seam and add a small "w" mouth. For a cat, add three whisker stitches each side, but not for babies.
If curved seams are new to you, practice with the tips in how to sew a straight line and curves.
What tips make it easier?
- Use a cream contrast belly for the classic plush look.
- For the Large size, stuff in two stages. Do the head and front half first, then the rest, so the fill stays even.
- Use clips or lots of pins and a walking foot if you have one. Minky shifts as you sew.
- Cut all pieces with the nap running the same direction.
- One pattern makes all three animals, so a cat, a bear and a bunny can be a matching set.
Is it a good Christmas gift?
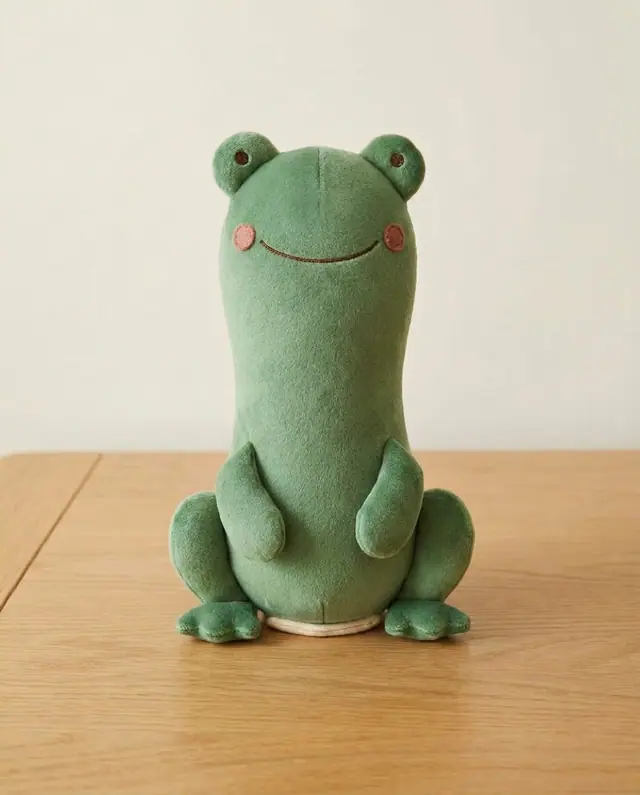
Yes. Christmas is about six weeks away, and one Medium plush takes about 150 minutes, so you can finish it over a weekend. A long plush looks big and generous under a tree but costs little in fabric. Choose the animal and fabric for the person, wrap it in a bow and it needs no other gift. For more ideas, see handmade Christmas gifts to sew and gifts to sew for kids. Other toys are in the plushie sewing patterns collection, including the Frog Plush.
If the gift is for a baby or toddler, embroider the eyes and nose, skip the whiskers and check every seam twice. Loose plastic parts and long threads are the main risks.
Common mistakes
- Skipping interfacing behind the eyes. Minky stretches and the eyes can pull out of place.
- Too few pins on the belly seam. The long seams creep, and the head and rump end up uneven.
- Stuffing in big lumps. Use small handfuls so the body is smooth and firm, not lumpy.
- Stuffing the neck too lightly. A soft neck makes the head flop. Fill the head and neck firmly first.
- Closing the gap with a running stitch. A ladder stitch hides the seam and holds under hugging.
 10 gifts to sew for teachers (desk to classroom)6 min read
 How to topstitch: a beginner's guide to straight lines6 min read
 How to sew a ruched tote bag (3 sizes, 12 steps)7 min read