Sewzy
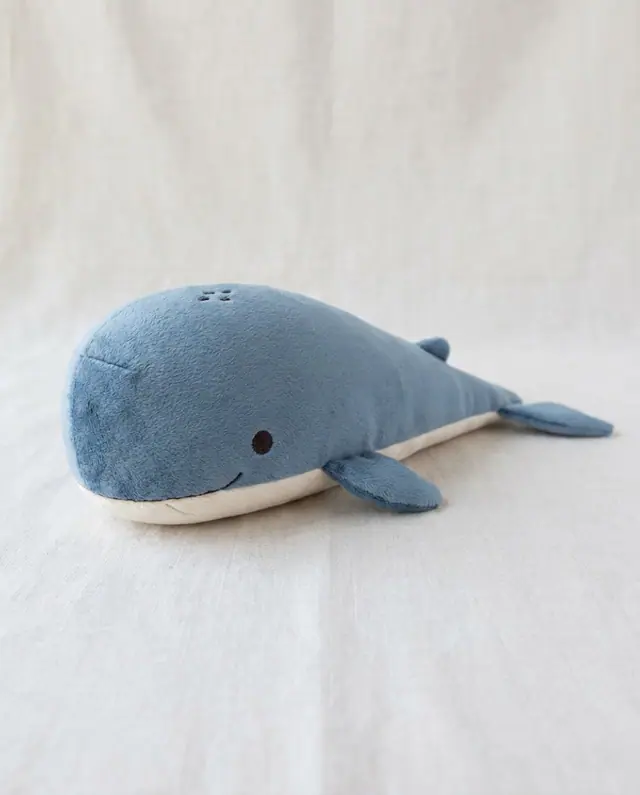
To sew a whale plush, cut a mirrored body, a belly panel, two flukes and four fin pieces, then sew the top seam, set in the belly, insert the fluke at the tail, turn the toy through a gap, stuff it firmly and ladder-stitch the gap closed. The Whale Plush pattern in the Sewzy app comes in three sizes (8, 12 and 16 in), is rated intermediate and takes about 2 hours.
TL;DR
- Sizes: Small 8 in, Medium 12 in, Large 16 in.
- Level and time: intermediate, about 2 hours in 12 steps.
- Key skills: curved seams, setting in a belly gusset, inset fluke, ladder stitch to close.
- Safety: embroider the eyes and smile for babies and toddlers. No plastic eyes, no loose parts.
- Price: Premium, in the Sewzy app. The app lists fabric amounts for each size.
Sew the Plush Whale from this guide, step by step, in the Sewzy app
Pick your size, print it from your phone, and follow every step with a sewing coach beside you.


Why is a whale plush a good project?
A whale is one of the simpler plush shapes because the body is mostly one long curve with no legs, arms or ears to set in. The only fiddly parts are the small fins and the tail fluke, and even those are just two layers stitched, turned and pressed. It is a step up from a basic hand-sewn stuffed animal but not as involved as a four-legged toy like a frog plush or a capybara plush.
Whales also make wonderful baby gifts and nursery decor. A set of three sizes looks great on a shelf, and you can coordinate the fabrics with a nursery theme.
Which size should you make?
| Size | Length | Good for |
|---|---|---|
| Small | 8 in | Stocking stuffer, mobile, gift topper |
| Medium | 12 in | The classic cuddle toy, baby gift |
| Large | 16 in | Nursery pillow, easiest to stuff |
Larger sizes are easier to turn and stuff. If this is your first plush, start with Large or Medium. Every size uses the same 12 steps, so you can make a small one first to practice and then a bigger one.
What fabric and supplies do you need?
- Body fabric: minky, fleece, velour, corduroy or quilting cotton. Minky gives the softest toy; fleece is the most forgiving because it does not fray.
- Belly: a scrap of white or cream for the tummy panel.
- Eyes and face: dark embroidery thread for the sewn eyes, smile and blowhole. No plastic safety eyes are needed.
- Stuffing: polyester fiberfill.
- Tools: perle cotton and a doll needle for the ladder stitch, a chopstick for pushing stuffing into the fins and tail.
The Sewzy app lists the exact yardage for each size so you can buy just what you need.
How to sew the whale, step by step
The pattern has 12 steps. Here is the sequence so you know what to expect before you start.
- Print and cut. Print the pattern at 100%, check the test square, then cut the pieces: body (cut 2 mirrored), belly (cut 1), fluke (cut 2) and fin (cut 4).
- Mark the face and fins. Transfer the eye, smile and blowhole marks to the right side of one body piece.
- Sew the eyes and smile. Use a backstitch or stem stitch with dark embroidery thread. Keep the stitches small and even.
- Tail fluke. Sew two fluke pieces right sides together, leave the straight edge open, clip the curves, turn and press.
- Fins. Sew each pair right sides together, leave the flat edge open, clip the curves, turn and press. You will have two finished fins.
- Top seam. Pin the two body pieces right sides together and sew the top seam from nose to tail. This is the longest curve.
- Belly. Pin the belly panel into the open bottom of the body, matching the nose and tail marks. Sew around, leaving a gap of about 3 in for turning.
- Tail fluke into the tail. Before closing the tail end, sandwich the fluke between the body layers at the tail mark and sew across.
- Turn. Reach through the belly gap and carefully turn the whole whale right side out. Use a chopstick to push out the nose and tail tip.
- Stuff. Start with the nose and tail, then fill the body. Stuff firmly enough that the whale holds its shape, but not so tight that the seams strain.
- Close the gap. Fold the seam allowance in on both sides of the belly gap and ladder-stitch it closed with perle cotton and a doll needle.
- Fins and blowhole. Pin each fin in place, then whip-stitch or ladder-stitch it to the body. Add a small French knot or satin stitch for the blowhole.
How do you sew curves and the belly gusset neatly?
Seam allowance is ¼ in and is already included in the pieces, so there is no extra trimming math. On the long top seam, sew slowly and use a short stitch so the seam holds when the whale is stuffed. Stop with the needle down, lift the presser foot and pivot a little at a time instead of pushing the fabric around the curve.
The belly panel is a gusset, which means a flat strip sewn between two curved edges. The trick is to pin it at the nose and tail marks first, then ease the body around it a few pins at a time. If one side looks longer, do not stretch it. Unpick a few stitches and re-pin so the two sides meet evenly at the marks.
Minky and fleece are slippery and can stretch under the presser foot. Clips hold them better than pins, and a walking foot, if you have one, keeps both layers moving together. Quilting cotton does not stretch, but it frays, so handle it gently after clipping.
How do you embroider the eyes and smile?
Embroider the face before you sew the body together. It is much easier to stitch a flat piece than a stuffed toy. Mark the eyes and smile with a washable pen or a pin, then stitch with dark embroidery thread. A few tight stitches layered in the same spot make a round eye, and a gentle curve of backstitches makes the smile. Bury the thread ends inside the seam allowance so no knots show on the right side.
Embroidered eyes also keep the toy safe for little ones, because there are no parts that can be pulled off. Still, check every seam and the fin stitching before you give the whale to a baby.
Common mistakes
- Skipping the clips on curves. The belly gusset has tight curves. Clip close to the seam line, without cutting the stitches, every ½ in so the seam lies flat when turned.
- Understuffing. A floppy whale looks sad. Stuff until the body is firm and smooth, especially around the nose.
- Forgetting to catch the fluke. The fluke must be sandwiched into the tail seam before you close it. If you miss it, you have to unpick.
- Using plastic eyes for a baby. Embroidered features are safer. The Sewzy pattern uses only thread for the face.
- Pulling the face stitches too tight. Tight eye stitches pucker the fabric and the whale looks surprised. Keep the tension relaxed and the stitches even.
What to make next
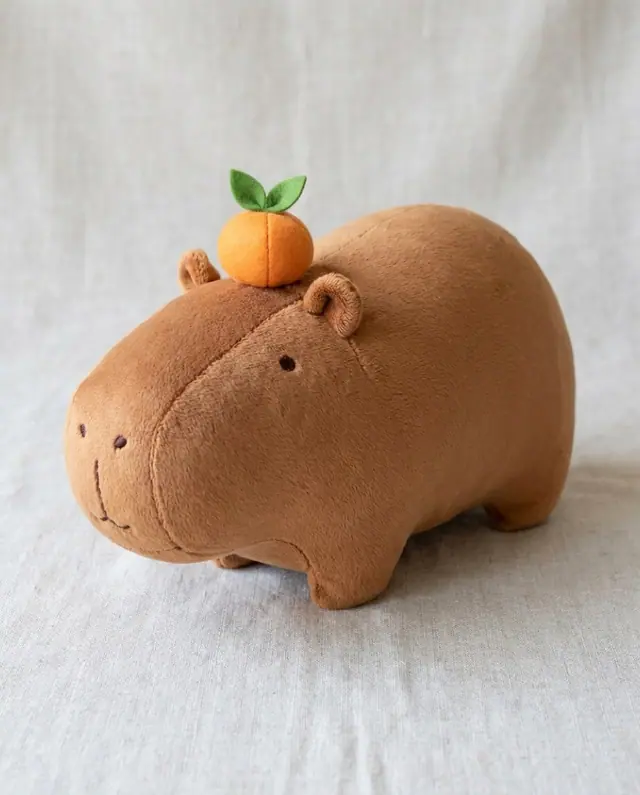
If you enjoyed the whale, try another plush from the Sewzy app: the Capybara Plush (three sizes, similar difficulty) or the Sleeping Duck (a different shape with tucked wings). For your first plush, our beginner plushie guide covers the basics of turning, stuffing and closing. The plushie sewing patterns hub lists every stuffed animal in the app.
 10 gifts to sew for teachers (desk to classroom)6 min read
 How to topstitch: a beginner's guide to straight lines6 min read
 How to sew with minky without the mess (beginner guide)7 min read