Sewzy
To sew a straight line, line the edge of the fabric up with a marked line on the needle plate, lower the presser foot and sew at a slow, steady speed. Keep your eyes on the guide line a little ahead of the needle, and let the machine feed the fabric. For a curve, slow down more and turn the fabric a little at a time.
TL;DR
- Use the lines on the needle plate as a seam guide. The right fabric edge follows the line you choose.
- Lower the presser foot every time. The foot must be down before you sew or the fabric will not move through the machine.
- Look ahead, not at the needle. Guide the fabric lightly with your hands and do not push or pull.
- On curves, sew slowly, keep the needle down when you stop, and turn the fabric a little at a time.
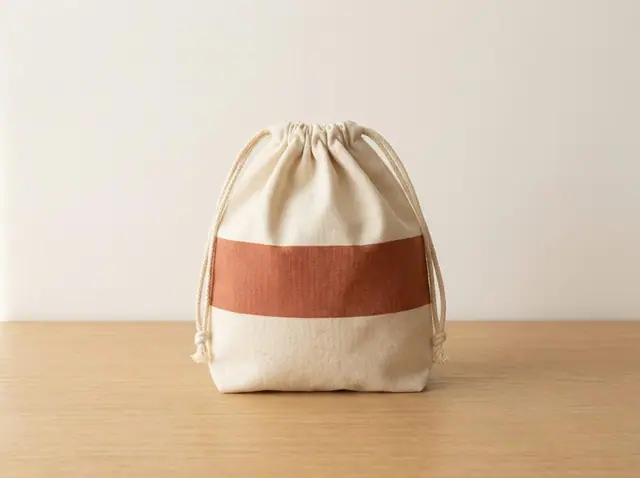
- Practice on scraps, then try a project that is mostly straight seams, such as the free Sewzy Drawstring Bag.
How do you set up for a straight line?
- Find the seam guide. Look at the metal needle plate. The lines marked on it are measured from the needle, in inches or millimeters. Pick the line that matches your seam allowance, which is ⅜ in on most Sewzy patterns.
- Use a straight stitch. Set the machine to a straight stitch, a medium stitch length, and a needle that suits your fabric. The needle and thread guide helps you pick.
- Place the fabric. Put the edge of the fabric against your chosen line, with the needle just inside the edge.
- Lower the presser foot. This holds the fabric against the feed dogs so the machine can move it.
- Stitch a few stitches, then use reverse. Sew forward 3 or 4 stitches, back over them, then forward again to lock the start.
How do you keep the line straight?
- Look ahead. Watch the fabric edge against the guide line an inch or two in front of the needle. The same trick works when you drive: look where you are going.
- Slow down. A steady slow speed is easier to control than a quick one. Use the speed slider if your machine has one.
- Keep your hands light. Rest your fingers on either side of the foot and guide the fabric. Do not pull; the feed dogs do the work.
- Support the fabric. Let the weight of a long piece rest on the table, not hang off it.
- Use a mark when you need one. For a seam that is not on the edge, draw a line with a washable marker or use a strip of tape on the bed as a guide.
How do you sew a curve?
A curve is a straight line that keeps changing direction, so the same rules apply, only slower. The fabric edge has to stay the same distance from the needle all the way round.
- Slow right down. Use the slowest speed you are comfortable with.
- Turn the fabric a little at a time. Keep the needle in the fabric and turn the fabric around it with small nudges, not big swings.
- Look at the edge, not the needle. Check that the edge stays on your guide line as it bends.
- Use shorter stitches on tight curves. A shorter stitch lets you turn more often and gives a smoother curve.
- Stop with the needle down. Lift the presser foot, turn the fabric, lower the foot and carry on.
On a seam that will be turned right side out, clip small cuts into the seam allowance of an inward curve, and cut small notches out of an outward curve, so it lies flat when turned. Do not cut through the stitching.
How do you sew a corner?
Stop with the needle down in the fabric, exactly the seam allowance away from the next edge. Lift the presser foot, pivot the fabric until the new edge lines up with the guide, lower the foot and keep going. For a corner you will turn out, as on the Drawstring Bag or Potholder, clip across the point afterwards to cut down the bulk.
Which straight-line mistakes happen most?
| Problem | Why it happens | Fix |
|---|---|---|
| Wobbly seam | Eyes on the needle, or sewing too fast | Look at the guide, slow down |
| Seam drifts away from the edge | Fabric pushed or pulled | Guide lightly and let the feed dogs pull |
| Fabric will not move | Presser foot not lowered | Lower the foot and try again |
| Puckered curve | Fabric forced round | Slow down, turn in small steps |
| Stitches come undone | No backstitch at the ends | Sew back over the first few stitches |
What should you practice on?
Draw straight lines, then gentle curves, on scrap paper or fabric and sew along them without thread, then with thread. When you are ready for a real project, the Drawstring Bag is almost all straight seams, the Scrunchie is a straight tube, and the Potholder adds a few corners. You will find more starter ideas in easy sewing projects for beginners, and a step-by-step first project in how to sew a drawstring bag. For how far the seam sits from the edge, see seam allowance explained.
A 10-minute practice routine
- Draw five straight lines about 1 in apart on a piece of scrap paper and sew along each one with no thread in the needle. The holes show how steady you were.
- Draw a wavy line and a circle about the size of a mug, and follow them the same way.
- Repeat on a folded scrap of cotton with thread in the machine, using the seam guide for the straight rows and a marker for the curves.
- Finish with a square: four corners, each pivoted with the needle down.
Do this a few times and your hands learn the feel of the speed and the guide. It is also a good moment to check how stitch length changes the look of a curve.
Sources
Sewing machine parts and the rule that the presser foot must be lowered before sewing: Utah State University Extension, 4-H Skill-a-thon Sewing. Seam allowances come from the Sewzy catalog.
 How to sew an envelope pillow cover (no zipper)5 min read
 How to hem pants by hand and by machine6 min read
 Thread bunching under fabric? Fix a bird's nest6 min read
 How to sew on a button by hand, and make a buttonhole6 min read