Sewzy
If thread is bunching up in a tangle under your fabric, the usual cause is that the top thread is not seated in the tension mechanism. Raise the presser foot and the needle, take out the top thread, and re-thread the machine from the spool. Then start the next seam with both thread tails held behind the foot.
TL;DR
- A bird's nest is almost always a threading issue, not a broken machine.
- Re-thread the top thread with the presser foot raised and the needle at its highest point.
- Lay both thread tails under the foot and toward the back before the first stitch.
- Lower the presser foot before sewing, and do not pull the fabric.
- If it keeps happening, change the needle, clean out lint, and check the bobbin.
Why does thread bunch under the fabric?
The needle thread and the bobbin thread lock together in the middle of the fabric, in a balanced stitch. If the top thread has no tension on it, it flops loose, and the bobbin thread drags it into a loop on the underside of the fabric. That is the nest. It happens when the top thread slips out of the tension discs, when the take-up lever is not threaded, or when the foot is raised while sewing.
What are the 6 fixes, in order?
- Stop and turn the machine off. Do not keep stitching. Lift the presser foot and cut the tangled thread free with small scissors. Do not tug the fabric out.
- Re-thread the top thread from scratch. Raise the presser foot lifter and raise the needle to its highest position, so the thread can seat properly in the tension mechanism and take-up lever. Take the thread all the way out, then thread it again following the numbers or arrows on your machine.
- Do a quick pull test. With the foot up, tug the thread; it will move freely. Lower the foot and tug again. You should feel clear resistance. If you do not, it is not seated, so repeat step 2.
- Place both tails correctly at the start. Lay the top and bobbin thread tails under the presser foot and toward the back of the machine before you lower it and begin. Holding them for the first few stitches also helps.
- Check the presser foot and the bobbin. Make sure the foot is lowered. Check that the bobbin is wound evenly, sits the right way round in its case and is not jammed.
- Clean and replace. Clear lint from the bobbin area and under the needle plate. Put in a new needle that matches your thread and fabric; a bent or dull needle causes trouble.
What if it only happens at the start of a seam?
Bunching at the very beginning is often a placement problem, not a threading one. The threads were not both under the foot and pointing back, and so the first stitches tangled. Start about ¼ in in from the fabric edge, hold the tails for 3 or 4 stitches and then let go. Starting on a scrap of fabric first and sewing onto your piece (a leader) works too.
What if it keeps happening after you re-thread?
| Check | What to look for |
|---|---|
| Needle | Bent, dull or the wrong size. Replace it. See the needle and thread guide. |
| Thread | Old, fuzzy or very thick thread can catch. Try a fresh spool of a good all-purpose thread. |
| Bobbin | Uneven winding or wrong direction. Re-wind and re-insert it. |
| Lint | Build-up near the bobbin case and feed dogs. Clean it out regularly. |
| Stitch length | Too short for your stitch or fabric. Lengthen it a little. |
| Foot | The wrong foot for the stitch you chose. Use one that suits it. |
If a jam has already formed, do not pull the fabric or the thread by force, because that can bend the needle or damage the parts. Cut the tangle out and clean the bobbin area. If it still tangles after all of this, have the machine serviced.
How do you avoid thread nests in future?
- Always raise the presser foot when you thread the machine, and always lower it before you sew.
- Leave about 4 in of thread tail, and hold it behind the foot as you start.
- End a seam with the needle at its highest position before you pull the fabric out, so the top thread has fully wrapped around the bobbin case.
- Change the needle after every few projects and keep the bobbin area free of lint.
- Test your settings on a scrap of the same fabric before starting a project.
Which projects are good for practicing a clean start?
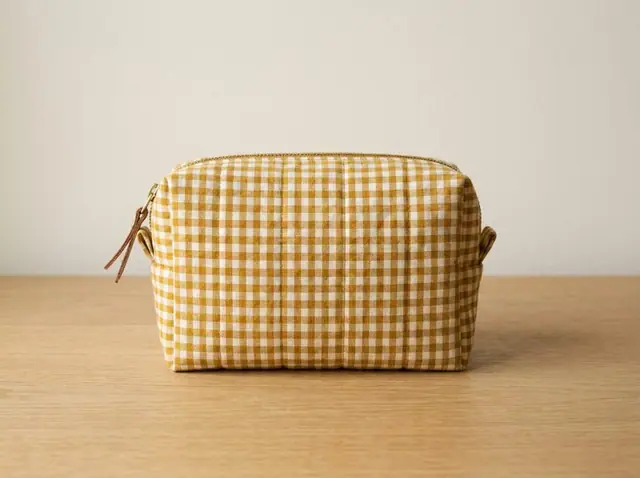
A small pouch such as the free Zipper Pouch, the Drawstring Bag or the Scrunchie gives you lots of seam starts and stops in a short time. See how to sew a zipper pouch for a full walk-through, and how to sew a straight line and curves for the basics of guiding fabric. New to the machine itself? Sewing tools for beginners lists what is worth owning.
What does a good stitch look like?
On a balanced stitch, the top and bobbin thread meet inside the fabric, so you see only the top thread on top and only the bobbin thread underneath. If the underside shows loops of the top thread, the top thread is too loose or unseated. If the top shows dots of bobbin thread, the top is too tight. Sew a short test line on a double layer of your project fabric before every new project and look at both sides.
Sources
Re-threading with the presser foot lifter and needle raised so the thread seats in the tension mechanism, and placing both thread tails under the foot toward the back when bunching happens at the start of a seam: SINGER Support, Troubleshooting Tips. Always check your own machine manual for its threading path.
 How to sew an envelope pillow cover (no zipper)5 min read
 How to hem pants by hand and by machine6 min read
 How to sew on a button by hand, and make a buttonhole6 min read