Sewzy
To sew on a button by hand, mark the spot, knot a doubled thread, and sew up and down through the button holes 8 to 10 times, with a pin or toothpick on top to keep the stitches slightly loose. Then pull the pin out, wrap the thread around the stitches under the button to make a short shank, and knot on the back. For a buttonhole, use your machine's buttonhole foot.
TL;DR
- Double the thread and knot the end. Doubled thread is stronger for a button.
- Sew over a pin or toothpick so the stitches are loose enough to wrap, then wrap the thread to make a shank.
- For a buttonhole, mark it, test it on a scrap, then slit it open with a seam ripper and a pin at the end.
- On kids' clothes, buttons must be sewn on very firmly, because loose buttons are a choking hazard for young children.
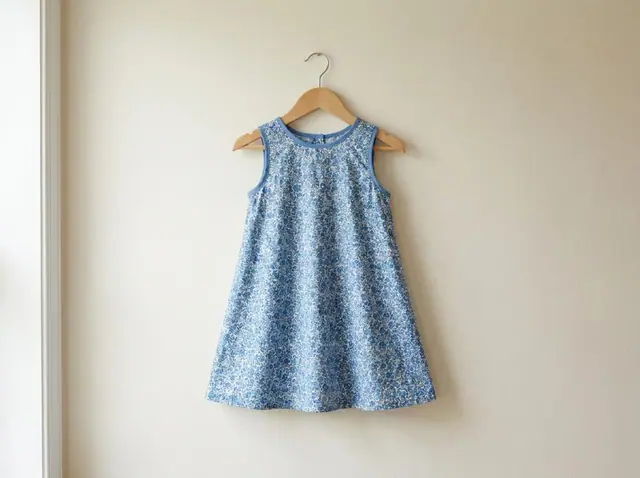
- Practice on scraps, then try a pattern with a button, such as the Sewzy Girls A-Line Dress or the optional buttons on the Envelope Cushion.
What do you need?
- A button, and a hand needle with an eye big enough for doubled thread.
- Strong thread in a matching color. Button thread, or a doubled strand of all-purpose, both work.
- A pin, toothpick or matchstick to lay over the button.
- Fabric chalk or a washable marker, and small scissors.
How do you sew a button on by hand?
- Mark the spot. Use the buttonhole as a guide. Overlap the garment closed and mark through the hole with a pin or chalk.
- Thread and knot. Cut about 24 in of thread, thread the needle, pull the ends level and knot them together.
- Anchor. From the right side, take a tiny stitch where the button will sit, then pull the thread through to the knot, which hides under the button.
- Add the spacer. Put the button over the mark, with the pin or toothpick lying across the top of it, between the holes.
- Stitch through the holes. For a 2-hole button, sew up one hole and down the other, 8 to 10 times. For a 4-hole button, sew the pairs in parallel lines or in an X. Do not pull the thread tight; the spacer keeps it loose.
- Remove the spacer. Lift the button up so the loose stitches stand between the button and the fabric.
- Wrap the shank. Bring the needle out between the button and fabric and wind the thread tightly around the stitches 4 or 5 times. This is the shank.
- Finish. Push the needle through to the wrong side. Make two or three small knots or stitches over the thread, and cut.
Why does a button need a shank?
A button sewn flat against the cloth pulls the fabric every time you fasten it, and the layers cannot lie smoothly underneath. A shank of thread gives the button the height of the extra layer, so it sits on top instead of dragging. A thicker coat or a placket with an overlap needs a longer shank than a light shirt. If you cannot make one easily, buy a button with a built-in shank.
How do you make a machine buttonhole?
- Mark each buttonhole. Mark the start and end of each one, spaced evenly, and keep them level with each other. The buttonhole goes on the overlapping side, the button on the underlap.
- Add stabilizer if the fabric is thin. A scrap of interfacing under the buttonhole helps soft or stretchy fabric hold its shape.
- Attach the buttonhole foot. Put the button into the foot if your machine has one, so it sets the right size. Follow the machine's manual for the buttonhole setting.
- Test on a scrap. Use the same fabric and the same layers. Check that the button passes through easily.
- Sew, then open. Place a pin across the end of the buttonhole, inside the bar tack. Slit the opening with a seam ripper or small sharp scissors, working toward the pin so you cannot cut too far.
What if you have no buttonhole function?
You can make one by hand with a buttonhole stitch, or avoid the problem: use a loop closure, snap or hook and eye. The Sewzy Girls A-Line Dress takes a different route, with a ½ in button and 4 in of ⅛ in elastic cord for the closure; its pattern gives the steps inside the Sewzy app.
Which button mistakes happen most?
- Sewing the button tight to the fabric. No shank means the button pulls and the placket puckers.
- Using single thread. It wears through quickly. Double it.
- Skipping the test buttonhole. Fabric, layers and interfacing change how a buttonhole sews.
- Cutting the buttonhole without a pin. One slip, and you slice the end stitches.
- Not knotting well. A button that falls off after three washes usually had a weak finish on the back.
Is it safe to sew buttons on children's clothes?
Buttons are a small-parts risk for babies and toddlers. In a recall notice, the U.S. Consumer Product Safety Commission described shirts and rompers for sizes 3 to 36 months whose buttons could come off as a choking hazard. If you sew for little ones, stitch the button on with plenty of passes and a firm shank, tug it hard to check, and look at it again after each wash. Or choose snaps, ties or a covered closure instead.
Where to practice
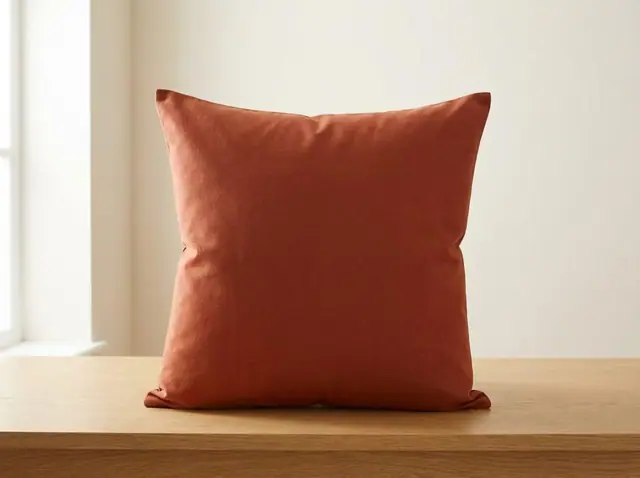
Try a button on a scrap, then use it on a cushion from the Envelope Cushion pattern, which takes two optional buttons for the overlap. Good next reads are easy sewing projects for beginners, sewing tools for beginners and how to sew an envelope pillow cover. For a first garment, see the Boxy Tee.
Sources
Loose buttons on baby clothing as a choking hazard: U.S. Consumer Product Safety Commission, recall of shirts and rompers with buttons that can detach. Pattern details come from the Sewzy catalog.
 How to sew an envelope pillow cover (no zipper)5 min read
 How to hem pants by hand and by machine6 min read
 How to sew a straight line and smooth curves6 min read
 Thread bunching under fabric? Fix a bird's nest6 min read