Sewzy
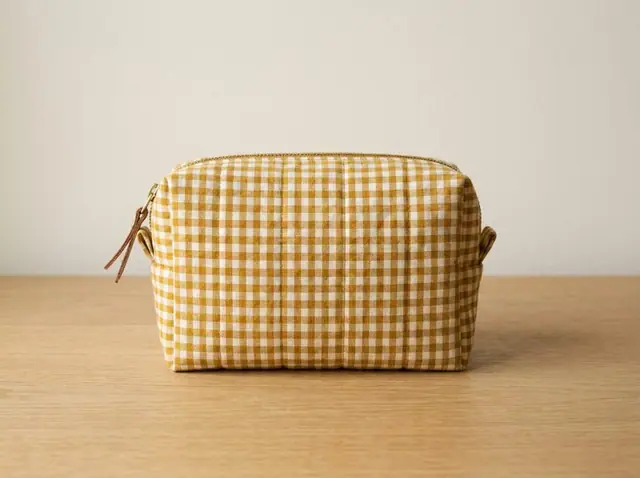
To sew a zipper pouch, fuse interfacing to the outer pieces, attach the zipper between each outer and lining piece, sew all the way round with the zipper open, box the corners and turn the pouch through a gap in the lining. The free Sewzy Zipper Pouch pattern comes in three sizes and takes about 45 minutes.
TL;DR
- The Sewzy Zipper Pouch is a free pattern rated beginner, and takes about 45 minutes.
- There are three sizes: Small (7 × 5 in), Medium (9 × 6½ in) and Large (11 × 8 in).
- You cut two outer pieces, two lining pieces and two zipper tabs. The seam allowance is ⅜ inch (1 cm), and it includes the zipper.
- Use a nylon coil zipper, medium fusible interfacing on the outer, and a zipper foot.
- Open the zipper before you sew round, or you cannot turn the pouch right side out.
What do you need to sew a zipper pouch?
- Outer fabric: quilting cotton, canvas, cork or denim. Fuse medium interfacing to light fabrics.
- Lining: cotton, or laminated cotton for a wipe-clean inside.
- Zipper: a nylon coil zipper. The length depends on the size, as the table below shows.
- Tools: a zipper foot and matching thread. See the tools you actually need if you are setting up from scratch.
Which size should you make?
| Size | Finished size | Zipper length | Fabric (outer + lining) |
|---|---|---|---|
| Small | 7 × 5 in | 7 in | ¼ yard + ¼ yard |
| Medium | 9 × 6½ in | 9 in | ¼ yard + ¼ yard |
| Large | 11 × 8 in | 12 in | ⅓ yard + ⅓ yard |
The zipper length matches the pouch width, and a longer zipper is fine because you trim the extra afterwards. That is why the Large size lists a 12 inch zipper for an 11 inch pouch. Each pouch is a good use for scraps, so see scrap fabric projects for more ideas.
How do you sew a zipper pouch, step by step?
- Cut. Print your size and cut two outer pieces, two lining pieces and two zipper tabs. Cut out the corner squares from all four pouch pieces, then fuse the interfacing to the outers. Here is how to print a PDF pattern.
- Add the zipper tabs. Fold each tab ½ inch in on its short ends, then fold it in half. Stitch one tab over each end of the zipper, so the zipper is exactly the width of the pouch.
- Zipper, side one. Lay one outer piece right side up. Place the zipper face down along its top edge, and put a lining piece right side down on top, so the zipper is sandwiched. Stitch ⅜ inch from the edge with the zipper foot. Flip the fabrics so they are wrong sides together, press, and topstitch ⅛ inch from the folded edge.
- Zipper, side two. Repeat on the free side of the zipper with the other outer piece and lining piece. Open the zipper halfway.
- Sew round. Put the outer pieces right sides together and the lining pieces right sides together, with the zipper teeth folded toward the lining. Stitch all the way round at ⅜ inch and leave a 3 inch gap in the bottom of the lining.
- Box and turn. Pinch each corner so the side seam and bottom seam meet, and stitch across it. Turn the pouch right side out through the gap, sew the gap shut, push the lining inside and press.
Why do you add zipper tabs?
The two zipper tabs wrap the ends of the zipper so the raw ends and the metal stops stay out of the seam. They also make the zipper exactly the width of the pouch, which keeps the top edge square. Do not skip them, even though they are small: they are what makes a homemade pouch look neat.
How do you sew close to a zipper?
Swap your regular presser foot for a zipper foot. It is narrow, so the needle can run right beside the zipper teeth without the foot riding up on them. Stitch slowly and keep the zipper tape flat. If your needle hits the zipper stop, lift the presser foot with the needle down and slide the zipper pull past it. For more on needles, see the needle and thread guide.
Common mistakes to avoid
- Sewing round with the zipper closed. Once the pouch is sewn round, a closed zipper leaves you unable to turn it right side out. Open it halfway before you stitch all the way round.
- Using the regular presser foot. It cannot get close to the zipper teeth. A zipper foot lets you stitch right beside them.
- Skipping the topstitching. The line beside the zipper keeps the lining from catching in the teeth.
- Forgetting interfacing on light fabric. Quilting cotton can look floppy. Fuse medium interfacing to the outer pieces first.
- Cutting the zipper too short. The zipper should be the pouch width, or longer. If it is longer, trim the extra after you have sewn round.
What can you do with a zipper pouch?
Make the Small for coins, earbuds or lip balm, the Medium for makeup or pens, and the Large for a tablet cable and charger or a project bag. You can add a 1 × 4 inch loop in a side seam for a wrist strap. Pouches also make easy gifts: see last-minute gifts to sew in an hour or less.
More free bags to sew
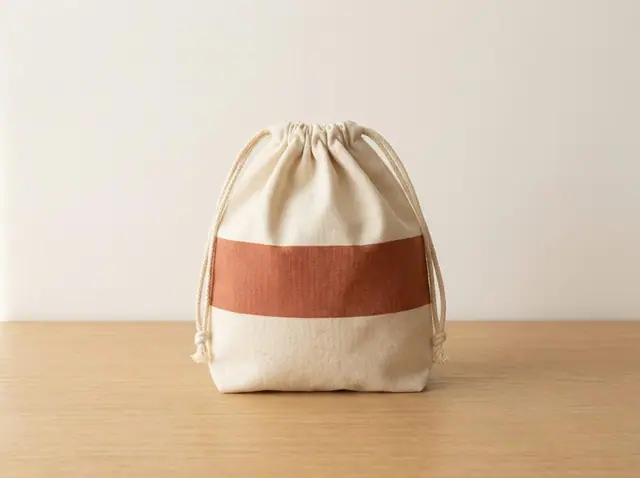
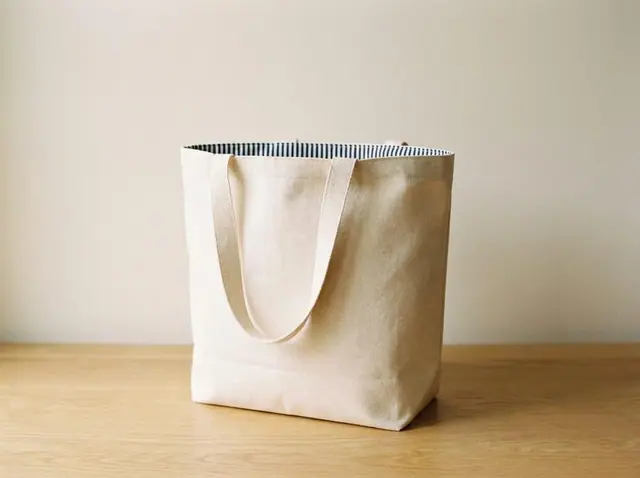
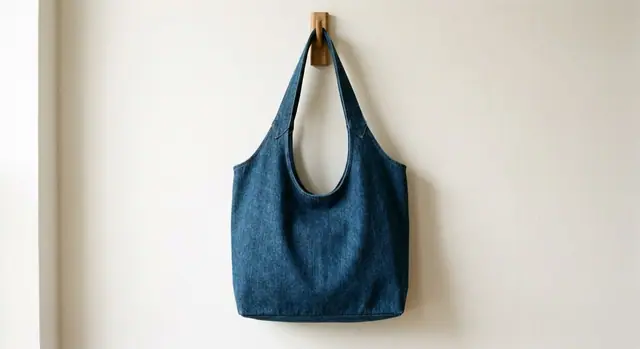
If you liked this one, the Drawstring Bag takes about 30 minutes, and the Boxed Tote Bag uses the same corner trick at a larger scale. Browse more in the bag sewing patterns hub, or step up to the slouchy hobo bag.
 How to sew a wine bottle gift bag (lined drawstring)6 min read
 How to sew an elastic waistband without twisting it6 min read
 How to sew a microwave bowl cozy (free pattern)5 min read