Sewzy
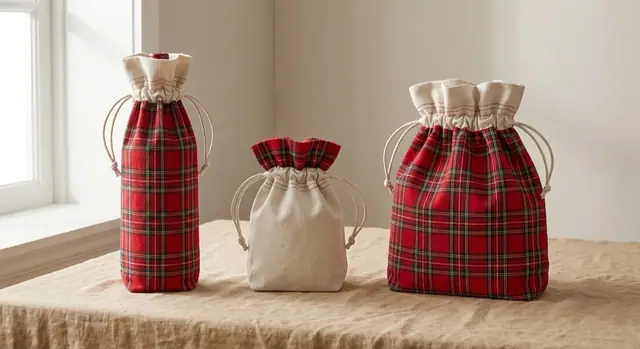
To sew a wine bottle gift bag, cut a cuff, a bag body and a lining (two of each), sew the outer and the lining with boxed corners, join them at the top, turn the bag through a gap, then stitch two rows to make a channel and thread a cord through it. The Sewzy Wine and Gift Bags pattern is rated beginner and takes about an hour per bag.
TL;DR
- The Sewzy Wine and Gift Bags pattern is rated beginner and takes about 60 minutes. It is a premium pattern in the Sewzy app.
- It comes in three sizes: Small (6 × 8 in), Large (10 × 12 in) and Wine (4½ × 16 in).
- You cut six fabric pieces, two each of the cuff, the bag body and the lining.
- The bag is fully lined, has boxed corners for a flat base, and closes with a drawstring cord in a channel near the top.
- Scraps work well here, which makes it a good use for leftover Christmas prints.
Why sew a wine bag instead of buying wrapping?
A fabric gift bag is the wrapping and part of the gift. It goes on a bottle in seconds, it does not tear, and the person you give it to can use it again. It is also one of the quicker holiday makes: one bag is about an hour, so a batch of four fits into an afternoon.
Because the lining and outer are sewn separately and joined at the top, the inside is as neat as the outside. If you are planning a whole round of presents, see 15 handmade Christmas gifts by time and skill and gifts to sew in an hour or less.
Which size should I sew?
The pattern has one size for a bottle and two for everything else. The sizes are listed as follows.
| Size | Listed size | Good for |
|---|---|---|
| Small | 6 × 8 in | Jewelry, candles, a small treat |
| Large | 10 × 12 in | Books, scarves, a boxed gift |
| Wine | 4½ × 16 in | One wine bottle |
Fabric amounts for each size are in the Sewzy app, so you can check them before you shop. If you are unsure how much to buy for any project, the yardage guide explains how to work it out.
What you need
- Outer fabric: quilting cotton, linen or a light home-decor weight in a holiday print.
- Lining fabric: a plain cotton that contrasts with the outer.
- Cord: soft cord, ribbon or twill tape for the drawstring. Check the app for the length that suits your size.
- Thread: all-purpose thread in a color that blends. Standard supplies are covered in the tools you actually need.
How do you sew a wine bottle gift bag, step by step?
- Print and tape. Print the PDF at home and tape the pages together. You end up with three paper pieces: the cuff, the bag body and the lining. Here is how to print a PDF pattern.
- Cut the fabric. Cut two of each shape, six fabric pieces in all.
- Mark the casing. Chalk the casing lines on the cuffs and mark the gap notches on the linings.
- Sew the cuff to the body. Join a cuff to each body piece. This gives you a front outer panel and a back outer panel.
- Sew the outer bag. With right sides together, sew the sides and the bottom. Leave the two cord openings, one in each side, unsewn and backstitch at both ends of each opening.
- Box the corners. Flatten each bottom corner so the side seam sits over the bottom seam, then stitch across it. This gives a flat base with square corners.
- Sew the lining. Sew the lining the same way, with its corners boxed too, but leave the gap at the notches in one side. This is the hole you turn the bag through.
- Join at the top. Slip the outer inside the lining, right sides together, and sew them together around the top edge.
- Turn and close the gap. Pull the bag right side out through the lining gap, then sew the gap shut by hand or machine. Push the lining down inside and press the top edge.
- Stitch the channel. Sew two rows around the top, one at 1 inch and one at 2 inches below the finished top edge. The space between the rows is the channel, and the strip above the first row becomes the frill.
- Thread the cord. Use a safety pin to feed one cord in through one opening, around the whole channel and back out of the same opening. Do the same with a second cord from the opening on the other side. Knot the ends of each cord into a loop.
- Wrap your gift. Put the gift inside and pull the cords from opposite sides to close the bag with a frill on top.
Common mistakes to avoid
- Sewing the cord openings shut. The openings sit in the side seams of the cuff, so stop and backstitch where the gap begins and again where it ends.
- Forgetting to leave the lining gap. Without it you cannot turn the bag. Mark it with the notches before you sew.
- Uneven boxed corners. Measure the same depth on all four corners or the bag will lean. The same trick is covered in how to sew a tote bag with boxed corners.
- Threading both cords from the same side. The cords must start from opposite openings, or pulling them will not gather the bag evenly.
- Using a very thin cord. It bites into the fabric and slips. A flat ribbon or a soft round cord holds better.
One safety note: drawstring cords are fine on a gift bag for adults, but keep any bag with a long cord away from babies and small children.
More gift bags and Christmas makes
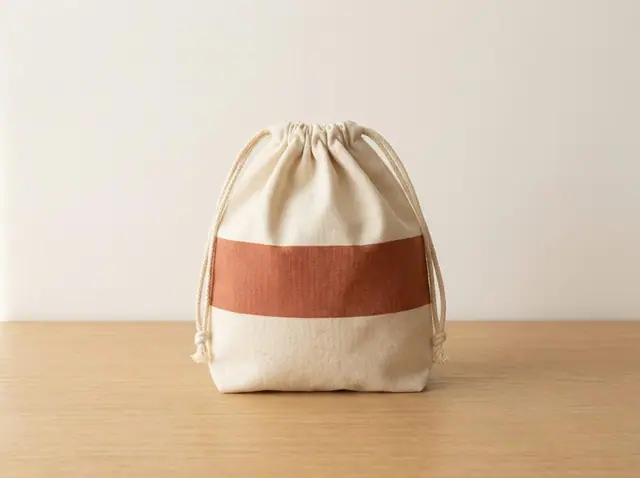
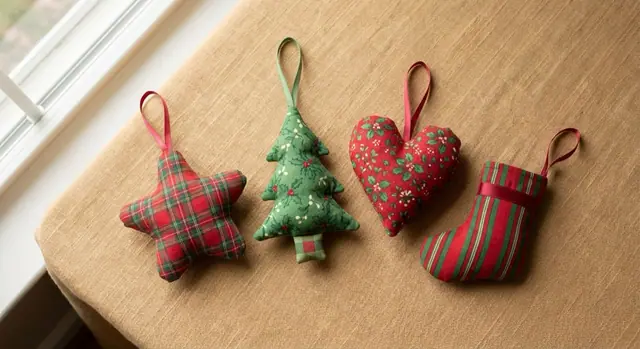
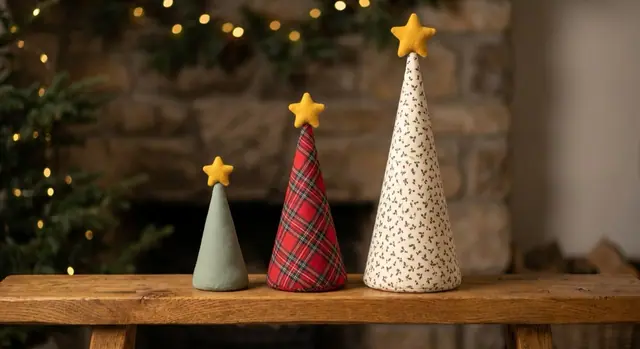
If you want a free bag to practice on first, the Drawstring Bag uses the same cord-in-a-channel idea, and its step-by-step is in how to sew a drawstring bag. For more holiday projects, browse the Christmas sewing patterns, or the Christmas Ornaments and Cone Christmas Trees patterns, which are quick to make from the same scraps.
 How to sew an elastic waistband without twisting it6 min read
 How to sew a zipper pouch: free pattern in 3 sizes6 min read
 How to sew a microwave bowl cozy (free pattern)5 min read