Sewzy
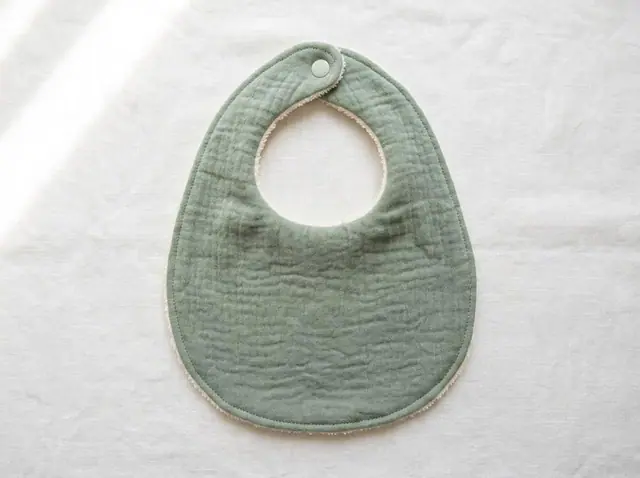
To clip and notch curves, first sew the seam, then cut into the seam allowance before you turn the piece right side out: clip straight snips into inner (concave) curves and cut small V-shaped notches out of outer (convex) curves. Always stop just short of the stitching. This lets curved seams lie flat and smooth instead of puckering or looking lumpy.
Get the pattern: Baby Bib sewing pattern (free PDF), with every size and a step-by-step guide.
TL;DR
- Inner curve (curves in, like a neckline): clip with straight snips.
- Outer curve (curves out, like the edge of a circle): notch by cutting out small V wedges.
- Inner corner or V: one clip right into the point. Outer corner: trim across it.
- Space cuts about every ½ in on tight curves, fewer on gentle ones.
- Cut to a thread or two from the stitching, never through it.
- Clip and notch after sewing and before turning.
Sew the Baby Bib from this guide, step by step, in the Sewzy app
Pick your size, print it from your phone, and follow every step with a sewing coach beside you.


What is the difference between clipping and notching?
Both are cuts into the seam allowance, but they solve opposite problems.
| Curve type | What happens when you turn it | The cut | Examples |
|---|---|---|---|
| Inner (concave) | The seam allowance is too short and pulls tight | Clip: straight snips so it can spread | Bib neckline, moon shape, cape neck |
| Outer (convex) | The seam allowance is too long and bunches | Notch: V wedges so it can fold in | Bib edge, plush heads, round tips |
| Inner corner or V | The point pulls and puckers | One clip into the point | Heart top, star corners, crown valleys |
| Outer corner | Bulk makes a rounded, lumpy point | Trim across the corner | Cushion corners, bandana point |
A simple way to remember it: if the edge curves in, the fabric needs room to open, so you clip. If the edge curves out, the fabric needs room to fold, so you take some away with a notch.
How do you clip an inner curve, step by step?
- Sew the seam and press it flat as sewn to set the stitches.
- Use small, sharp scissors. Embroidery scissors give you the best control.
- Snip straight into the seam allowance, at a right angle to the stitching.
- Stop a thread or two short of the stitching line.
- Repeat about every ½ in along the tight part of the curve. A gentle curve needs fewer snips.
- Turn the piece and check. If the curve still pulls, add a few more clips in between.
How do you notch an outer curve, step by step?
- Sew the seam and press it flat as sewn.
- Fold a tiny pinch of seam allowance and cut a small V, with the point of the V aimed at the stitching.
- Stop the point of the V short of the stitching.
- Space the notches about every ½ in around the curve.
- On a very tight curve, trim the seam allowance narrower first, then notch.
Pinking shears are a shortcut for outer curves. Trim the seam allowance with them, staying a little away from the stitching, and the zigzag edge does the notching for you.
How do real patterns tell you to clip?
Here is how a few Sewzy patterns handle it, so you can see the rule in action.
- Baby Bib (free): after stitching all around at ¼ in, clip the neck curve and notch the outer curves before turning.
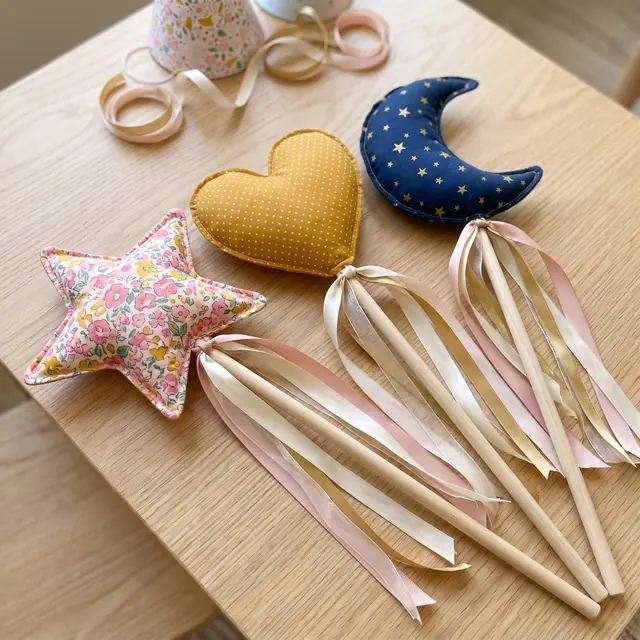
- Puffy Wand Trio: clip into the heart V and the 4 inner star corners to within 1/16 in of the stitching, clip the inner curve of the moon every ½ in, and notch the outer curves every ½ in, ⅛ in from the stitching. Read how to sew a magic wand.
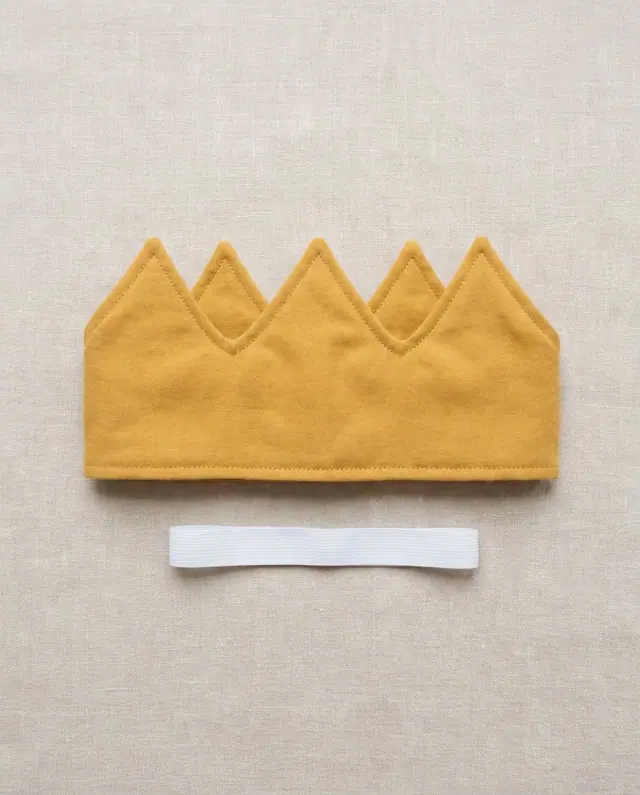
- Fabric Crown: snip the tips and clip the valleys between the points. See how to sew a birthday crown.
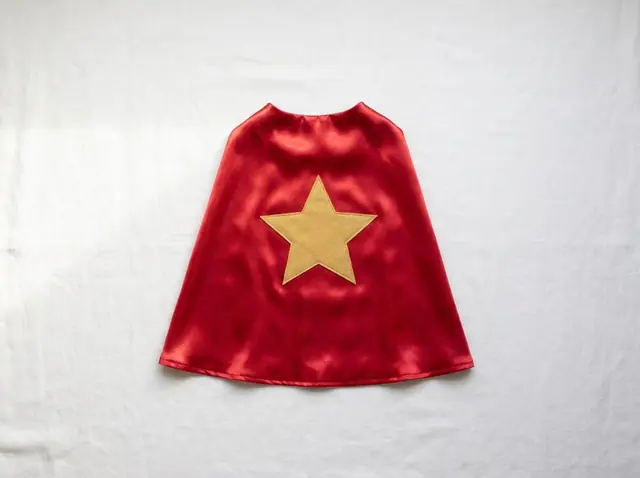
- Superhero Cape: clip the neck curve and the inside corners before turning.
- Collar Bandana: trim the point to ⅛ in. For the scallop edge, clip into every valley right up to the stitching and notch the round petals.
How do I handle corners and points?
Corners follow the same idea. At an inner corner, such as the V of a heart or the inside of a star, make one clip straight into the point, stopping just short of the stitching. At an outer corner, such as a cushion corner or the tip of a bandana, snip off the point, or trim across it, so less fabric crowds the tip. Leave a little fabric beyond the stitching, about ⅛ in. Then turn the piece and push the point out gently with a chopstick or turning tool rather than a sharp point, which can poke through the seam.
When should I not clip or notch?
- Over a turning gap. Leave the seam allowance at the opening unclipped. It folds in and gets closed later, for example with a ladder stitch.
- On straight seams. They lie flat on their own.
- On loosely woven fabric near a stress point. Clip a little less deep and reinforce the seam with a second row of stitching first.
- When a seam will be pressed open and left flat. Many garment seams that are not turned just need pressing. See how to press seams.
Common mistakes
- Cutting through the stitches. The seam opens when you turn it. Stop short and, if it happens, restitch just inside the old line.
- Using notches on an inner curve. Removing fabric where it is already too short leaves the curve tight. Clip inner curves.
- Too few cuts. One or two snips on a tight curve still pucker. Add more, closer together.
- Clipping before sewing. Always sew first, so you know exactly where the stitching line is.
- Cutting every layer at the same spot in a thick seam. On bulky fabrics, stagger the cuts so the edge does not show ridges.
What should I sew to practice?
The free Baby Bib has both an inner and an outer curve and takes about 20 minutes, so it is a perfect practice piece. After that, try a plush. Plush heads and paws are full of outer curves. Start with how to sew a plushie or browse the plushie sewing patterns. New to curves in general? Read how to sew a straight line and smooth curves and seam allowance explained.
 Baby's first Christmas gifts to sew: 7 handmade ideas7 min read
 Memory bunny pattern: sew a keepsake bunny from clothes8 min read
 How to understitch: keep facings and linings flat7 min read
 Secret santa gifts to sew: 8 ideas in 10 to 60 minutes6 min read