Sewzy
A ladder stitch is a hand stitch that closes a seam from the outside and leaves no visible line. You take small stitches straight across the gap, one into the fold on each side in turn, then pull the thread tight so the two edges meet and the stitches disappear. Use it to close the turning gap on plushies, pillows and lined bags.
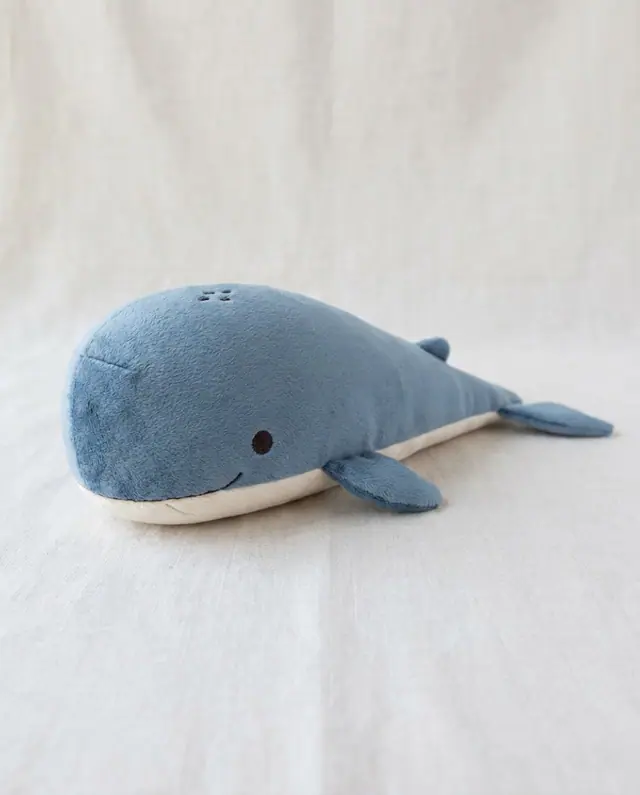
Get the pattern: Plush Whale sewing pattern, with every size and a step-by-step guide.
TL;DR
- The ladder stitch (also called the invisible stitch or hidden stitch) closes an opening you left for turning a project right side out.
- Knot the thread, hide the knot inside the fold, then stitch back and forth across the gap, taking each small stitch inside the fold on alternating sides.
- The thread shows as a ladder of little rungs. Pull gently every few stitches and the rungs vanish.
- Use a strong thread that matches your fabric and a hand needle that slides easily through it.
- Where you use it: plush gaps, memory bears, limb and ear attachments, and lined bags with a turning gap.
Sew the Plush Whale from this guide, step by step, in the Sewzy app
Pick your size, print it from your phone, and follow every step with a sewing coach beside you.


What is a ladder stitch?
The ladder stitch is the standard way to close a seam by hand when you have already turned a project right side out. Before turning, you leave a gap in a seam. After turning and stuffing, the gap is open and the raw edges are folded inside. The ladder stitch joins the two folded edges so the seam looks like it was sewn from the inside.
It gets its name from what the thread looks like before you pull it: two parallel lines of fabric with small horizontal stitches between them, like the rungs of a ladder. Pull the thread and the rungs shorten until the edges meet.
What do I need to sew a ladder stitch?
- A hand needle. A medium length needle with an eye big enough for your thread works for most plush and pillow work. A curved needle helps in tight spots, but a straight needle is fine.
- Thread to match. Choose a color close to the fabric. For plushies, strong thread such as upholstery or quilting thread holds up to stuffing and hugging. For a pillow, regular all-purpose thread is enough.
- Scissors and a few pins. Pins hold the folds in place while you stitch.
- Good light. You are sewing small stitches inside a fold, so being able to see helps.
How do I sew a ladder stitch step by step?
- Prepare the gap. With the project turned and stuffed, fold the raw edges of the gap to the inside so the folds line up with the seam on each side. Pin them if the fabric will not stay folded. Press a pillow or bag first so the folds are crisp.
- Thread the needle and knot the end. Use a single strand and a knot at the tail. A single thread is easier to pull smoothly than a doubled one.
- Hide the knot. Push the needle into the fold on one side, a little back from the start of the gap, and bring it out at the first point of the gap. Tug gently and the knot pops inside the fold where it will not show.
- Cross to the other side. Directly across from where the thread came out, slide the needle into the fold of the opposite side. Run it along inside the fold for about ⅛ in, and bring it out again.
- Cross back. Go straight across to the first side, directly opposite where the thread now sits, and take another small stitch inside that fold. Keep every stitch parallel to the seam and the same length.
- Repeat. Keep crossing back and forth. The thread forms little horizontal rungs between the two folds.
- Pull to close. After 4 or 5 stitches, hold the work and pull the thread gently along its length. The rungs disappear and the edges meet. Do not yank, or the thread can cut the fabric or pucker the seam.
- Add stuffing as you go. On a plush, push any lumpy filling toward the opening from the inside before you close the last few stitches, so the shape fills out evenly.
- Finish. Take two or three tiny stitches in the same place, knot the thread against the fabric, then push the needle into the fold, run it along inside the plush and bring it out a little way off. Pull and snip the thread close to the fabric. The tail then disappears inside.
Where is a ladder stitch used in sewing?
You will meet it any time a seam is closed from the right side.
| Project | What it closes |
|---|---|
| Plush toys | The turning and stuffing gap in the body, limbs or ears |
| Memory bears | Limb gaps, the body opening, ears, and the head and limbs when you attach them |
| Pillows and cushions | The gap left after turning and stuffing |
| Lined bags | The opening left in the lining so you can turn the bag |
| Quilted or padded gifts | Any turning gap that cannot be machine stitched neatly |
Several Sewzy plush patterns finish this way. The Long Cuddle Plush tells you to ladder-stitch the gap closed after stuffing, and to ladder-stitch ears and paws in place. The Memory Bear pattern uses it to close limb gaps and the body opening, to attach the ears and head, and as one way to attach the limbs, and you can see the whole pattern on the memory bear pattern page.
What are the common mistakes with a ladder stitch?
- Stitches that go through the outside. If the needle comes out on the face of the fabric, you will see dots. Keep each stitch inside the fold.
- Uneven rungs. Rungs of different lengths pull the seam into a wave. Keep stitches about the same size and spaced evenly.
- Pulling too early or too hard. Pull after several stitches, and pull along the line of the seam, not straight up.
- Stuffing too much. An overstuffed plush pulls the gap open. Stuff firmly but leave a little give at the opening.
- Weak thread. Ordinary thread can snap when a plush is squeezed. Use strong thread for anything that will be hugged.
- Raw edges showing. Fold the raw edges fully inside, or a fray will poke out of the seam.
- Not burying the tail. A loose end can pull out. Always run the thread inside before cutting it.
Is a ladder stitch the same as a slip stitch?
Many sewists use the two names for the same thing, and sources differ. Both close an opening from the right side and both hide in a fold. Some describe the slip stitch as running along the fold on one side and catching a thread of the other side, while the ladder stitch steps straight across the gap and relies on pulling to close. If you follow the steps above, you are making the classic ladder stitch, and it works for every project in this article.
Where can I practice?
Practice on two scraps of cotton folded over about ⅜ in, then try it on a real project. If you are new to hand finishing, read how to sew a stuffed animal by hand and how to sew a plushie. For a project where a good seam matters, see how to make a memory bear from clothes or the Plush Whale, whose "Close the gap" step asks for no gap and no visible seam. For more shapes to try it on, browse the plushie sewing patterns.
 Baby's first Christmas gifts to sew: 7 handmade ideas7 min read
 Memory bunny pattern: sew a keepsake bunny from clothes8 min read
 How to understitch: keep facings and linings flat7 min read
 Secret santa gifts to sew: 8 ideas in 10 to 60 minutes6 min read