Sewzy
Understitching is a line of stitching sewn on the facing or lining side, very close to a seam, that catches the seam allowances underneath. It keeps the facing or lining from rolling to the outside, so the edge lies flat and neat. To do it, press the seam allowances toward the facing, then stitch about ⅛ inch from the seam through the facing and both seam allowances.
Get the pattern: Boxed Tote Bag sewing pattern (free PDF), with every size and a step-by-step guide.
TL;DR
- What it does: holds the seam allowances to the facing so the seam rolls to the inside.
- When: after you sew a facing or lining seam, and before you turn it right side out.
- Distance: about ⅛ inch from the seam, on the facing side.
- Prep: trim or grade the seam allowance, clip or notch curves, then press the allowances toward the facing.
- Where you cannot reach: stop as close as you can, and press the rest well.
- Not the same as topstitching: understitching is hidden on the inside. Topstitching shows on the outside.
Sew the Boxed Tote Bag from this guide, step by step, in the Sewzy app
Pick your size, print it from your phone, and follow every step with a sewing coach beside you.


What is understitching?
When you sew a facing to a neckline or an armhole, you turn the facing to the inside. Without help, the seam tends to roll back out and show the facing. Understitching fixes that. You stitch the seam allowances to the facing, close to the seam, and the stitches stay on the inside where nobody sees them. The seam then has a slight pull toward the facing and the edge sits just under the fashion fabric.
When do I use understitching?
- Necklines and armholes finished with a facing.
- Waistband and skirt facings that should stay hidden.
- Lined bags and pockets where the lining meets the outer at the opening.
- Linings sewn to an opening, wherever the machine foot can reach the seam.
It is most useful on curves. A straight seam is easy to press flat, but a curved one fights you. If you are not sure why a seam allowance is the width it is, read seam allowance explained.
Understitching or topstitching: what is the difference?
| Understitching | Topstitching | |
|---|---|---|
| Where you see it | Not visible from the outside | Visible on the right side |
| Distance from the seam | about ⅛ inch | ⅛ to ¼ inch or more |
| Main job | Rolls the seam to the inside | Holds the edge flat and decorates |
| When you sew it | Before turning, through the facing and the seam allowances | After turning and pressing |
For the visible kind, see how to topstitch.
How do I understitch, step by step?
- Sew the facing seam. Join the facing to the garment, right sides together, with the seam allowance your pattern gives.
- Trim or grade the seam allowance. Cut the facing allowance a little narrower than the garment allowance. This is called grading, and it makes the layers less bulky. On curves, clip or notch the allowance as well. Our guide on how to clip and notch curves shows how far.
- Press the seam. Press the seam flat as it was sewn, then press both seam allowances toward the facing. Pressing it this way is what makes the stitching work. See how to press seams for the pressing method.
- Open the facing out. Lay the piece with the facing on top, right side of the facing up, and the pressed seam allowances lying underneath it.
- Stitch ⅛ inch from the seam. Sew on the facing side, close to the seam, through the facing and both seam allowances. Use a normal stitch length, and keep the allowances flat behind the needle with your fingers.
- Stop where you cannot reach. Near a corner, a strap or a seam, stop as far in as the machine allows. Do not force it.
- Turn and press. Turn the facing to the inside. The seam should roll just under the edge. Press from the facing side.
How do I understitch a curve?
Curves need a bit more care, because the seam allowances want to twist.
- Sew in short sections of a few inches at a time.
- Stop with the needle down, lift the presser foot and smooth the allowances flat before you continue.
- Keep the stitching line even at ⅛ inch. Do not let it wander toward the edge.
- On an inward curve, such as a neckline, clip the allowance so it spreads. On an outward curve, notch it so it does not bunch.
- Sew slowly. A fresh needle helps on thick layers.
What if I cannot reach the seam?
On small corners, narrow straps or the ends of a facing, the machine foot may not fit. Stitch as far as you can, then stop. A shorter understitched seam still helps. For the last bit, press firmly and, if you like, finish with a few hand stitches that catch the seam allowance to the facing. A hand-sewn pick stitch also works.
Which Sewzy patterns have a lining or facing?
These patterns have a lined opening, so they are good places to practice the idea. Only the Christmas Stocking mentions understitching, and only as an option. For the others, follow the pattern's own steps.
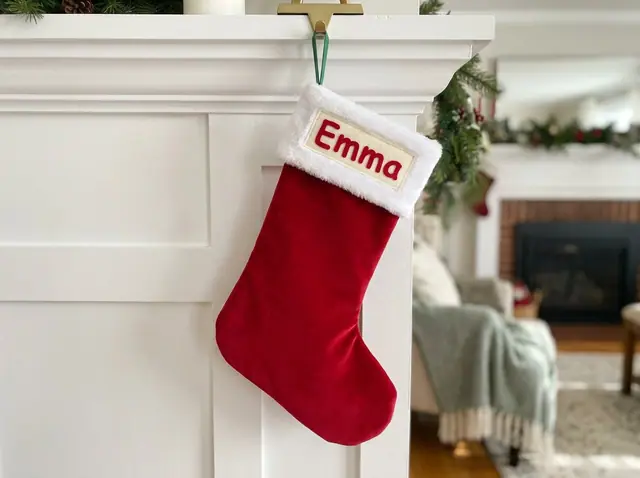
- The Christmas Stocking (in the Sewzy app, beginner, about 120 minutes) sews the lining on at the top edge, ⅜ inch from the edge. Its last step says to press the lining just below the rim, or understitch it there, so it stays inside.
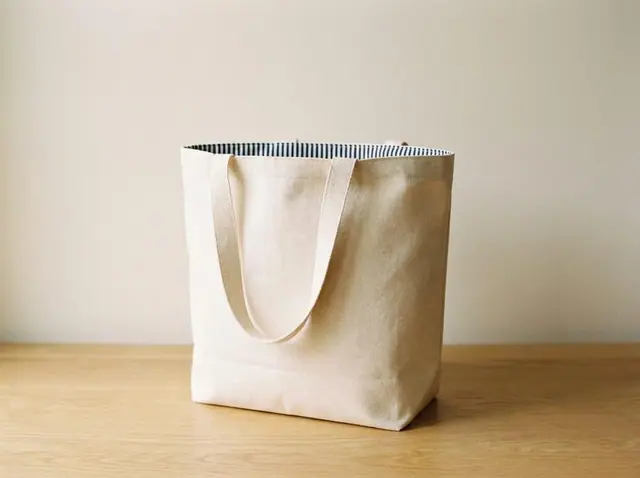
- The free Boxed Tote Bag (beginner, about 90 minutes) joins a lining to the outer by stitching round the top ⅜ inch, then turns through a gap in the lining and topstitches ¼ inch round the top. The straps are caught in that seam, so the pattern finishes with topstitching, not understitching.
- The free Zipper Pouch (beginner, about 45 minutes) has a lining sewn on with the zipper, and its steps topstitch ⅛ inch beside the zipper.
Use understitching when you sew your own facing, as on a neckline or armhole.
Common mistakes
- Not trimming the seam allowance. Thick layers refuse to roll and the stitching puckers.
- Pressing the allowances the wrong way. They must lie toward the facing, not toward the fashion fabric.
- Skipping the clipping on curves. The seam then pulls and wrinkles.
- Stitching too far from the seam. Stay near ⅛ inch so the stitching stays close to the seam.
- Not catching both allowances. The needle must go through the facing and both seam allowances, or the seam still rolls.
- Forgetting to backstitch at the start. Start with a short backstitch so the stitches do not pull out.
Where can I learn more?
If you are starting out, read how to sew a straight line and curves first. Then try a small lined project such as the zipper pouch, or browse the free sewing patterns for a beginner pattern to practice on.
 Baby's first Christmas gifts to sew: 7 handmade ideas7 min read
 Memory bunny pattern: sew a keepsake bunny from clothes8 min read
 Secret santa gifts to sew: 8 ideas in 10 to 60 minutes6 min read
 How to sew stretch fabric on a regular machine6 min read