Sewzy
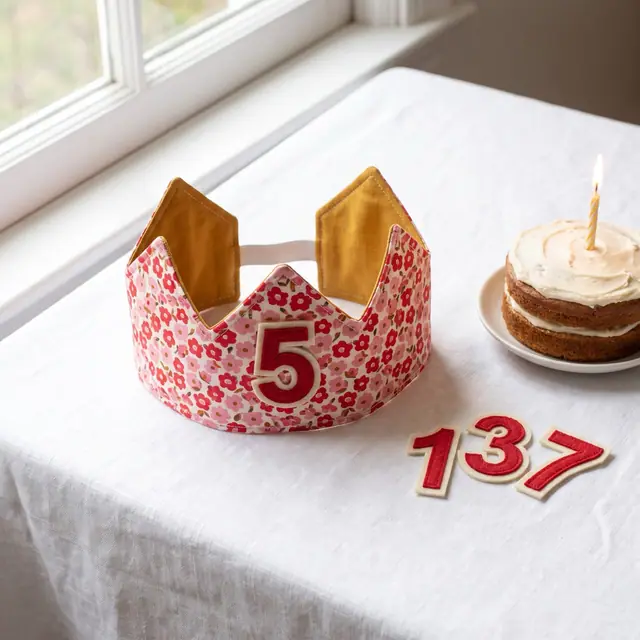
To sew a fabric birthday crown, cut a pointed crown shape from outer fabric and lining, fuse fleece to the outer for stiffness, sew them right sides together along the zigzag top, turn and press, add elastic at the back, then topstitch. Felt number patches attach with hook-and-loop dots so you can swap the number each year. The Birthday Number Crown in the Sewzy app comes in four sizes from Baby to Adult and is rated beginner.
TL;DR
- Sizes: Baby (head 16 to 17 in, crown 3½ in tall), Toddler (18 to 19 in, 3¾ in), Kid (20 to 21 in, 4 in), Adult (22 to 23 in, 4¼ in).
- Fabric: 1 fat quarter outer + 1 fat quarter lining, plus a scrap of fusible fleece and ¾ in elastic.
- Time: about 1 hour. Beginner-friendly.
- Key feature: hook-and-loop number patches. Sew them once, swap them every birthday.
- Price: Premium, in the Sewzy app.
Sew the Birthday Number Crown from this guide, step by step, in the Sewzy app
Pick your size, print it from your phone, and follow every step with a sewing coach beside you.


What makes this crown reusable?
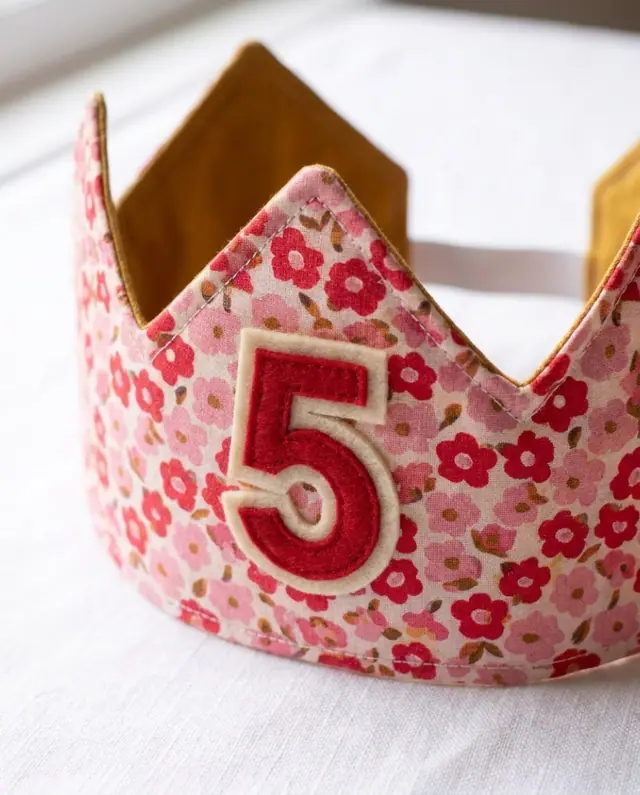
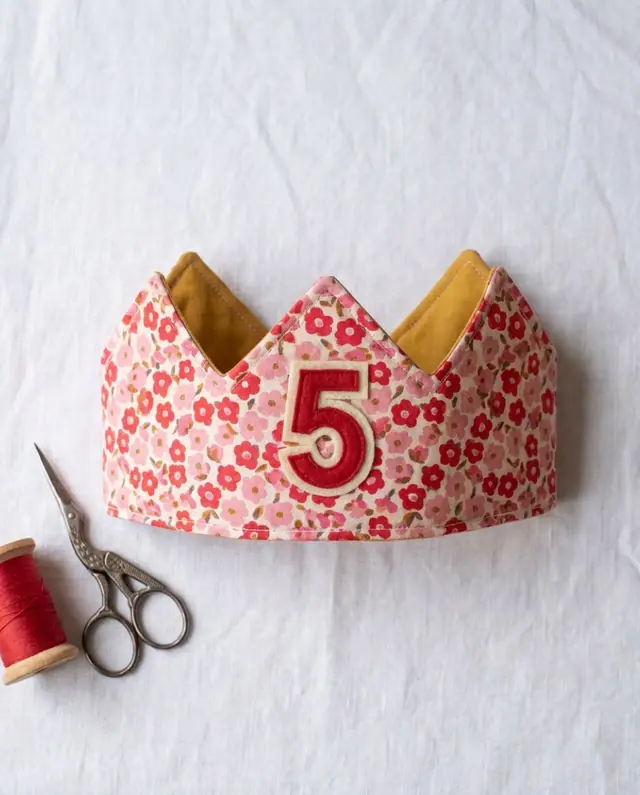
Most fabric birthday crowns are stitched with a fixed number or no number at all. This one uses small loop dots sewn to the front of the crown and hook dots on the back of each felt number patch. Press the number on; it stays put for the party. Peel it off and press on the next number the following year. Sew the numbers you need and keep them in a small pouch; one crown then covers every birthday you cut a patch for.
What size should I cut?
| Size | Head circumference | Crown height | Fabric |
|---|---|---|---|
| Baby | 16 to 17 in | 3½ in | 1 fat quarter outer + 1 inner |
| Toddler | 18 to 19 in | 3¾ in | 1 fat quarter outer + 1 inner |
| Kid | 20 to 21 in | 4 in | 1 fat quarter outer + 1 inner |
| Adult | 22 to 23 in | 4¼ in | 1 fat quarter outer + 1 inner |
The elastic at the back stretches to fit heads within each range. If you are between sizes, pick the larger one.
What you need
- Outer fabric: quilting cotton, linen-cotton, or canvas. A bold print or solid works well.
- Lining fabric: a coordinating cotton.
- Fusible fleece: cut on the dashed line of the crown piece, so it sits inside the seam allowance. This gives the crown body so it stands up on its own.
- Elastic: ¾ in wide soft knit elastic. The pattern gives the cut length for each size.
- Loop dots and hook dots: sew-on hook-and-loop circles: 1 in loop dots for the crown and ¾ in hook dots for the back of each number patch.
- Felt scraps: for the number patches. Stiff wool-blend felt cuts clean edges.
How to sew the crown step by step
The pattern in the Sewzy app has the full piece shapes and seam allowances. Here is the overview of each stage.
- Cut the outer and lining pieces from the pattern. Cut the fusible fleece on the dashed line.
- Place the loop dots on the right side of the outer piece where the number will sit. Sew around each dot to secure it permanently.
- Fuse the fleece to the wrong side of the outer piece with an iron. Follow the fleece instructions for heat and time.
- Pin outer and lining right sides together. Sew along the pointed top edge.
- Trim and clip the seam allowance at each point. Clip into the valleys between the points, close to the stitching but not through it.
- Turn right side out and press. Use a point turner or chopstick to push each point out crisply.
- Fold the bottom edge in and tuck the elastic ends inside at the back opening.
- Topstitch all the way around the bottom edge, catching the elastic securely at each end. The topstitching closes the opening and finishes the crown.
- Cut the number patches from felt using the templates. Stick or sew a hook dot on the back of each patch.
- Press the number onto the crown. It sticks to the loop dots and is ready for the party.
Tips for clean crown points
- Take two or three stitches across each point instead of stitching into a sharp corner. This gives the point room to turn.
- Trim the seam allowance at the point to about ⅛ in. Less bulk means a sharper point when you turn it.
- Clip the valleys between points almost to the stitching. Without clips, the fabric pulls and the points will not stand up straight.
- Press from the lining side so you do not scorch the outer fabric.
Common mistakes
- Skipping the fusible fleece. Without it, the crown flops over. The fleece is what makes it stand up.
- Elastic too tight. Try the elastic around the head before sewing it in. It should be snug but comfortable, not squeezing.
- Hot-gluing the loop dots. Hot glue melts and peels off after a few washes. Sew the dots down for a crown that lasts.
More birthday and dress-up projects
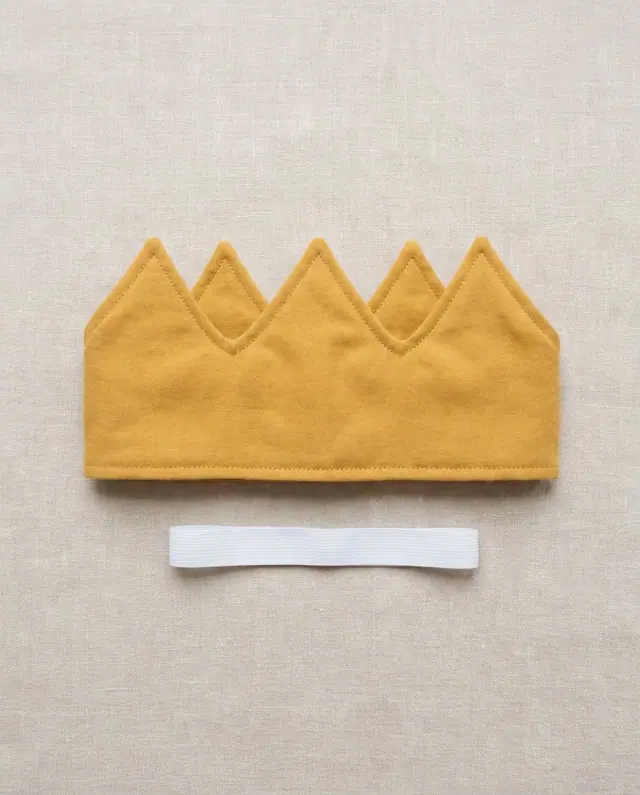
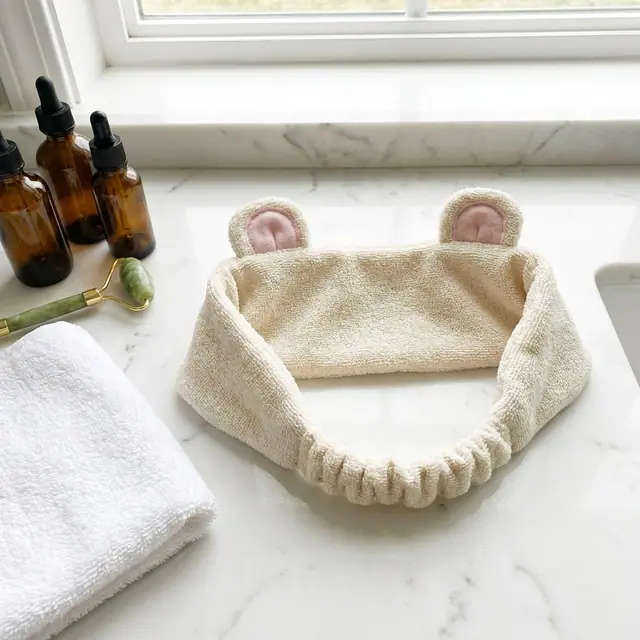
If you want a plain zigzag-edge crown without number patches, the Fabric Crown pattern has Baby, Toddler and Child sizes. For a full costume, try the superhero cape or the Animal Ears Headband (cat, bear and bunny ears in Child, Adult and Adult Large sizes). More ideas for handmade gifts at gifts to sew for kids.
 10 gifts to sew for teachers (desk to classroom)6 min read
 How to topstitch: a beginner's guide to straight lines6 min read
 How to sew with minky without the mess (beginner guide)7 min read