Sewzy
Most hand embroidery is built from about ten stitches. Learn running stitch, backstitch, split stitch and stem stitch for lines, satin stitch and seed stitch for filling shapes, French knots and lazy daisies for dots and petals, and chain stitch and blanket stitch for bold lines and edges. With those ten you can stitch names, flowers, plushie faces and almost any beginner design.
TL;DR
- Lines: running stitch (dashed), backstitch (solid), split stitch (smooth and a little raised) and stem stitch (a rope-like line for curves).
- Fills: satin stitch for small solid shapes, seed stitch for a light, speckled texture.
- Details: French knots for dots and eyes, lazy daisy for petals and leaves.
- Bold lines and edges: chain stitch for thick outlines and lettering, blanket stitch for edges and felt.
- Start with 2 or 3 strands of six-strand floss, in a 6 inch hoop, on plain cotton or linen.
Before you start: thread, hoop and a practice scrap
Put a piece of plain woven cotton or linen in a hoop and tighten it until the fabric is firm, like a drum. Cut a piece of six-strand embroidery floss about 18 inches long, roughly from your fingertips to your elbow, and separate 2 or 3 strands from it. Longer pieces tangle and wear thin as they pass through the fabric again and again.
Draw a few straight lines, a curve, a circle and a small leaf on the scrap, then work each stitch below along them. A practice sampler like this is the quickest way to find which stitch you like for what. If you still need the basic kit, see embroidery supplies for beginners, and for getting a design onto fabric, how to transfer an embroidery pattern.
To start, a small knot in the end of the thread is fine. To finish, turn the hoop over, slide the needle under three or four stitches on the back and trim. On anything that will be washed, weaving the ends in like this holds better than a knot alone.
The 10 stitches at a glance
| Stitch | What it looks like | Use it for |
|---|---|---|
| Running stitch | Dashes with gaps | Simple outlines, borders, quilting-style details |
| Backstitch | A solid, even line | Lettering, outlines, fine details |
| Split stitch | A smooth line, slightly raised | Curves, edges under satin stitch, lettering |
| Stem stitch | A twisted, rope-like line | Stems, vines, flowing curves |
| Satin stitch | A solid, shiny fill | Small shapes: leaves, hearts, eyes |
| Seed stitch | Tiny scattered dashes | Light texture fills |
| French knot | A raised dot | Flower centers, eyes, dotted lines |
| Lazy daisy | A single teardrop loop | Petals and leaves |
| Chain stitch | Linked loops | Bold outlines, script lettering |
| Blanket stitch | A row of L shapes along an edge | Edges, felt appliqué, blanket borders |
Line stitches
Running stitch
Come up through the fabric, go down a short way along the line, then come up again one gap further on. Keep the stitches the same length and the gaps the same length. It is the quickest stitch there is and gives a soft, dashed outline. Slide a second thread under each stitch, without going through the fabric, and it becomes a solid, corded line called whipped running stitch.
Backstitch
Come up one stitch length ahead on the line, then go back down at the end of the previous stitch. Each stitch fills the gap behind it, so you get a solid line. On curves, keep the stitches short, about ⅛ inch, so they follow the shape instead of turning it into corners. Backstitch is the go-to stitch for lettering and for any outline you want to read clearly.
Split stitch
Make one straight stitch, then come up through the middle of it, splitting the strands, and make the next stitch. Use an even number of strands, 2 or 4, so the needle can split them neatly. Split stitch gives a smooth, slightly raised line that bends well around curves, and it is the usual edge to stitch before you fill a shape with satin stitch.
Stem stitch
Work along the line from left to right. Make a stitch, then come up halfway back along it, just beside it, and make the next one. Keep the working thread on the same side of the needle every time, or the twist changes direction. The result looks like a fine rope and is the classic stitch for flower stems and flowing curves.
Filling stitches
Satin stitch
Lay straight stitches side by side across a shape, edge to edge, so no fabric shows between them. Outline the shape in split stitch first and take each satin stitch just over that outline for a crisp, raised edge. Keep the stitches no longer than about ⅜ inch, because longer ones sag and snag. For a bigger shape, divide it into sections or use long and short stitch. Satin stitch is perfect for small leaves, hearts and plushie eyes.
Seed stitch
Scatter tiny straight stitches across a shape, pointing in different directions, like grains of rice. It fills an area with texture without the work of solid stitching, and it hides small wobbles well. Place the stitches closer together for a darker look and further apart for a lighter one.
Detail stitches
French knot
Come up where you want the dot. Hold the thread taut with your other hand, wrap it once or twice around the needle, then put the needle back down very close to where it came up, but not in the same hole, or the knot can pull through. Keep the thread taut while you pull the needle to the back. For a bigger dot, use more strands rather than more wraps. French knots make flower centers, eyes and dotted lines.
Lazy daisy
Also called detached chain stitch. Come up at the base of the petal, go back down in the same spot and leave a loop on top. Come up at the tip of the petal, inside the loop, then go down just outside it to tack the loop in place. Five or six lazy daisies around a French knot make a simple flower.
Bold line and edge stitches
Chain stitch
Start like a lazy daisy, but instead of tacking the loop, come up inside the end of it and make the next loop. Each loop holds the one before. Finish the last loop with a small tack stitch. Chain stitch makes a thick, textured line that suits bold outlines and script lettering on clothes and bags.
Blanket stitch
Work along an edge. Go down a short distance in from the edge, come up at the edge with the thread under the needle, and pull snug so the thread forms an L. Repeat at even spacing. It finishes raw edges, holds felt shapes in place and gives a handmade border to a blanket or a pillow.
Which stitches should you learn first?
Start with backstitch, split stitch and the French knot. Those three are enough for a name, a simple line drawing and a plushie face. Add satin stitch next for small solid shapes, then lazy daisy and stem stitch for flowers. Chain stitch, seed stitch and blanket stitch come easily once you have the others.
Two habits prevent most beginner frustration. Keep the fabric tight in the hoop, and pull each stitch just snug, not tight, because pulling too hard puckers the fabric. If the thread starts to twist and knot, let the needle hang down for a moment so it can spin back.
Where to use your new stitches
Embroidery is easiest on a flat piece of fabric, before it is sewn into anything. That makes your own sewing projects ideal: stitch the design on the cut front piece, then sew it up, and the back of the work is hidden inside.
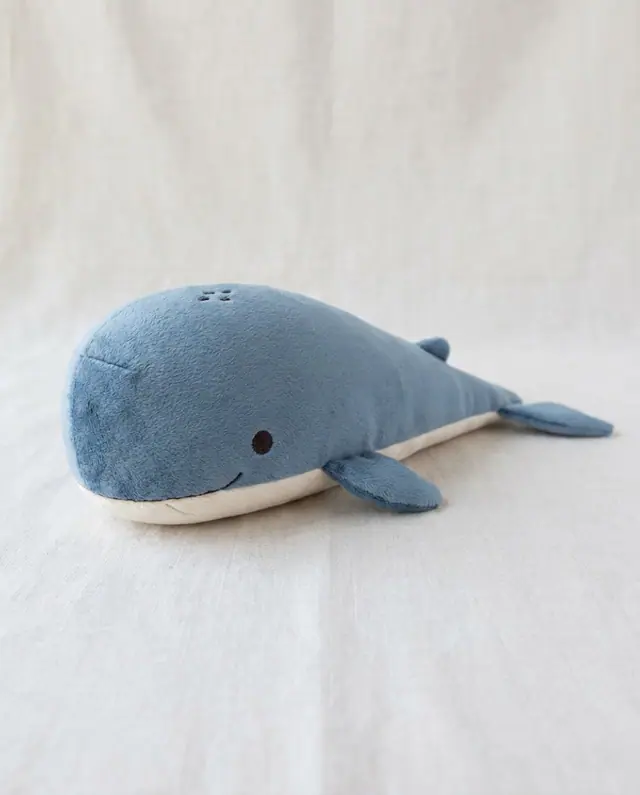
- Plushie faces. Satin stitch eyes, a backstitch smile and French knot cheeks are a safer choice than plastic eyes for babies. The Plush Whale has an embroidered face, and how to sew a plushie covers the rest of the toy.
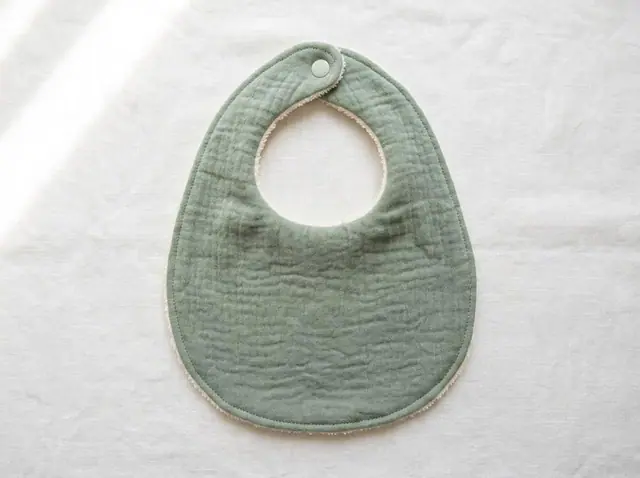
- Names and dates. Backstitch or chain stitch a name on the front of a Baby Bib before you sew it, or a date on a foot pad of a Memory Bear.
- Bags and pillows. A lazy daisy border on a Drawstring Bag, or a satin stitch motif on the front of an Envelope Cushion.
For tees, totes and denim, read how to embroider clothes and bags. The Baby Bib, Drawstring Bag and Envelope Cushion are free in the Sewzy app, along with the other free sewing patterns.
Related guides: how to start and end embroidery thread, how to embroider letters and names by hand, visible mending with embroidery and how to finish the back of an embroidery hoop.
 Winter sewing projects: 14 cozy things to make6 min read
 How to sew fabric Christmas ornaments (4 shapes)6 min read
 Gifts to sew for men: 10 things he will actually use6 min read