Sewzy
To finish the back of an embroidery hoop, re-hoop your finished piece with the design centered and the screw at the top, trim the fabric to about 1 inch past the hoop, sew a running stitch around the edge and pull it tight so the fabric folds in over the inner ring. Then cover the back with a felt circle, either glued on or sewn on with a blanket stitch. It takes 15 to 30 minutes and makes hoop art look finished from both sides, ready to hang or give.
TL;DR
- Center first: put the design straight in the hoop, screw at the top, fabric tight.
- Trim: about 1 inch past the hoop for a 5 to 8 inch hoop, ¾ inch for a small 3 or 4 inch hoop.
- Gather: a running stitch in strong thread around the edge, pulled tight.
- Back: felt glued on (quickest), felt sewn on (no glue, reversible), a card circle, or left open.
- Hang: from the hoop screw with ribbon or twine, or on a small nail.
Four ways to finish the back
| Method | Time | Glue? | Can you take it apart? | Best for |
|---|---|---|---|---|
| Glued felt | About 15 min | Yes | No | Wall art, ornaments, quick gifts |
| Sewn felt (blanket stitch) | About 30 min | No | Yes | Heirloom pieces, baby gifts |
| Card or felt over card | About 20 min | Optional | Yes, if not glued | Large hoops that need a firm back |
| Open back | 5 min | No | Yes | Practice pieces, pieces you may re-hoop |
Before you start
- Rinse out any water-soluble pen or stabilizer and let the fabric dry completely. Both methods are in how to transfer an embroidery pattern to fabric.
- Press face down on a folded towel, so the stitches stay raised.
- Check the back for long loose ends and weave them in. See how to start and end embroidery thread.
Step 1: Re-hoop and center the design
Put the inner ring under the fabric and press the outer ring over it, with the screw at the top, in line with the center of the design. Pull the fabric smooth and tight all round, checking that the design is straight, then tighten the screw firmly. A wooden hoop can be painted or wrapped in ribbon before this step if you want a colored frame.
Step 2: Trim the fabric
Turn the hoop over and trim the fabric to an even margin all round: about 1 inch past the hoop for hoops of 5 to 8 inches, and about ¾ inch for small 3 or 4 inch hoops. Use sharp scissors and keep the blades well away from your stitches.
Step 3: Gather the edges
Thread a needle with strong thread, such as doubled sewing thread or 3 strands of floss. Sew a running stitch about ½ inch in from the cut edge, all the way round. Pull the thread so the fabric gathers in over the back of the inner ring, spread the gathers evenly and knot it firmly. On a large hoop you can also lace the edges across the back, side to side, like a shoe, to pull them flatter.
Step 4: Add the back
Glued felt
Trace the inner ring onto felt and cut the circle just inside the line, so it does not show from the front. Spread craft or fabric glue around the back of the inner ring, over the gathered edge, press the felt circle on and leave it to dry flat. If any felt shows past the hoop, trim it.
Sewn felt
Cut the felt circle the same way. Pin it over the gathered fabric and sew it to the gathered edge with a blanket stitch or a small whipstitch all round. No glue touches the embroidery, so you can take it apart later.
Card back
Cut a circle of card the size of the inner ring and slip it in behind the gathered fabric before you cover it with felt, or use it on its own. It keeps a large hoop flat and firm and stops the fabric sagging over time.
Open back
Simply trim and gather, and leave it. It looks tidy enough for a practice piece, and you can re-hoop the fabric any time.
Felt circle sizes
| Hoop | Trim fabric to | Felt circle |
|---|---|---|
| 3 in | ¾ in past the hoop | Just inside 3 in |
| 4 in | ¾ in past the hoop | Just inside 4 in |
| 5 to 6 in | 1 in past the hoop | Just inside 5 to 6 in |
| 7 to 8 in | 1 in past the hoop | Just inside 7 to 8 in, card behind it |
The easy rule: trace the inner ring and cut a hair inside the line.
Hanging and gifting
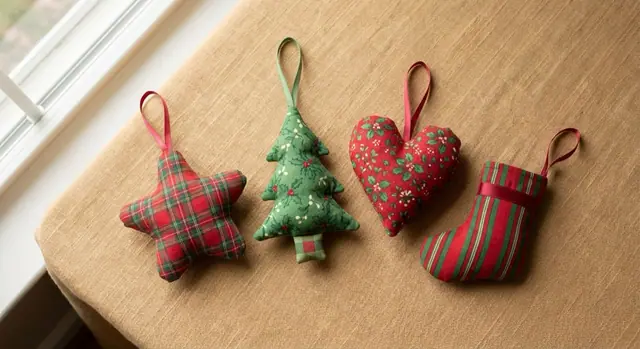
Tie a loop of ribbon or twine through the hoop screw, or hang the hoop on a small nail by the screw. A note on the felt back, with a name and the date, turns it into a keepsake. Small hoops make lovely tree decorations; see embroidery hoop Christmas ornaments for designs and sizes.
When a hoop is not the right frame
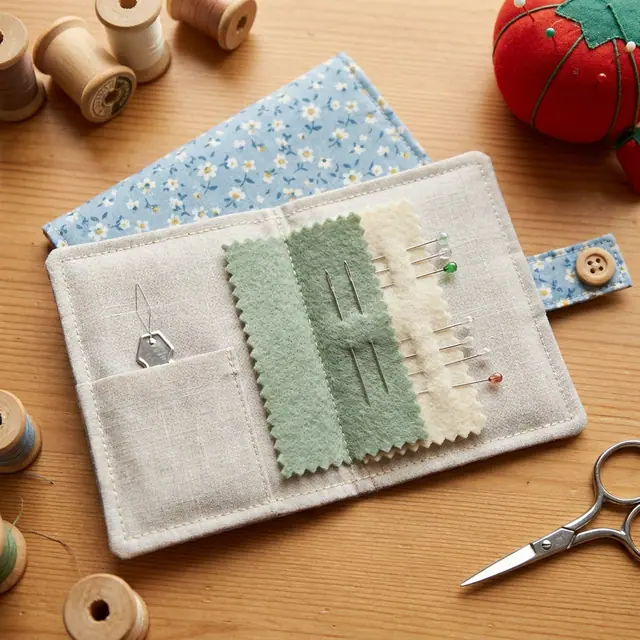
Some embroidery is better sewn into something you use. A stitched panel can become the front of an Envelope Cushion, the cover of a Needle Book or the outside of a Zipper Pouch. Embroider the fabric first, then cut and sew the piece. The Sewzy app has step-by-step photos for each pattern, so you can see where your stitched panel will end up. Our needle book guide shows one.
 Winter sewing projects: 14 cozy things to make6 min read
 Gifts to sew for men: 10 things he will actually use6 min read
 How to sew a baby bib (free pattern)5 min read