Sewzy
The simplest way to start embroidery thread is a small knot at the end of the floss, pulled up from the back of the fabric. To finish, take the needle to the back and weave the thread under three or four stitches, then trim it. For a smoother back, start with a waste knot on the front that you snip off later, or with the loop start when you stitch with 2 strands. All three methods hold well if the tail is caught under your stitches.
TL;DR
- Small knot: easiest. Fine for hoop art and pieces that will not be washed often.
- Waste knot: a knot on the front, away from the design. Stitch over the tail on the back, then snip the knot off. No lumps.
- Loop start: for an even number of strands, usually 2. Fold one long strand in half and catch the loop on the back. No knot and no tail.
- Ending: weave the thread under 3 or 4 stitches on the back, then trim it close.
- Thread length: about 18 inches. Longer threads tangle and wear thin.
Which way to start: a quick comparison
| Method | Strands | Back looks | Best for |
|---|---|---|---|
| Small knot | Any | Small bumps | First projects, hoop art |
| Waste knot | Any | Flat and neat | Clothes, pillows, anything that lies flat or gets washed |
| Loop start | 2 (or 4) | Flat, no tail | Lettering and outlines in 2 strands |
| Anchor stitches | Any | Flat | Fills like satin stitch, where stitches will cover the start |
How to start with a small knot
- Cut about 18 inches of floss and separate the strands you need.
- Tie a small knot at one end: wrap the thread once or twice around your fingertip, roll it off and pull it tight.
- Bring the needle up from the back of the fabric, near the start of the design line. The knot stays on the back.
Keep the knot small. A big knot can pop through loose fabric, and on a pillow or a tee it shows as a bump from the front. If the knot slips through, tie a second knot on top of the first.
How to start with a waste knot
- Tie a knot in the end of the floss.
- Push the needle down from the front, about 2 inches from where you will stitch, in the direction you are about to stitch. The knot sits on top of the fabric.
- Bring the needle up at the start of the design and stitch toward the knot. On the back, your stitches cover and catch the thread running to the knot.
- When you reach it, pull the knot up gently and snip it off close to the fabric. The tail is now held under your stitches.
A variation is the away knot: put the knot a little further away, outside your stitching, then snip it at the end and weave the loose tail under the stitches on the back.
How to start with the loop start (2 strands)
- Pull out one strand of floss about 36 inches long and fold it in half. The two cut ends go through the needle together, and the fold makes a loop at the other end.
- Bring the needle up from the back at the start of the line, leaving the loop hanging on the back.
- Take your first stitch down to the back, then pass the needle through the loop and pull gently. The thread is locked, with no knot at all.
The loop start only works with an even number of strands, because you fold one strand to make two. It is the neatest start for names and outlines in 2 strands.
How to end embroidery thread
- When about 4 inches of thread are left, take the needle to the back of the fabric.
- Slide the needle under 3 or 4 stitches on the back, without going through the fabric.
- For extra hold, turn and weave back the other way under the next stitches, or make one small loop around a stitch and pull it snug.
- Trim the thread close, leaving a tail of about ⅛ inch.
Weave under stitches of the same color when you can. A dark tail under light fabric can show through from the front.
Starting a new thread in the middle of a line
Finish the old thread on the back as above. Start the new one with a small knot or by weaving it under a few stitches on the back, then come up exactly where the last stitch ended. For backstitch, come up one stitch length ahead and stitch back into the last hole, so the line looks unbroken. Stitch types are in embroidery stitches for beginners.
Knots or no knots on things you wash
For anything that will be washed, such as a tee, a bib or a pillow cover, weave in the ends well rather than relying on a knot alone. Knots can loosen and work through the fabric over many washes. A waste knot or loop start plus woven ends keeps the back flat and the stitches secure. For more on embroidering things you wear, see how to embroider clothes and bags.
Common thread problems
| Problem | Fix |
|---|---|
| Floss tangles and knots itself | Use shorter lengths, about 18 inches, and let the needle hang to untwist every few stitches |
| Knot pulls through the fabric | Tie a double knot, or switch to a waste knot |
| Thread shows through on the front | Do not carry thread more than about 1 inch across the back; end and restart instead |
| Ends come loose after washing | Weave each end under more stitches, in two directions |
| Strands look uneven | Pull strands out one at a time, then lay them back together |
Put it into practice
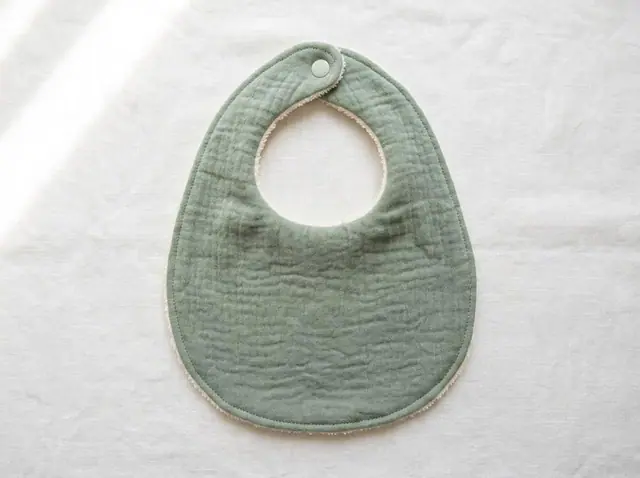
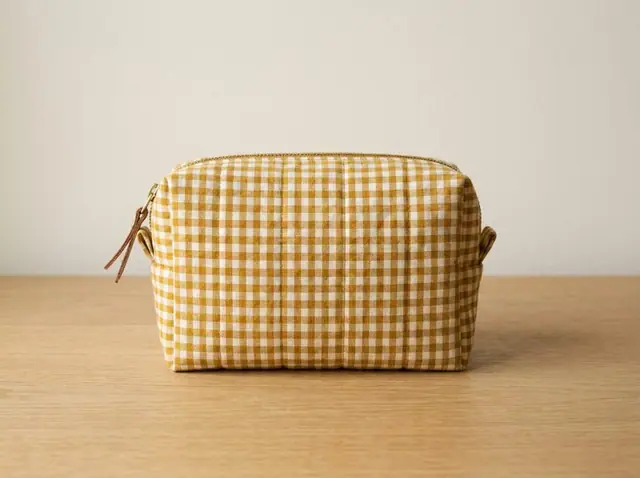
Try all three starts on a scrap, then stitch something small that you will use. A name on a Baby Bib or initials on a Zipper Pouch is a good first piece, and both patterns are free in the Sewzy app. For names, see how to embroider letters and names, and for the tools, embroidery supplies for beginners.
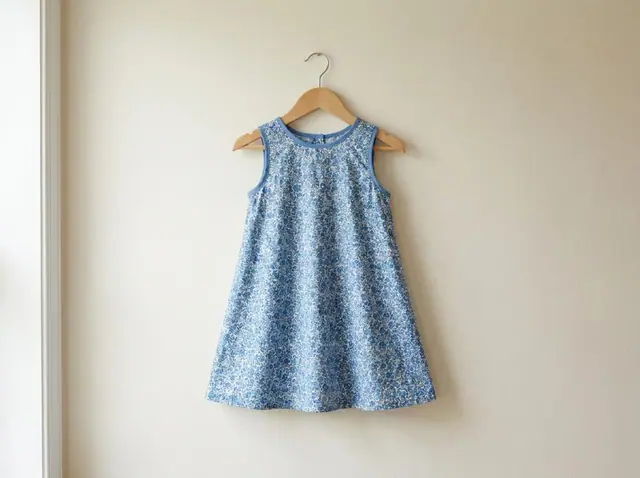
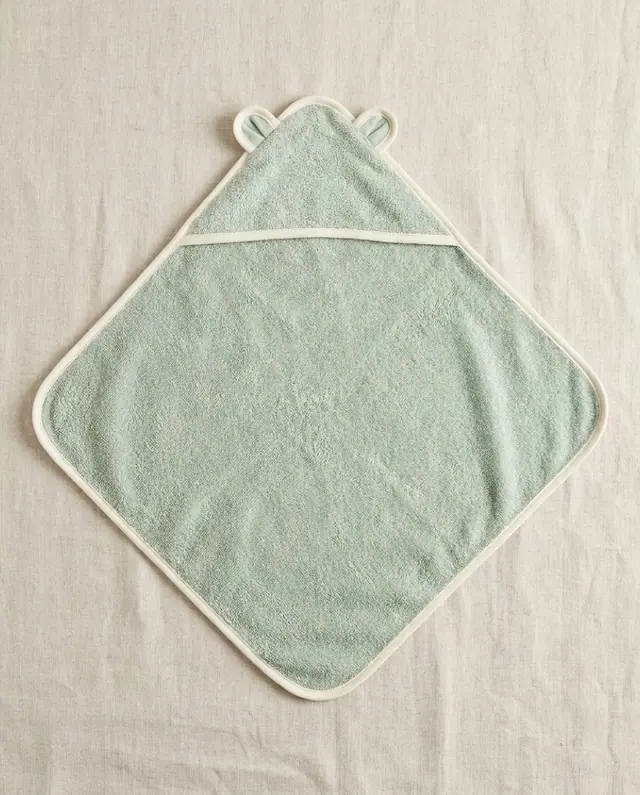
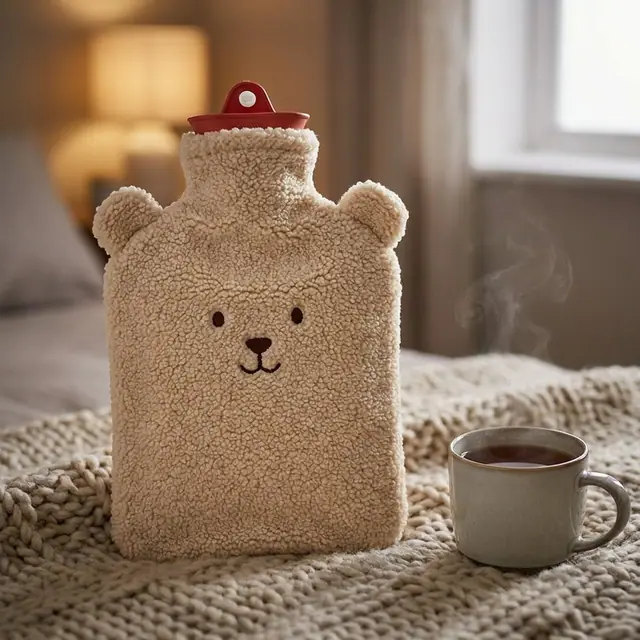 Winter sewing projects: 14 cozy things to make6 min read
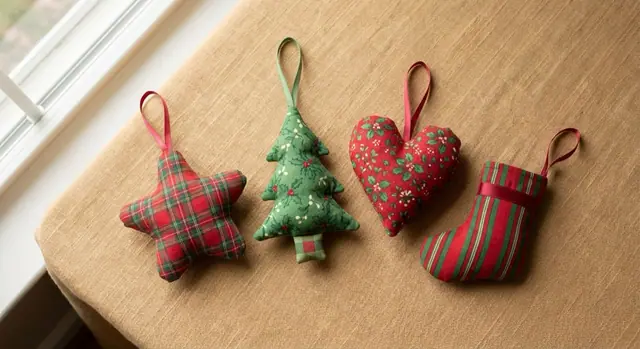 How to sew fabric Christmas ornaments (4 shapes)6 min read
 Gifts to sew for men: 10 things he will actually use6 min read