Sewzy
To embroider clothes by hand, prewash the garment, iron a soft fusible stabilizer to the back of the area, put the design on with sticky water-soluble stabilizer, hoop the fabric smooth but not stretched, and stitch with 2 or 3 strands of floss in backstitch, split stitch or chain stitch. Weave the thread ends in, rinse away the stabilizer, and wash the piece inside out on cold. A canvas tote bag is the easiest place to start, and a stretchy knit tee needs the most support.
TL;DR
- Easiest to hardest: canvas tote, woven shirt, denim, knit tee or sweatshirt.
- Knits need a soft fusible stabilizer on the back, or the stitching puckers.
- Use sticky water-soluble stabilizer on the front to carry the design on dark or stretchy fabric.
- Choose short, secure stitches: backstitch, split, stem, chain, small satin shapes and French knots.
- Wash inside out, cold and gentle, and skip the hot dryer.
- Sewing the bag or top yourself lets you embroider the flat piece first and hide the back inside.
What can you embroider, and how hard is it?
| Item | Difficulty | On the back | Main tip |
|---|---|---|---|
| Canvas tote bag | Easiest | Usually nothing | Embroider the front panel before you sew the bag |
| Woven shirt or linen top | Easy | Light fusible on thin fabric | Keep clear of buttons, darts and seams |
| Denim jacket or jeans | Medium | Light fusible on stretch denim | Sharp, sturdy needle and a thimble |
| Knit tee or sweatshirt | Hardest | Soft fusible stabilizer | Hoop it smooth, never stretched |
How to embroider a T-shirt, step by step
- Prewash and dry the tee so it shrinks before you stitch, not after.
- Choose the spot. Try the tee on and mark the center of the design with a pin. Small designs on the chest, near the hem or on a sleeve are the easiest.
- Stabilize the back. Turn the tee inside out and iron a piece of soft fusible stabilizer or lightweight fusible interfacing behind the design area, a little bigger than the design. It stops the knit stretching under your stitches.
- Transfer the design. Print or trace it onto sticky water-soluble stabilizer and smooth it onto the front. The other options are in how to transfer an embroidery pattern to fabric.
- Hoop one layer only. Slip the inner ring inside the shirt so you do not stitch the front to the back. Tighten until the fabric is smooth, but do not pull it drum-tight: a stretched knit springs back and puckers when the hoop comes off.
- Stitch with 2 or 3 strands. Pull each stitch just snug and keep the stitches short.
- Secure the ends by weaving them under stitches on the back. Do not carry the thread more than about an inch across the back; end it and start again, or it shows through and catches.
- Finish. Trim the front stabilizer close and soak the rest away. Trim the back stabilizer to a small margin around the design, or iron a second soft piece over the back so the stitches do not scratch.
- Press from the back on a folded towel so the stitches stay raised.
How to embroider a tote bag
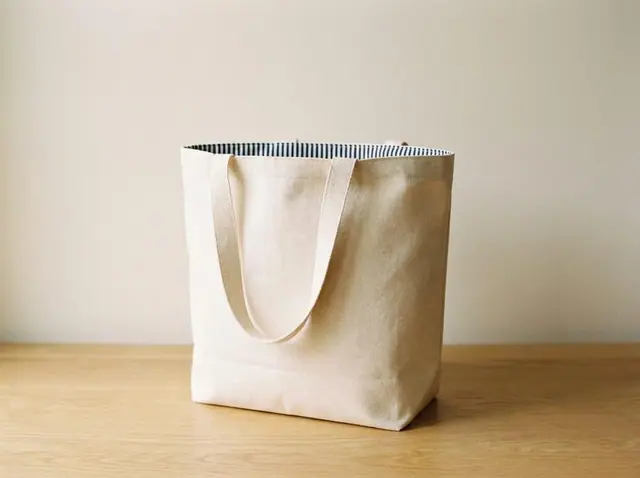
Canvas is firm and tightly woven, which makes it the friendliest fabric for a first piece of embroidery on something you will actually use. It holds its shape in the hoop and does not pucker easily.
If you sew the tote yourself, embroider the outer front piece before you put the bag together. It is flat, easy to hoop, and the lining hides the back of the stitches. Keep the design away from the bottom of the panel, where the boxed corners take up fabric, and away from where the straps are stitched. The free Boxed Tote Bag has an outer and a lining, so it works well this way, and how to sew a tote bag with boxed corners walks through the sewing. For a tote with inside pockets, see how to sew a lined tote bag.
On a ready-made tote, stitch through the front layer only, with one hand inside the bag. Heavy canvas can be hard to pull a needle through, so use a sharp, sturdy needle and a rubber grip or a thimble. Chain stitch and backstitch with 3 or more strands show up well on canvas.
How to embroider denim
Denim is thick and tightly woven. Use a sharp, sturdy needle with a large eye, such as a low-numbered embroidery needle or a chenille needle, and wear a thimble. Three to six strands give lines bold enough to stand out against the twill. Flat areas like a jacket back, a back pocket or a collar are the easiest. Avoid stitching through thick flat-felled seams.
Stretch denim behaves more like a knit, so add a light fusible stabilizer behind the design. Rigid denim is often firm enough to stitch without a hoop. Blue water-soluble pens barely show on dark denim, so use sticky stabilizer or white carbon paper for the design.
Which stitches hold up on clothes?
Clothes and bags get rubbed, stretched and washed, so pick compact stitches that lie close to the fabric:
- Good choices: backstitch, split stitch, stem stitch, chain stitch, French knots wrapped once or twice, and satin stitch in small shapes.
- Use with care: long satin stitches (keep them under about ⅜ inch), loose lazy daisy loops on areas that rub, and long threads carried across the back.
How to work each one is in embroidery stitches for beginners.
How to wash embroidered clothes
- Before the first wash, rinse out any water-soluble stabilizer and pen marks in cold water.
- Strong colors, especially reds, can bleed. After rinsing, press a damp white cloth on the stitching; if color transfers, rinse again in cold water until it runs clear.
- Turn the piece inside out and wash on cold and gentle, or by hand. A mesh laundry bag protects the stitches.
- Air-dry flat, or tumble on low heat. High heat can shrink the fabric around the stitches.
- Press from the back on a folded towel.
Sew it, then stitch it
Making the item yourself is the easiest way to get a flat, stable piece to embroider and a clean inside. A few patterns that work well:
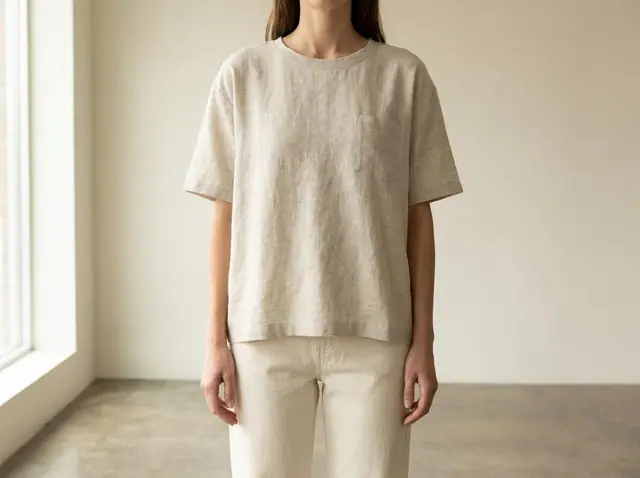
- Boxy Tee. It is sewn from woven fabric like linen or chambray, so it needs far less stabilizing than a knit tee. Embroider the front before you join the shoulders. See how to sew a boxy tee.
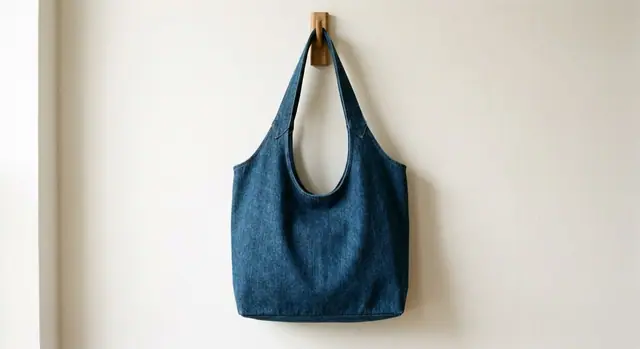
- Boxed Tote Bag. Stitch the outer front panel first; the lining covers the back.
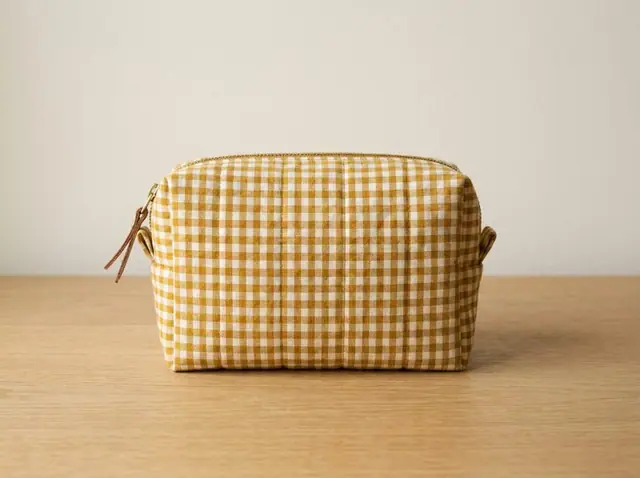
- Zipper Pouch. Initials or a small flower on the outer front, stitched before the zipper goes in. The interfacing the pattern suggests for light fabrics also supports the embroidery. See how to sew a zipper pouch.
All three are free in the Sewzy app, and more ideas are in the bag sewing patterns and clothing patterns. For the basic kit, see embroidery supplies for beginners.
Related guides: how to embroider a Christmas sweatshirt by hand and visible mending with embroidery.
 Winter sewing projects: 14 cozy things to make6 min read
 How to sew fabric Christmas ornaments (4 shapes)6 min read
 Gifts to sew for men: 10 things he will actually use6 min read
 How to sew a baby bib (free pattern)5 min read