Sewzy
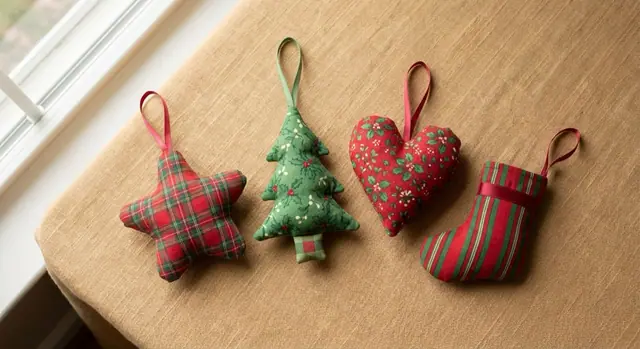
To sew a fabric Christmas ornament, cut two matching pieces of a shape, place a hanging loop inside, and sew around the edge with a small gap left open. Clip the corners, trim, turn it right side out, stuff it, and close the gap by hand. The Sewzy Christmas Ornaments pattern makes star, tree, heart and stocking shapes in two sizes, in about 30 minutes, as listed in the app.
TL;DR
- Time: about 30 minutes in the app. Level: beginner.
- Shapes: star, tree, heart and stocking.
- Sizes: Mini (3 in) and Classic (4½ in).
- Fabric: 1 fat eighth for the whole Mini set, or 1 fat quarter for the whole Classic set.
- Options: a ribbon cuff on the stocking, and a stitched name or year.
- The pattern is Premium in the Sewzy app, and you can print it as a letter-size PDF.
What do you need to sew fabric ornaments?
- Woven fabric, such as quilting cotton in Christmas prints or solid colors.
- Ribbon or a fabric strip for the hanging loops, plus ribbon for the optional stocking cuff.
- Polyester fiberfill or another soft stuffing.
- Thread to match, a hand needle, small sharp scissors and a chopstick or turning tool.
- A fabric pen for marking the gap, clip ticks and loop position.
Which size should I make?
| Size | Finished size | Fabric for the whole set | Best for |
|---|---|---|---|
| Mini | 3 in | 1 fat eighth | Small trees, gift toppers, advent fillers |
| Classic | 4½ in | 1 fat quarter | Full-size trees, names and years, gifts |
Mini shapes are fiddlier to turn. If this is your first stuffed project, start with a Classic heart or tree.
How do you sew a fabric ornament, step by step?
- Print and cut the paper shapes. Cut the four paper shapes in your size.
- Cut the fabric. Cut two matching pieces of each shape. If the print has a direction, check that it runs the right way up on both pieces.
- Mark. Mark the gap, the clip ticks and the loop position on the wrong side.
- Add a ribbon cuff, if you like. This option goes on the stocking. Sew a ribbon band across each stocking piece.
- Add a name or year, if you like. Do it now, while the piece is flat. Use stitching only, with no beads. See how to embroider letters and names for easy stitches.
- Place the hanging loop. Fold the ribbon into a loop and lay it inside the shape, with the loop pointing toward the middle and the ends at the edge. Baste it so it stays put.
- Sew around the shape. Place the pieces right sides together and sew around the edge, leaving the marked gap open. Backstitch at both ends of the gap.
- Clip the corners. Make small snips at every inside corner, close to the stitching but not through it. This matters most on the star and the top of the heart.
- Trim. Trim the seam to a slim, even edge, especially at the points.
- Turn. Turn the ornament right side out through the gap. Ease the tips out gently with a chopstick. Do not poke hard, or you will go through the seam.
- Stuff. Add small pieces of stuffing, tips first, until the shape is plump with a smooth outline.
- Close the gap. Fold in the raw edges and close the gap with a ladder stitch. Bury the knot inside the ornament so it is hidden.
Which ornament shape is easiest?
| Shape | Trickiest part | Tip |
|---|---|---|
| Heart | The inside corner at the top | Clip close to the stitching, then turn slowly |
| Tree | The small tips | Stuff the tips first with tiny pieces |
| Stocking | The curve at the heel and toe | Sew slowly and trim the seam evenly |
| Star | All the points and inside corners | Shorten your stitch at the points and clip every corner |
Most people find the heart easiest and the star hardest, so make the star once you have tried one of the others.
How do you make a batch of ornaments faster?
Work in stages instead of finishing one at a time. Cut every shape first, then sew them all, then clip, trim and turn them all. Stuff and close them last, by hand, in front of a movie. Batching saves a lot of time when you are making a handful of gifts.
If you plan to sell them, see Christmas sewing projects to sell. If you are sewing with children, the Christmas projects for kids guide covers ornaments sewn by hand.
Common mistakes when sewing ornaments
- Forgetting the loop. It must be inside the shape before you sew. Adding it after turning never looks as neat.
- Catching the loop in the seam. Keep the folded part of the loop clear of the stitching line, so only the ends are sewn in.
- Not clipping inside corners. The fabric will pull and pucker after turning.
- Big clumps of stuffing. Large pieces make lumps. Tear off small bits and push them in one at a time.
- A gap on a curve or point. Keep the gap where the pattern marks it, on a straight or gentle edge, so it closes neatly.
What else can I make with the leftover fabric?
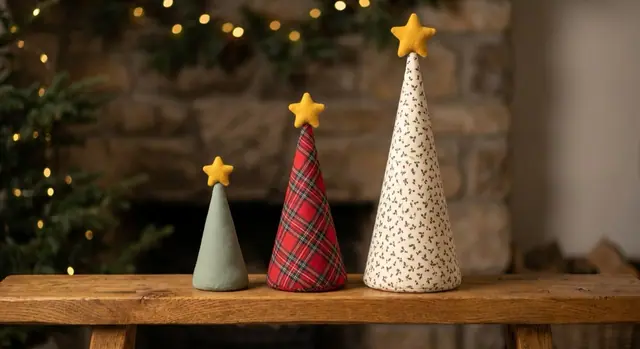
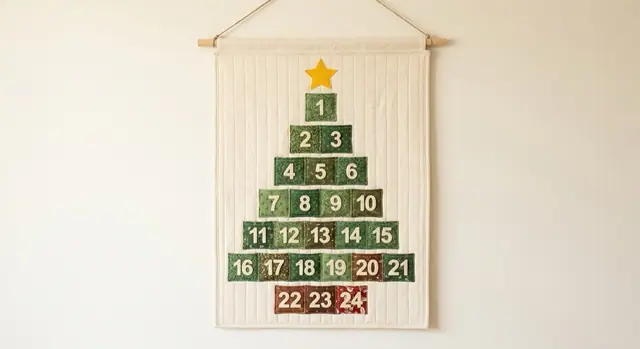
Use the leftover fabric to make matching pieces. Try Cone Christmas Trees in the same prints with the cone tree guide, a Quilted Bow for the top of a gift, an Advent Calendar for the countdown to Christmas, or embroidery hoop ornaments for a different look.
For more ideas, see 60 Christmas sewing projects or the Christmas sewing patterns collection.

 Winter sewing projects: 14 cozy things to make6 min read
 Gifts to sew for men: 10 things he will actually use6 min read
 How to sew a baby bib (free pattern)5 min read
 How to sew a scrub cap (tie-back, 4 sizes)6 min read