Sewzy
To embroider a name by hand, print or write the letters at the size you want, transfer them onto the fabric, put the fabric in a hoop and stitch along the lines with backstitch or split stitch in 2 strands of floss. Keep the stitches short, about ⅛ inch, and even shorter on curves. A simple, rounded font about 1 to 1½ inches tall is the easiest place to start, and a short name takes about 20 to 40 minutes.
TL;DR
- Font: a simple print or rounded script with no thin hairlines. Make the letters at least 1 inch tall for your first names.
- Transfer: a water-soluble pen on light fabric, sticky water-soluble stabilizer on dark fabric, towels and knits.
- Floss: 2 strands for most names, 1 for tiny letters, 3 for bold block letters.
- Stitch: backstitch for clean lines, split stitch for smooth curves, chain stitch for chunky script, satin stitch to fill block letters.
- Curves: shorten the stitch on every curve. Short stitches are the whole trick to round letters.
Which stitch is best for letters?
Backstitch and split stitch cover most lettering. Pick the stitch by the look you want and the size of the letters:
| Stitch | Looks like | Best for | Strands |
|---|---|---|---|
| Backstitch | A clean, slightly dotted line | Print letters, small names, first projects | 1 or 2 |
| Split stitch | A smooth line, like a rope | Cursive and curvy letters | 2 |
| Stem stitch | A twisted, rounded line | Flowing script on larger names | 2 or 3 |
| Chain stitch | A bold line of small loops | Chunky script on sweatshirts, totes, stockings | 2 or 3 |
| Satin stitch | A solid, shiny fill | Block letters and monogram initials | 2 or 3 |
If you have not tried these stitches yet, practice each one on a scrap first. They are all explained in embroidery stitches for beginners.
How to choose a font for embroidery
The easiest fonts to stitch are simple ones: a plain print or a rounded, joined-up script with lines that stay the same thickness. Avoid fonts with very thin hairlines, tiny serifs or letters that nearly touch, because the floss fills those gaps and the word turns into a blur. You can type the name in a word processor, try two or three fonts, and print the one you like at the size you need.
Size matters more than style. Letters about 1 to 1½ inches tall are comfortable for a beginner. Under ½ inch, use 1 strand and very short stitches, or the loops and holes in letters like a, e and o close up. Also leave space between letters: a little more than you think, because stitched lines are thicker than printed ones.
What you need
- An embroidery hoop a little bigger than the name, often 4 to 6 inches.
- Embroidery (crewel) needles, size 7 or 8 for 2 strands of floss.
- Six-strand cotton embroidery floss.
- A woven fabric, or the item you want to personalize.
- A water-soluble pen, a light pencil, or sticky water-soluble stabilizer.
- Small sharp scissors.
The full kit with needle sizes is in embroidery supplies for beginners.
How to embroider a name, step by step
- Print the name. Print it at the finished size and check it against the item. A name on a stocking cuff or a hat brim has to fit between the seams with a little space on each side.
- Find the center. Fold the paper in half to find the middle of the name, then fold the fabric to find the middle of the space. Match the two, so the name sits straight and centered.
- Transfer the letters. On light fabric, trace with a water-soluble pen over a window or a light box. On dark fabric, towels and knits, print or trace onto sticky water-soluble stabilizer and stick it on. Both methods are in how to transfer an embroidery pattern to fabric.
- Hoop the fabric. Pull it smooth and firm, like a drum, without stretching the letters out of shape.
- Start the thread. Cut about 18 inches of floss and separate 2 strands. Start with a small knot on the back, or with a waste knot on the front a little away from the letters, which you snip off later.
- Stitch one letter at a time. Follow the order you would write it in. Make straight parts with stitches about ⅛ inch long and curves with stitches about half that.
- Jump between letters on the back carefully. On light fabric, end the thread after each letter, or after each word, rather than carrying a long thread across the back. Long carried threads show through and can catch.
- Finish and clean up. Weave the tail under a few stitches on the back and trim. Rinse out the pen or stabilizer in cool water, then press face down on a towel so the stitches stay raised.
How to stitch smooth curves
Round letters look bumpy when the stitches are too long, because a straight stitch cannot bend. Make the stitches shorter as the curve gets tighter: the bowl of an a, the top of an S or the loop of a cursive l might need stitches only 1/16 inch long. Split stitch and stem stitch follow curves better than backstitch, so switch to one of them for cursive names. For stem stitch, keep the working thread on the outside of the curve.
Script names vs block letters
A joined-up script name can be stitched as one continuous line, which is quick and looks neat. Go over the joins slowly and add a tiny extra stitch where two letters meet, so there is no gap. Block letters look strong in satin stitch: outline each letter first in split stitch, then work the satin stitches over the outline at a slight angle. The outline gives the fill a crisp edge. Keep satin-stitched letters under about 1 inch wide, or the long stitches will snag.
Where to put a name: gift ideas
Names turn a quick sew into a personal gift. Embroider before you sew the item together whenever you can, because a flat piece is much easier to hoop.
- Christmas stockings: stitch the name on the cuff piece before assembly. See how to sew a Christmas stocking.
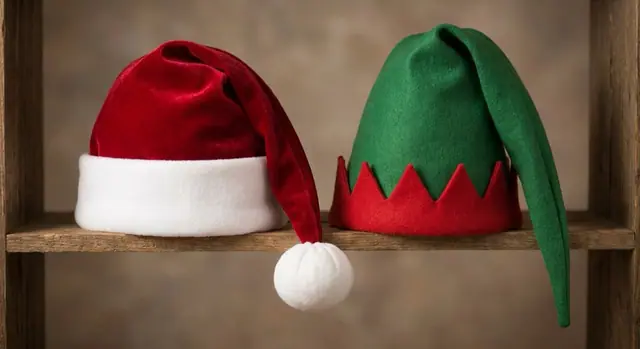
- Santa and elf hats: put the name on the brim band of the Santa and Elf Hats before you join it.
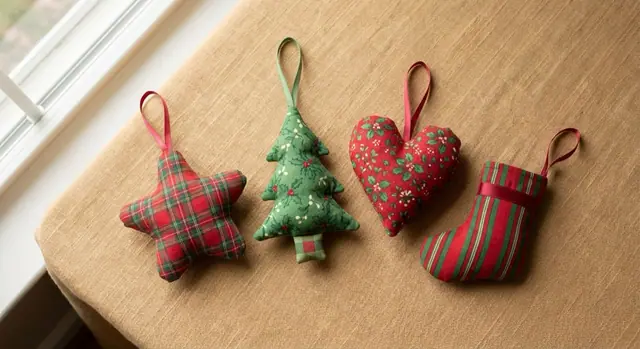
- Ornaments: the Christmas Ornaments pattern has a step for adding a name or year in stitching. For hoop ornaments, see embroidery hoop Christmas ornaments.
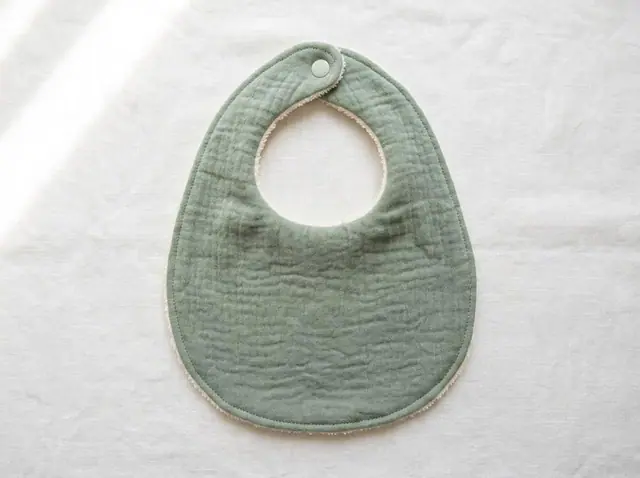
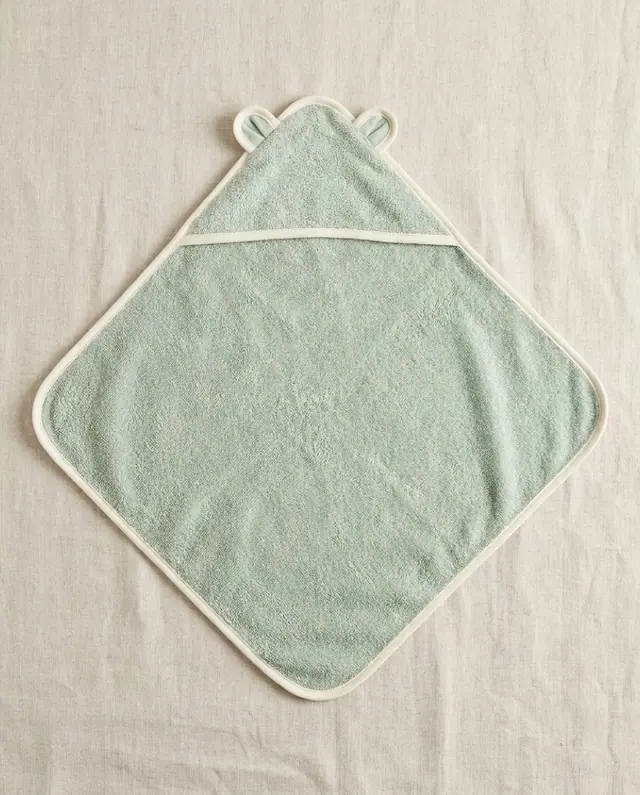
- Baby gifts: a name on a Baby Bib or a Hooded Towel.
- Bags and pouches: initials on a Zipper Pouch or a name on a Boxed Tote Bag.
For tees, sweatshirts and denim, which stretch or are thick, read how to embroider clothes and bags.
Common problems and fixes
| Problem | Why | Fix |
|---|---|---|
| Letters look bumpy | Stitches too long on curves | Halve the stitch length on every curve, or switch to split stitch |
| Holes in a, e, o fill in | Letters too small for the floss | Use 1 strand, or print the name bigger |
| Fabric puckers around the name | Stitches pulled too tight, or fabric loose in the hoop | Tighten the hoop and let each stitch lie flat without tugging |
| Thread shows through on the front | Long threads carried on the back | End and restart between letters on light fabric |
| Name sits crooked | Not centered before transfer | Fold to find both centers, and draw a light baseline first |
Plan the whole gift
If the name is going on something you sew yourself, cut the pattern piece first, embroider it flat, then sew it up. The Sewzy app shows each pattern step by step, so you can see where the stitched piece goes before you start, and pick a size for every person on your list. More gift ideas are in handmade Christmas gifts to sew.
Related guides: how to Embroider a Christmas Sweatshirt by Hand.
 Winter sewing projects: 14 cozy things to make6 min read
 Gifts to sew for men: 10 things he will actually use6 min read