Sewzy
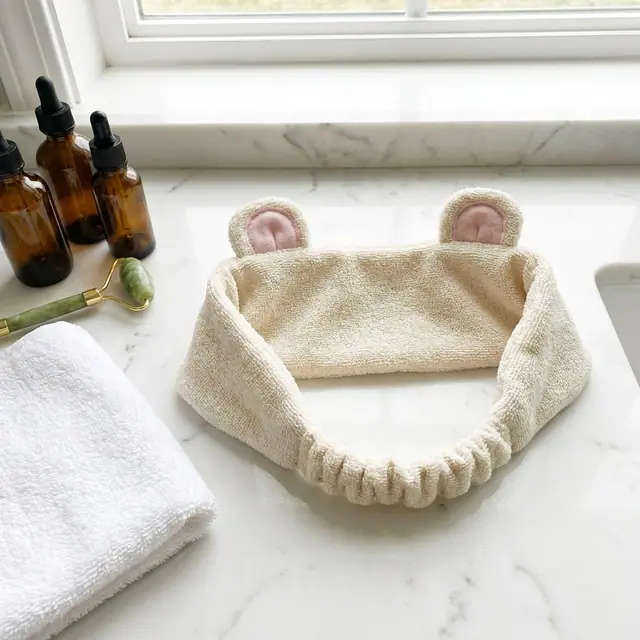
To sew an animal ears headband, make a fabric band with a lining, sew pairs of ears and catch them in the top seam, then add a stretchy elastic casing at the back. The Animal Ears Headband pattern in the Sewzy app is a beginner project of about 45 minutes with bear, cat and bunny ears, in child and adult sizes. It works as a spa headband, a costume piece or a gift.
TL;DR
- Pattern: Animal Ears Headband, a Premium pattern in the Sewzy app. Beginner, about 45 minutes, ¼ in seam allowance included.
- Three ear styles: bear, cat and bunny.
- Three sizes: Child (head 20 in), Adult (head 22 in) and Adult Large (head 23½ in).
- Fabric: one fat quarter of terry, fleece, minky or velour makes 1 to 2 headbands.
- Key skills: turning a tube, sewing in ears, threading elastic.
Sew the Animal Ears Headband from this guide, step by step, in the Sewzy app
Pick your size, print it from your phone, and follow every step with a sewing coach beside you.


What is an animal ears headband used for?
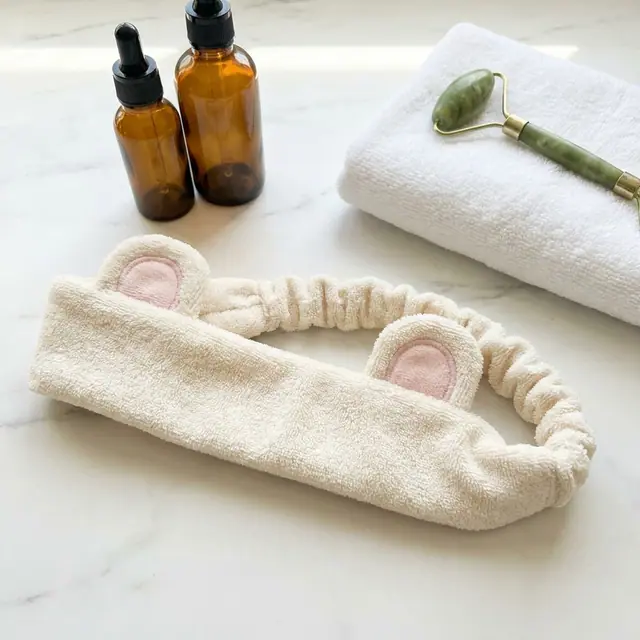
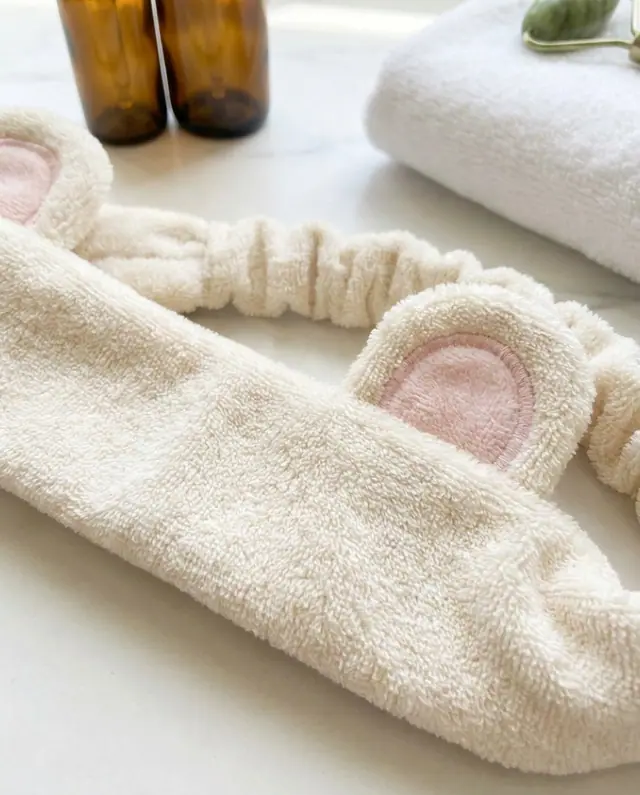
The same headband does three jobs. In terrycloth it is a spa headband that keeps hair back during a facial or skincare routine. In fleece or velour with bunny or cat ears it is an easy costume piece for parties and dress-up. And a matching set makes a cheerful gift. The pattern lists spa days, costume and gifts as its best uses. For more costume ideas, see the costume sewing patterns page, and for self-care presents, the cozy self-care gifts to sew list.
What fabric and supplies do you need?
- Main fabric: a fat quarter of terry, fleece, minky or velour. One fat quarter makes 1 to 2 headbands.
- Contrast scraps for the inner ears.
- Interfacing: fusible fleece or medium fusible interfacing, used for the bunny ears so they stand up. If you are unsure which one to buy, read what is interfacing.
- Elastic: 1 in non-roll elastic.
- Thread to match, and a ballpoint needle if you are sewing knit fabric.
Which size should you pick?
Choose by head circumference. If you are between sizes, measure around the head where the band will sit.
| Size | Head measurement | Fabric |
|---|---|---|
| Child | 20 in | 1 fat quarter makes 1 to 2 |
| Adult | 22 in | 1 fat quarter makes 1 to 2 |
| Adult Large | 23½ in | 1 fat quarter makes 1 to 2 |
How do you sew an animal ears headband, step by step?
- Cut. Cut 2 band pieces on the fold (one outer, one lining). Cut 4 of your chosen ear. For bunny ears, cut 2 in main fabric and 2 in contrast, plus 2 pieces of medium fusible interfacing or fusible fleece cut from the ear piece without seam allowance, fused to the contrast pieces so they stand. Also cut the casing strip and elastic to the lengths in the size key.
- Sew the ears. Place ear pairs right sides together and stitch around the curve. Clip the curve, turn right side out and press. Pinch a small pleat, about ⅜ in, at the base of each ear so it cups forward, and baste it.
- Place the ears. Pin the ears between the notches on the top edge of the outer band, pointing down onto the band with raw edges together. For bear and cat ears use the outer notch pair. For bunny ears use the inner pair, with the narrower ear base centered between the outer notches. Lay the lining on top, right sides together.
- Sew the band. Stitch the long top edge and the long bottom edge at ¼ in, leaving both short ends open. Turn right side out through an end and press with the ears pointing up. Our straight line and curves guide helps with the gentle curve at the ear base.
- Make the casing. Fold the casing strip in half lengthwise, right sides together, and stitch ¼ in. Turn it right side out. Thread the elastic through, pin both ends so the casing gathers evenly, then stitch straight across each end through the elastic to hold it. The technique is the same as in the elastic waistband guide.
- Join casing and band. Each open band end is 1½ in wide and the casing is 1¼ in wide. Tuck a casing end ½ in into a band end, turn the band raw edges in around it (easing the extra ¼ in), and stitch across twice through all layers. Repeat at the other end, making sure the casing is not twisted.
How do you make bear, cat and bunny ears look right?
- Bear: use the outer notch pair.
- Cat: the same outer notch pair works, and clipping the curve before turning helps the ear press neatly.
- Bunny: contrast inner pieces with interfacing so the ears stand. They use the inner notch pair.
- For a frog, the pattern suggests two felt-circle eyes in place of ears.
- Satin inner ears look nice in photos.
What are the common mistakes?
- Ears pointing the wrong way. They go in pointing down onto the band, raw edges together. They flip up when you turn the band right side out.
- Using the wrong notches. Bear and cat use the outer pair; bunny uses the inner pair.
- Twisted elastic casing. Check the casing is flat before you stitch across the join.
- Elastic that is too snug. It should sit comfortably, not squeeze. Use the elastic length from the size key for your head size.
- Using a regular needle on stretchy fabric. A ballpoint needle avoids skipped stitches in knits and terry.
- Skipping the interfacing in bunny ears. Without it the tall ears flop over.
What can you make as a set?
The pattern suggests a matching headband with a scrunchie and a wash mitt, or a pack of headbands for a spa-day birthday party. The Animal Ears Headband is a Premium pattern in the Sewzy app. You can also try the free sewing patterns first if you want to practice small pieces, and the gifts to sew for kids list has more ideas that go well with a headband.
 10 gifts to sew for teachers (desk to classroom)6 min read
 How to topstitch: a beginner's guide to straight lines6 min read
 How to sew with minky without the mess (beginner guide)7 min read