Sewzy
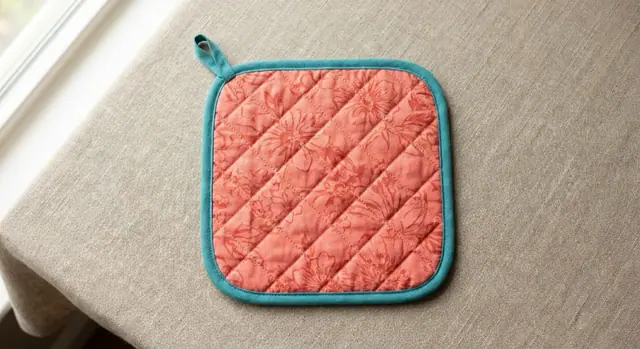
To make bias tape, cut fabric strips at a 45 degree angle to the grain, join the strips with diagonal seams, then press the long edges toward the center. For standard ½ in double-fold tape, cut strips 2 in wide. The diagonal cut is what makes the tape stretch, so it curves smoothly around necklines, rounded corners and edges.
TL;DR
- Cut on the bias: a 45 degree angle to the straight grain, which gives the fabric stretch.
- Strip width: 2 in strips make ½ in double-fold tape; 1 in strips make ½ in single-fold tape.
- Join strips with diagonal seams, press them open and trim the points.
- Press with a bias tape maker, or fold and press by hand.
- Sew it on: stitch in the fold line, wrap the edge, and topstitch.
Sew the Potholder from this guide, step by step, in the Sewzy app
Pick your size, print it from your phone, and follow every step with a sewing coach beside you.


What is bias tape and why cut it on the bias?
Fabric has a straight grain, running along the threads, and a bias, running diagonally across them. Along the true bias at 45 degrees, woven fabric gives a little. That give lets the tape bend around a curve without puckering. Binding cut on the straight grain works on straight edges, but it ripples on a curved neckline or round corner. If you want exact lengths, the bias binding calculator works out how much tape a project needs.
What is the difference between single fold and double fold?
- Single-fold tape has both long edges folded to the center, then is used to wrap an edge or face a neckline.
- Double-fold tape is single-fold tape folded in half again. It wraps over a raw edge and encloses it, so it is the type for binding blankets, potholders and towels.
| Finished tape | Strip to cut |
|---|---|
| ½ in single-fold | 1 in wide |
| ½ in double-fold | 2 in wide |
| 1 in double-fold | 4 in wide |
The rule is simple: for double-fold tape, the strip is four times the finished width. If you use a bias tape maker, the packaging tells you which strip width to cut.
How do you make bias tape, step by step?
- Find the bias. Press the fabric flat. Start with a straight-cut edge. Fold it up so it meets the selvage (the finished edge). The fold line is the 45 degree bias. Or lay a quilting ruler with its 45 degree line along the straight edge.
- Cut strips. Cut along the bias line, then cut parallel strips at your chosen width, such as 2 in for ½ in double-fold tape.
- Join the strips. Place two strip ends right sides together at a right angle, so they form an L. Stitch diagonally across the corner from one inner crossing to the other. Check that it opens into a straight strip, then trim the seam to ¼ in.
- Press the seams open. Press each diagonal seam open so the tape lies flat. Snip off the little points.
- Fold and press. Fold the long raw edges to meet at the center and press. For double-fold tape, fold the whole strip in half again and press. With a bias tape maker, feed the strip through the wide end while you pull and press the folded tape as it emerges. Use steam and slide the iron only along the folded tape, not across it, so it does not stretch.
What is the continuous bias method?
This is an optional shortcut for making a long strip from one square. Draw lines on the wrong side parallel to the bias at your strip width. Join the two opposite edges right sides together, offset by one line, so the tube spirals. Then cut along the marked line to make one long strip with no seams to join. The result is the same as joined strips. It takes a bit of practice, so try the plain method first, and see the straight line and curves guide if your stitching wanders.
How do you sew binding on?
- Open the tape. Unfold one edge of double-fold tape. Place it right sides together with the project edge, raw edges level.
- Stitch in the fold line. Sew along the crease, using the seam allowance your pattern gives. Leave a tail at the start, and ease the tape gently around curves without pulling it.
- Join the ends. When the strip meets the start, trim the ends and join them with a small diagonal seam, as you did when joining strips, so there is no bulk. Check that the tape is not twisted before you stitch.
- Wrap and press. Fold the tape over the raw edge to the back, so the folded edge just covers the stitching.
- Topstitch. Clip the binding in place and edge-stitch close to the fold, or stitch in the ditch from the front. At a corner, stop stitching one seam allowance from the corner, then fold the tape up and back down to make a miter on the front and back before you continue.
Which Sewzy projects use binding?
Binding appears across home, baby and clothing projects. These are good places to practice:
- Potholder (free, beginner): the pattern lists 2¼ in cotton bias binding and walks through making, sewing on and folding the binding. See also the quilted potholder guide.
- Boxy Tee (free): the neck binding is cut on the bias at 1½ in wide, and an optional 1½ in bias tape maker is listed. It is joined into a loop with a ⅜ in seam and edge-stitched.
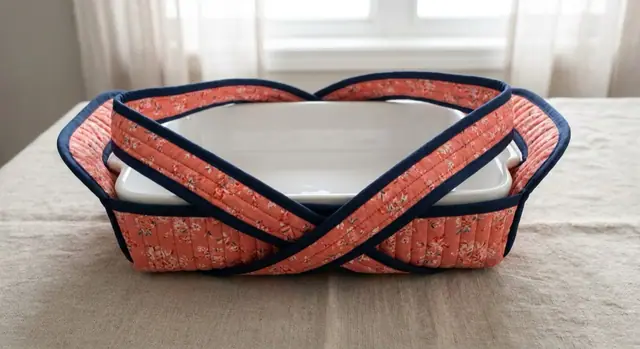
- Quilted Placemat and Casserole Carrier (in the Sewzy app): both have steps for making the binding and binding the edges.
- Hooded Towel (in the Sewzy app): uses 2 in double-fold bias binding on the hood front and the towel edges.
To try a small project first, browse the free sewing patterns. The potholder is the easiest place to practice because the corners are rounded and small.
What are the common mistakes?
- Cutting off grain. If the strip is not at a true 45 degrees, the tape twists and does not lie flat.
- Stretching while pressing. Press by lifting and setting the iron down when you fold by hand. Dragging it across the strip stretches the tape.
- Joining strips straight. A straight seam makes a thick lump. Use a diagonal seam and press it open.
- Pulling the tape tight on curves. Ease it. Too much tension makes the edge cup.
- Missing the stitching line on the back. Wrap the tape so the fold covers the first row of stitching, or the edge shows gaps. If you are unsure about margins, the seam allowance guide helps.

 10 gifts to sew for teachers (desk to classroom)6 min read
 How to topstitch: a beginner's guide to straight lines6 min read
 How to sew with minky without the mess (beginner guide)7 min read