Sewzy
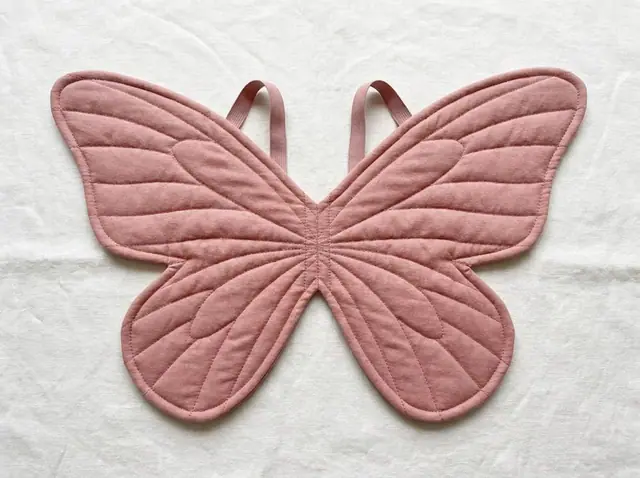
To sew butterfly wings, layer batting, front fabric and back fabric, stitch around the edge, turn the wings through a gap, press and topstitch, then quilt the vein lines and add two elastic loops that go over the shoulders like a backpack. The Quilted Butterfly Wings pattern in the Sewzy app is rated beginner, comes in Toddler, Kid and Adult sizes and takes about an hour.
TL;DR
- Quilted Butterfly Wings is a beginner pattern in the Sewzy app (not one of the free patterns), about 60 minutes.
- Three sizes: Toddler 21 by 14 inches, Kid 27 by 18 inches, Adult 35 by 24 inches.
- Fabric on 45 inch wide fabric: ½ yard each of front, back and batting for Toddler, ¾ yard for Kid, 1¼ yards for Adult.
- Seam allowance is ⅜ inch (1 cm), included. The loops use ¾ inch elastic.
- Elastic length: over the shoulder and under the arm, minus 2 inches.
Sew the Quilted Butterfly Wings from this guide, step by step, in the Sewzy app
Pick your size, print it from your phone, and follow every step with a sewing coach beside you.


What makes butterfly wings different from fairy or dragon wings?
The method is the same for all three quilted wing patterns: one wing piece cut on the fold, a batting layer, six steps and two elastic loops. The difference is the shape and the look. Butterfly wings are the largest of the three in every size, and they suit bright prints, shimmer and contrast vein lines. If you want the other shapes, read how to sew quilted fairy wings or how to sew dragon wings.
What size butterfly wings should I make, and how much fabric?
The pattern prints all three sizes nested together, so you print once and cut the size you want.
| Size | Wing size | Front, back and batting (each) |
|---|---|---|
| Toddler | 21 by 14 inches | ½ yard |
| Kid | 27 by 18 inches | ¾ yard |
| Adult | 35 by 24 inches | 1¼ yards |
The amounts are for 45 inch wide fabric. You need the same amount of front fabric, back fabric and batting. For a costume with very large wings, the pattern notes that you can scale the Adult size up to 120% on a large-format print.
Which fabric looks best for butterfly wings?
- Glitter tulle over cotton: sparkle with a soft printed or solid cotton underneath. This is the classic butterfly look.
- Organza over satin: a shimmer that changes color as the child moves.
- Satin: smooth and shiny. It slips, so clip it well.
- Velvet: rich and soft, good for a monarch in orange or a dark night butterfly.
- Quilting cotton: the easiest to sew for a first pair, and the best choice for a butterfly print.
The back is always cotton, so it feels comfortable against a shirt. Front and back can be different fabrics. For sequin or foil fabric, use a Teflon foot and a longer stitch.
Use low-loft cotton or polyester batting. Low loft keeps the wings light enough to stay up on the shoulders. If you prefer, fuse fusible fleece to the back piece instead and skip the separate batting layer.
How do I sew butterfly wings, step by step?
- Cut. Print your size and tape the tiles together. Fold each fabric and the batting in half and place the straight edge of the pattern on the fold. Cut 2 fabric wings (one front, one back) and 1 batting wing. Copy the two elastic loop boxes and the gap marks to the wrong side of the back piece.
- Layer. Lay the batting flat. Place the front fabric on it, right side up, then the back fabric on top, right side down. Pin or clip all around the edge and mark the 6 inch gap on the center-back edge.
- Sew. Stitch all around with a ⅜ inch seam allowance using a walking foot, leaving the gap open. Trim the batting close to the stitching. Clip into the inner curves and notch the outer curves so the edge turns smoothly.
- Turn and press. Turn the wings right side out through the gap. Push out each lobe with a blunt tool, press, then topstitch ¼ inch from the edge all around. The topstitching closes the gap too.
- Quilt the veins. Mark the vein lines from the pattern with a water-soluble pen. Stitch each line through all layers, starting at the center back. A 3½ mm stitch works well, and a contrast thread makes the veins stand out.
- Elastic loops. Cut two pieces of ¾ inch elastic to your length. Overlap the ends 1 inch to make each loop, then stitch each loop to its marked box on the back with a small square of stitching. Try the wings on and adjust the overlap before the final stitching.
New to curves? How to clip and notch curves explains which cut goes where. For an even edge line, see how to topstitch.
How do I measure the elastic loops?
Measure the wearer from the top of the shoulder, down the front, under the arm and back up to the start. Subtract 2 inches. That is the length of each loop before the 1 inch overlap is stitched. Loops sit over the shoulders like a backpack, so the wearer can take them off alone. Always try them on before you stitch the final square, because shoulders vary a lot between children of the same age.
Common mistakes
- Thick batting. High-loft batting makes heavy wings that droop. Use low loft or fusible fleece.
- Skipping the clips and notches. The lobes turn out lumpy. Clip the inner curves and notch the outer ones.
- Forgetting the walking foot. Satin and tulle shift over batting. A walking foot feeds all layers evenly.
- Quilting from the tip inward. Start each vein at the center back so any small shift ends up at the outer edge.
- Stitching the loops before a fitting. Pin, try on, then stitch.
How do I care for the wings, and what goes with them?
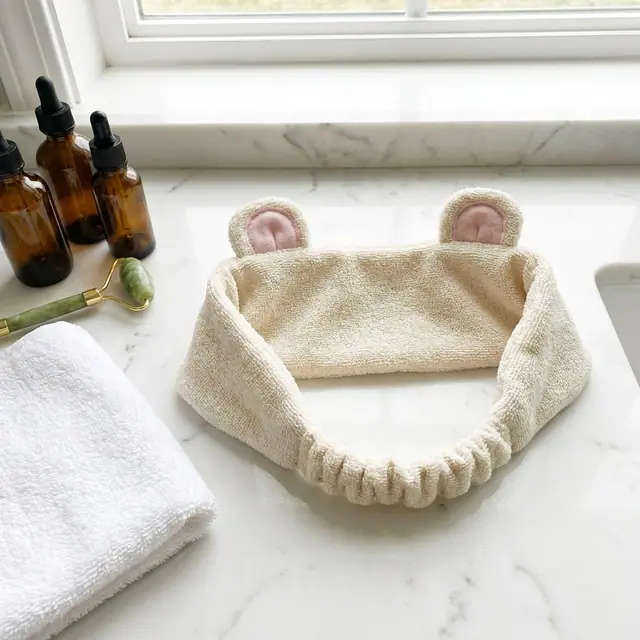
Spot clean them. Cotton versions can go in the machine on cold, then air dry and press from the back. For a dress-up gift set, add a Puffy Wand Trio wand (see how to sew a magic wand) or an Animal Ears Headband. You can stitch a short strip of ribbon at the center back between the loops as a hanging tie for the closet. Never tie the wings on with ribbon or cord around a child's neck. The shoulder loops are the only way to wear them. More ideas are in gifts to sew for kids and the costume sewing patterns collection.
 Memory elephant pattern: a keepsake from clothes8 min read
 How to sew fleece on a regular sewing machine7 min read
 Baby's first Christmas gifts to sew: 7 handmade ideas7 min read
 Memory bunny pattern: sew a keepsake bunny from clothes8 min read