Sewzy
A French seam encloses the raw edges of the fabric inside the seam itself, so no fraying shows on either side. You sew two passes: first with wrong sides together, trim, press, then fold and sew again with right sides together. It works on any straight or gently curved seam in lightweight to medium fabric and needs nothing but a regular sewing machine.
TL;DR
- What it does: hides raw edges inside the seam. Both sides of the fabric look clean.
- Best for: lightweight and medium fabrics (cotton, linen, lawn, voile, silk, batiste). Straight seams and gentle curves.
- Not ideal for: heavy fabrics (denim, canvas, thick fleece) or tight curves and corners.
- Seam allowance: you need at least ⅜ in total. The first pass uses ⅛ in, the second uses ¼ in.
- Tools: sewing machine, iron, scissors or rotary cutter, pins or clips.
Sew the Drawstring Bag from this guide, step by step, in the Sewzy app
Pick your size, print it from your phone, and follow every step with a sewing coach beside you.

When should you use a French seam?
Use a French seam whenever the inside of the garment or project will be visible and you want it to look finished. Common uses include:
- Sheer or lightweight garments where a serged edge would show through.
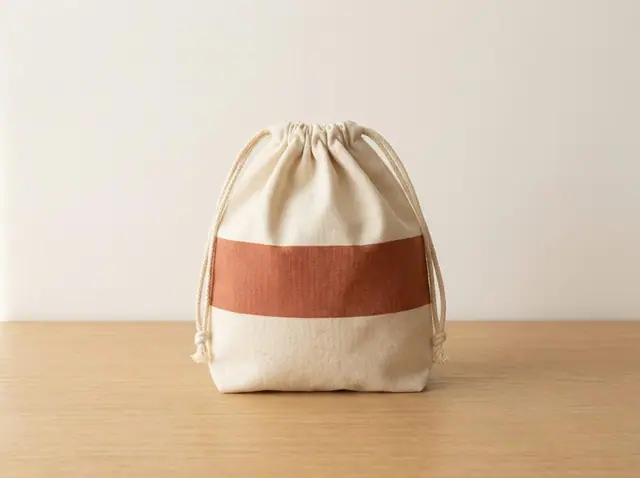
- Unlined bags like a drawstring bag, where the inside is exposed every time you open it.
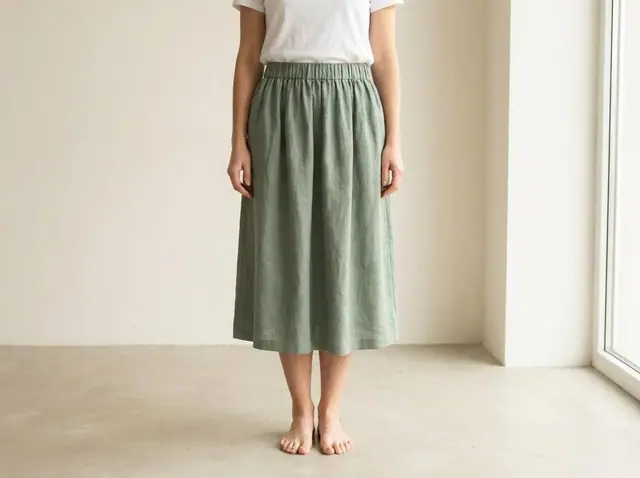
- Skirts and dresses in cotton or linen, such as an elastic-waist skirt.
- Pillowcases and other home items where both sides may show.
A zipper pouch is lined, so the lining already hides its seams and a French seam is not needed there. A French seam replaces the need for a serger, bias tape or pinking shears on these projects. For more ways to handle raw edges, see our guide to finishing seams without a serger.
How does the seam allowance work?
A French seam eats up more seam allowance than a regular seam because you are sewing twice. Here is the math for the most common widths:
| Pattern seam allowance | First pass | Trim to | Second pass | Finished width |
|---|---|---|---|---|
| ⅝ in (standard) | ¼ in | ⅛ in | ⅜ in | ⅜ in |
| ½ in | ¼ in | ⅛ in | ¼ in | ¼ in |
| ⅜ in | ⅛ in | half the first pass | ¼ in | ¼ in |
The key: the first pass plus the second pass must equal your total seam allowance. If your pattern has ⅝ in seam allowance, the easiest split is ¼ in first, then ⅜ in second.
How to sew a French seam, step by step
This method uses a ⅜ in total seam allowance (⅛ in first pass, ¼ in second). Adjust the numbers if your pattern gives more.
- Place the fabric wrong sides together. This is the opposite of a normal seam. The wrong (printed or dull) sides face each other and the right sides face out.
- Sew the first pass at ⅛ in. Stitch a straight line ⅛ in from the raw edge. Backstitch at each end.
- Trim the seam allowance. Cut the raw edge down to about half the width of the first pass, close to the stitching but without cutting it. Sharp scissors or a rotary cutter make this easier. Remove any loose threads.
- Press the seam. Iron the stitched seam flat, then fold the fabric along the stitching so the right sides are now together, the stitching sits exactly on the fold and the trimmed edge is enclosed inside.
- Press again. Press the fold crisp. This is the step that makes the seam neat. If the fold is lumpy, the finished seam will be lumpy.
- Sew the second pass at ¼ in. Stitch ¼ in from the folded edge, enclosing the raw edges completely. Backstitch at each end.
- Press the finished seam. Press the seam to one side. The raw edges are now trapped inside and invisible from both sides of the fabric.
Can you sew a French seam on a curve?
Yes, if the curve is gentle. After the first pass, clip small snips into the seam allowance on an inside curve, or trim small wedges on an outside curve, just as you would for any curved seam, but be careful not to cut the stitching. Press the curve over a rounded surface such as a tailor's ham or a rolled towel so the fold follows the shape. Tight curves and sharp corners do not work well, because the fabric bunches inside the fold. For those, choose another finish.
Tips for a neat French seam
- Use a sharp, fine needle. Lightweight fabrics snag easily, and a new needle makes cleaner stitches.
- Shorten the stitch a little. A slightly shorter stitch holds the narrow seam firmly through washing.
- Test on a scrap first. Sew a sample with the same fabric and seam allowance to check the math before you sew the real project.
- Mark the second stitching line. A strip of washi tape or a seam gauge on the machine bed helps you keep a steady ¼ in.
- Match the seam to your pattern. If your pattern includes ⅜ in seam allowances, the French seam fits exactly as described. If it has ⅝ in, use the table above.
Common mistakes
- Sewing right sides together on the first pass. If you start the usual way, the raw edges end up on the outside. Remember: wrong sides together first.
- Not trimming close enough. If the trimmed edge pokes out of the second seam, you will see little whiskers of raw fabric. Trim the edge narrower than the second pass will be, so it stays hidden.
- Skipping the press after trimming. The fold must be crisp before you sew the second pass. Without pressing, the layers shift and the seam is uneven.
- Using it on thick fabric. Two enclosed layers of denim or canvas create a ridge that is hard to press and uncomfortable to wear. Use a flat-felled seam or a serged finish instead.
French seam vs. other seam finishes
| Finish | Equipment | Best for | Look |
|---|---|---|---|
| French seam | Regular machine | Light to medium, straight seams | Clean on both sides |
| Serged (overlocked) | Serger | Any weight, any shape | Neat loops on the edge |
| Zigzag finish | Regular machine | Quick and easy | Zig-zag stitch on the raw edge |
| Bias-bound | Regular machine | Heavy fabrics, visible interiors | Fabric strip wraps the edge |
| Pinked | Pinking shears | Fabrics that barely fray | Zigzag-cut edge |
For a full comparison of all these methods, read how to finish seams without a serger. And if you are still learning the basics, our seam allowance guide explains the most common widths and why they matter.
Projects that use French seams
Try a French seam on your next drawstring bag (the inside is visible every time you pull it open) or an elastic-waist skirt in a lightweight cotton. Both are beginner-friendly Sewzy patterns. Both list ⅜ in seam allowances, which suits the method above. The zipper pouch is lined, so you can leave the French seam for another project.
 How to topstitch: a beginner's guide to straight lines6 min read
 How to sew with minky without the mess (beginner guide)7 min read