Sewzy
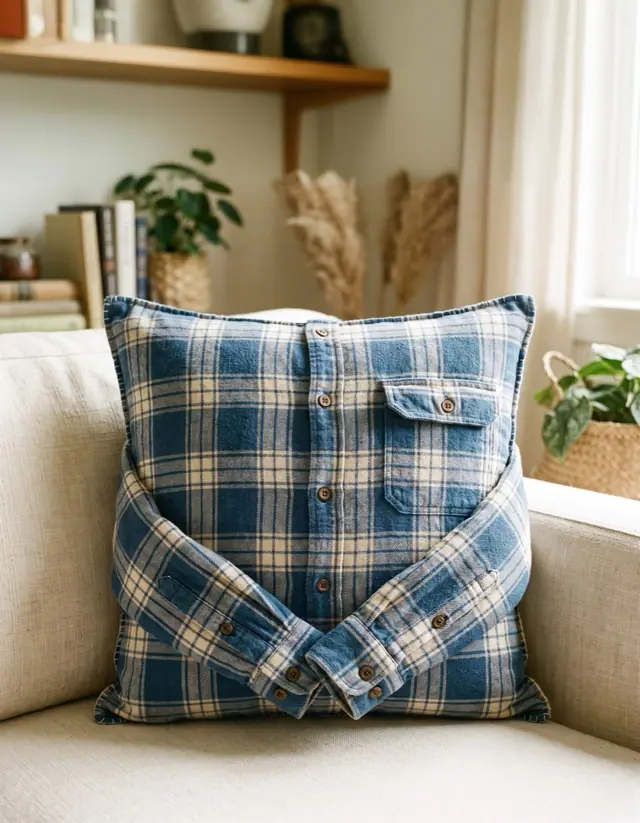
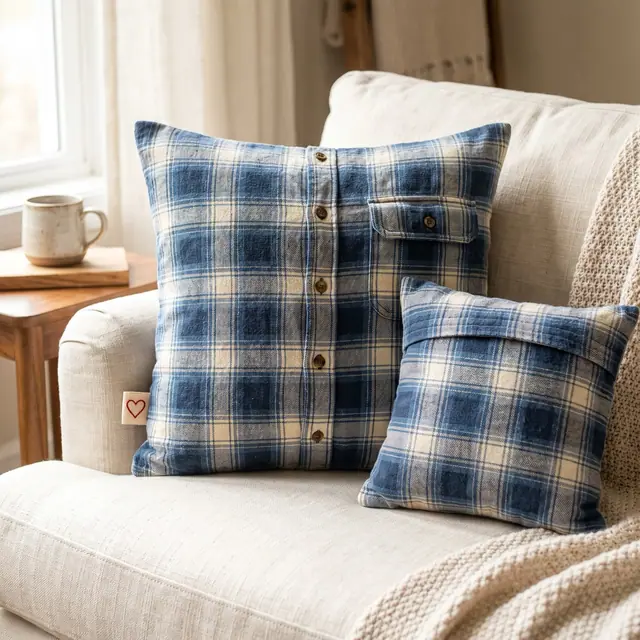
To make a memory pillow from a shirt, button the shirt up, cut it apart at the side seams and shoulders, fuse light interfacing to the front, then cut a square front centered on the button placket and the pocket. Stitch the placket closed, cut two envelope back pieces from the shirt back and sew them to the front, then turn it and add a pillow form. The Sewzy Memory Pillow fits 12 to 20 inch forms and has two styles: Classic, in about 1½ hours, and Hug, where the sleeves become arms that button around the front, in about 2½ hours.
TL;DR
- Styles: Classic keeps the placket and pocket on the front. Hug adds the sleeves as stuffed arms that wrap around and button at the front.
- Size: pick the pillow form by the size of the shirt, from 12 inches for a child's shirt to 20 inches for a men's XL to 3XL.
- Interfacing: lightweight fusible interfacing keeps shirt fabric steady and stops buttons gaping.
- Tees work too, with a ballpoint needle and a second tee for the back and arms.
- Level: a confident beginner. Straight seams and a little hand sewing.
What size memory pillow can one shirt make?
| Pillow form | Front needs | Backs need | Shirts that usually work |
|---|---|---|---|
| 12 in | 14 x 14 in | 12 x 18 in | Kids 10-16, women's XS-S |
| 14 in | 16 x 16 in | 14 x 20 in | Women's S-M, men's S |
| 16 in | 18 x 18 in | 16 x 22 in | Men's M-XL, women's L-XL |
| 18 in | 20 x 20 in | 18 x 24 in | Men's L-XL |
| 20 in | 22 x 22 in | 20 x 26 in | Men's XL-3XL |
To check, button the shirt and lay it flat. Measure the narrowest width below the armholes and the length from the underarm to the hem at the side seam; a curved shirttail loses a few inches. The smaller of the two, minus 2 inches, is the biggest pillow the front can make. If the shirt back is too short for both envelope pieces, use a second shirt or a plain cotton for the back.
Classic or Hug?
| Classic | Hug | |
|---|---|---|
| Front | Button placket and pocket | Placket and pocket, plus two arms |
| Sleeves | Not used (keep them for a heart or tag) | Stuffed and turned into arms, the cuffs button at the front |
| Shirt | Any button-up or tee | A long-sleeved button-up works best |
| Time | About 1½ hours | About 2½ hours |
What you need
- The shirt, washed and pressed. A second shirt or cotton if the back is short.
- Lightweight fusible interfacing and a press cloth.
- A pillow form, 12, 14, 16, 18 or 20 inches square.
- For Hug: about 2 oz of polyester fiberfill for the arms and 2 spare shirt buttons.
- Optional: a photo transfer sheet, embroidery floss or a fabric pen for a name tag.
How to make a memory pillow, step by step (Classic)
- Prepare the shirt. Wash and press it, button it all the way up and stitch any back pleats flat.
- Cut the shirt apart. Cut off the sleeves at the armhole seams, then cut up both side seams and across the shoulders. Keep the sleeves and scraps.
- Place, chalk, then fuse. Center the paper front on the placket, keep buttons inside the button-free line and the pocket inside its window. Chalk around it, then fuse interfacing a little bigger than the chalked area with a press cloth.
- Close the placket. Edgestitch it shut from top to bottom, stopping just before each button and starting again just after it.
- Cut the front. Cut on the chalk line and snip the notches. A button in the seam allowance? Take it off and sew it back inside the line, or keep it as a spare.
- Add a heart, photo or name tag at least 1 inch inside the seam line.
- Cut and hem the backs from the shirt back, with a double-folded hem on each long edge.
- Sew it round. Lay the two backs on the front, right sides together, hems overlapping by 4 inches. Stitch all round, clip the corners, turn it through the envelope, press and add the form.
The Hug style: sleeves that hug
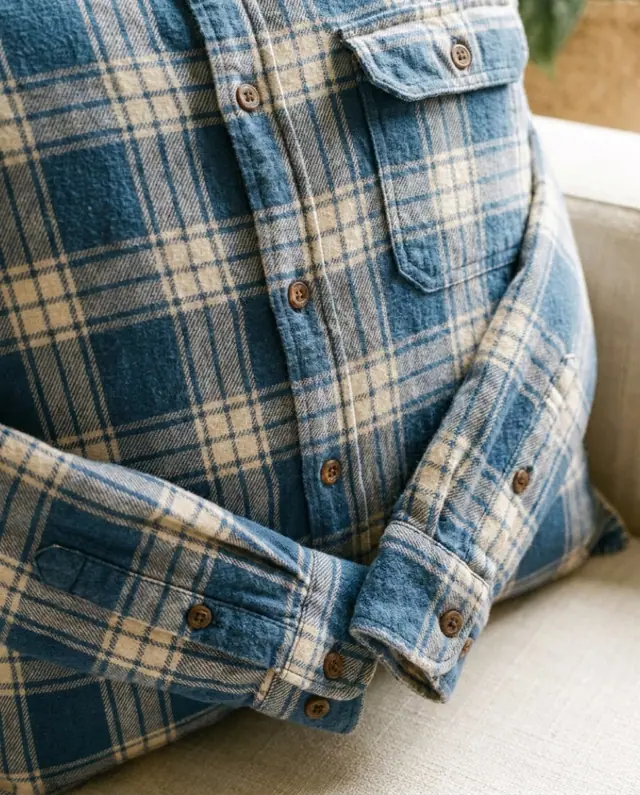
For Hug, close the sleeve plackets, sew each sleeve into a tube along the underarm and topstitch across just above the cuff, so the cuff hangs free like a hand. Stuff each arm to about 70%, leaving the last 2 inches flat so it can bend. Baste the arms to the sides of the front, add the backs as in the Classic, then wrap the arms to the front and button each cuff to a spare button on the placket. If the arms will not wrap, they are overstuffed or missing the flat hinge.
Tips for shirts and tees
- T-shirts: rough-cut the panels 2 inches bigger, fuse them before cutting, and use a ballpoint needle and a slight zigzag.
- Short sleeves: use them whole as small side-hug arms, or cut arms from a second shirt.
- Pocket and placket off-center? Choose one to center. On small pillows you may have to pick one.
- Thin or worn shirts: fuse the back pieces too, and use the relaxed cutting line in the pattern.
A keepsake gift
A memory pillow keeps a shirt you cannot wear but cannot give away: a parent's work shirt, a grandparent's flannel, a baby's first outfits sewn into a name tag. For a softer keepsake, a memory bear works from the same clothes; see how to make a memory bear from clothes. To add a name or date, read how to embroider letters and names, and for the envelope back, how to sew an envelope pillow cover. The Memory Pillow is a Premium pattern in the Sewzy app, with both styles, all five sizes and a photo for each step.
Care
Take the form out and unbutton the Hug arms. Spot clean, or hand wash cool and dry flat. Press through a cloth, never directly on a print.
 Winter sewing projects: 14 cozy things to make6 min read
 How to sew fabric Christmas ornaments (4 shapes)6 min read
 Gifts to sew for men: 10 things he will actually use6 min read
 How to sew a baby bib (free pattern)5 min read