Sewzy
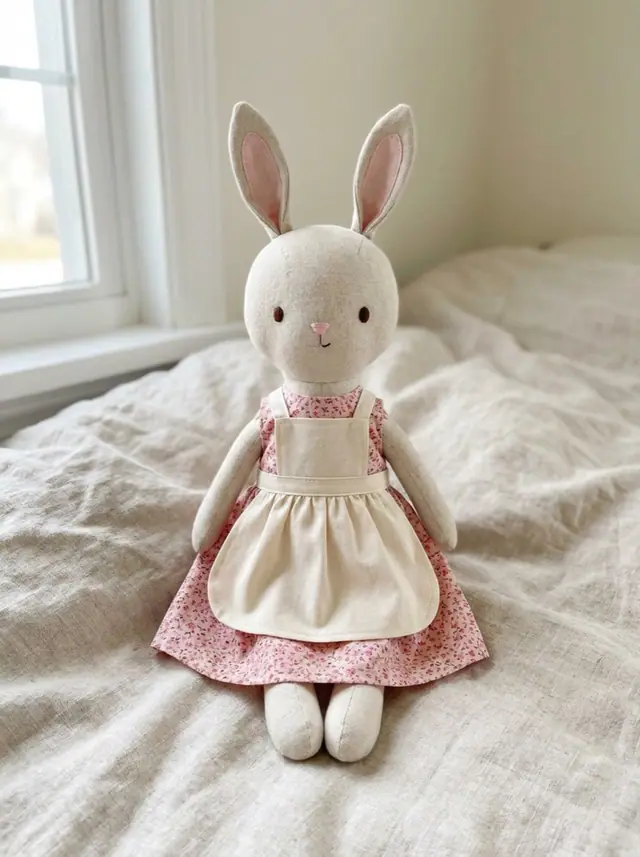
To sew a stuffed bunny doll, cut the head and body, ears, arms, legs and a tail from a tightly woven cotton, embroider the face on the front before sewing, then sew and turn the ears, arms and legs. Baste the ears and legs to the front body, sew the back on, turn it and stuff firmly, packing the neck hardest. Ladder-stitch the gap closed, sew on the arms and the puff tail. The Sewzy Bunny Doll is about 13½ inches tall, takes about 3 hours and comes with a dress, overalls, an apron and a sun hat.
TL;DR
- Size: about 13½ inches tall.
- Doll fabric: one fat quarter of quilting cotton, linen or cotton-linen with a tight weave and no stretch.
- Stuffing: about 4 oz of polyester fiberfill, in walnut-size pieces.
- Face: embroidered in floss, no buttons, beads or safety eyes for a child under 3.
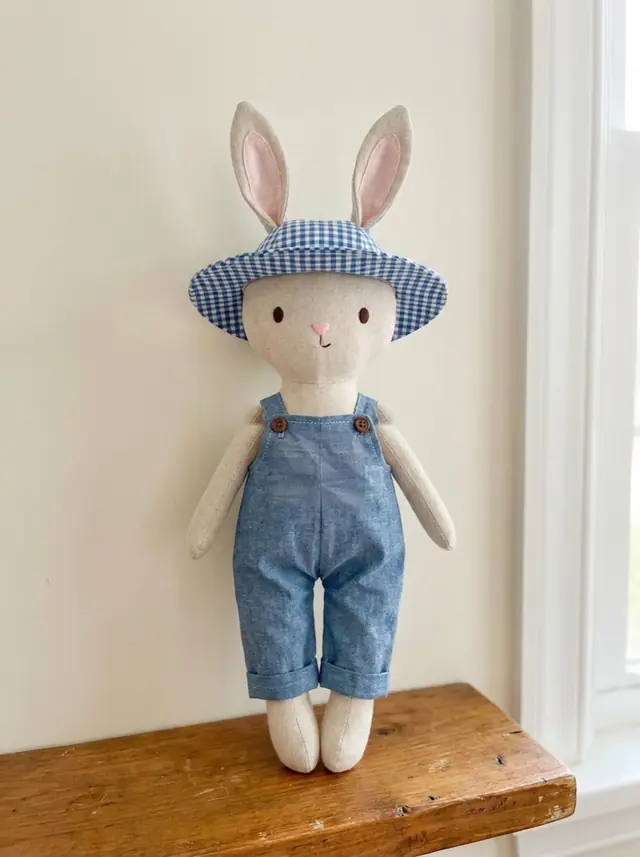
- Wardrobe: a dress, overalls, an apron and a sun hat, from small cuts of cotton.
- Level: intermediate, about 3 hours for the doll.
Fabric and supplies
| Part | Fabric | Amount |
|---|---|---|
| Doll | Quilting cotton, linen or cotton-linen | 1 fat quarter, plus a contrast scrap for inner ears |
| Dress | Lightweight cotton, lawn or chambray | ¼ yd plus ⅛ yd lining |
| Overalls | Chambray or fine corduroy | ⅜ yd |
| Apron | Lightweight cotton | ¼ yd |
| Sun hat | Lightweight cotton | 1 fat eighth |
You also need about 4 oz of polyester fiberfill, dark brown and pink embroidery floss, strong thread for ladder stitch, a chopstick and a hand needle. The clothes use ¼ inch elastic, a short strip of ⅜ inch hook-and-loop tape, light fusible interfacing for the hat brim and two ⅜ inch buttons for the overalls (for children 3 and over). The seam allowance is ¼ inch on the doll and ⅜ inch on the clothes, both included.
How to sew the bunny, step by step
- Cut and mark. Print at 100% and check the test square. Cut 2 head and body pieces on the fold, 4 legs, 4 arms, 2 ears from body fabric and 2 from contrast, and 1 tail. Mark the dots and trace the face lightly on one body piece, which becomes the front.
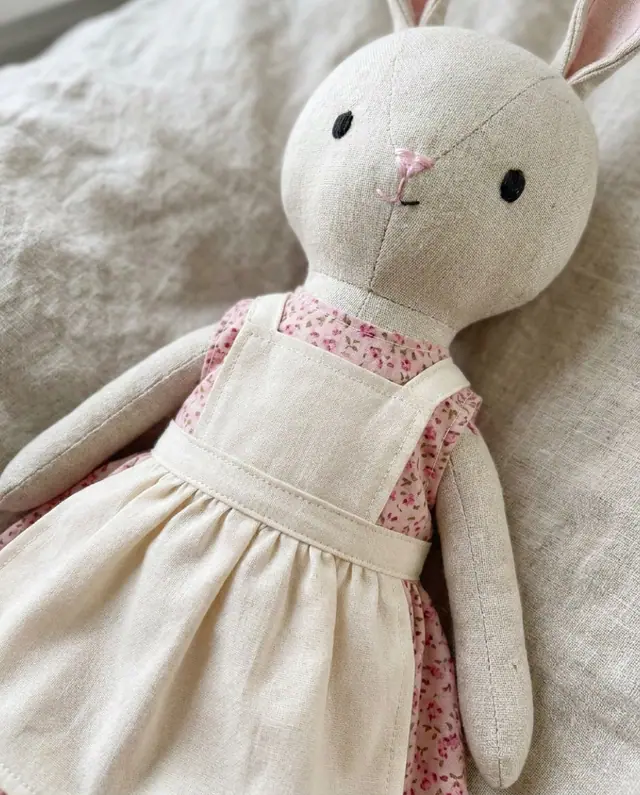
- Embroider the face. Hoop the front before sewing. Satin stitch or French knot eyes in 3 strands of dark floss, a small satin stitch nose and two backstitched curves for the mouth. Weave every tail in on the back.
- Ears. Sew each body-fabric ear to a contrast ear, leaving the base open. Trim the tip, clip the curves, turn and press. Do not stuff.
- Legs and arms. Sew the pairs, leaving the tops open. Clip, turn, stuff the legs firmly and the arms lightly to their lines, and baste the leg tops closed.
- Place the ears and legs. Pin the ears to the head on the front body, contrast side down, lying on the head. Pin the legs at the bottom with the feet pointing up into the body. Baste.
- Sew the body. Lay the back body on top, right sides together. Stitch all round with a short 2 mm stitch, leaving the side gap open, and stitch again over the ears and legs. Clip the neck curves.
- Turn and stuff. Turn through the gap. Stuff the head firmly in small pieces, pack the neck very firmly so the head stands up, then stuff the body medium-firm. Close the gap with a ladder stitch.
- Attach the arms. Turn in the arm tops, pin them to the body and ladder-stitch around each one twice with strong thread.
- Tail. Gather the tail circle around a ball of stuffing, pull tight and ladder-stitch the puff to the back.
- Finish. For an older child, brush a little fabric blush on the cheeks. Tug every seam gently to check it.
New to stuffed toys? How to sew a plushie covers curves and stuffing, and how to sew a stuffed animal by hand explains the ladder stitch. The face stitches are in embroidery stitches for beginners.
The bunny's wardrobe
- Dress: a lined bodice with a gathered skirt and a hook-and-loop closure at the back.
- Overalls: an elastic back waist, a bib and crossed straps that button at the front.
- Apron: a gathered skirt with a bib and ties, worn over the dress.
- Sun hat: a brimmed hat with two openings for the ears, which hold it on. No chin ties.
Prewash every clothing fabric so the outfits still fit after washing. The clothes make a lovely second gift later, or a reason to sew a new outfit each birthday.
Tips for a well-shaped doll
- Stuff in small, walnut-size pieces, pushing each one to the far end with a chopstick. Big handfuls make lumps.
- Pack the neck harder than you think. A soft neck makes the head flop.
- Clip, do not notch, the inward neck curves, and sew the curves slowly.
- Never press the stuffed body; use a press cloth on the embroidery before stuffing.
Safety for young children
For babies and children under 3, embroider every feature, skip the buttons on the overalls and use hook-and-loop tape or snaps instead, and check every seam before giving it. Do not add beads, buttons or safety eyes to a doll for a young child.
A heirloom Christmas gift
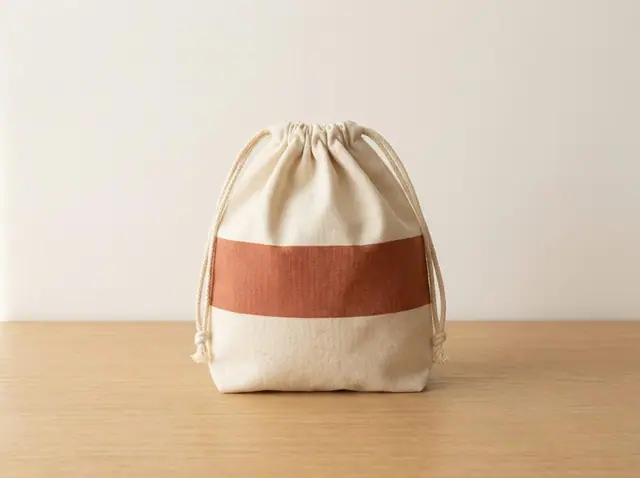
A bunny doll with a small wardrobe is the kind of gift that gets kept. Wrap the doll in a Drawstring Bag, which is free, with the clothes folded inside. For more toy ideas, see easy Christmas sewing projects for kids and the capybara plush guide. The Bunny Doll is a Premium pattern in the Sewzy app, with every piece and a photo for each step of the doll and the clothes.
Care
Doll: surface wash with a damp cloth and mild soap, or hand wash in cool water, squeeze in a towel and dry flat away from heat. Clothes: machine wash cold in a laundry bag, line dry and press warm.
 Winter sewing projects: 14 cozy things to make6 min read
 How to sew fabric Christmas ornaments (4 shapes)6 min read
 Gifts to sew for men: 10 things he will actually use6 min read
 How to sew a baby bib (free pattern)5 min read