Sewzy
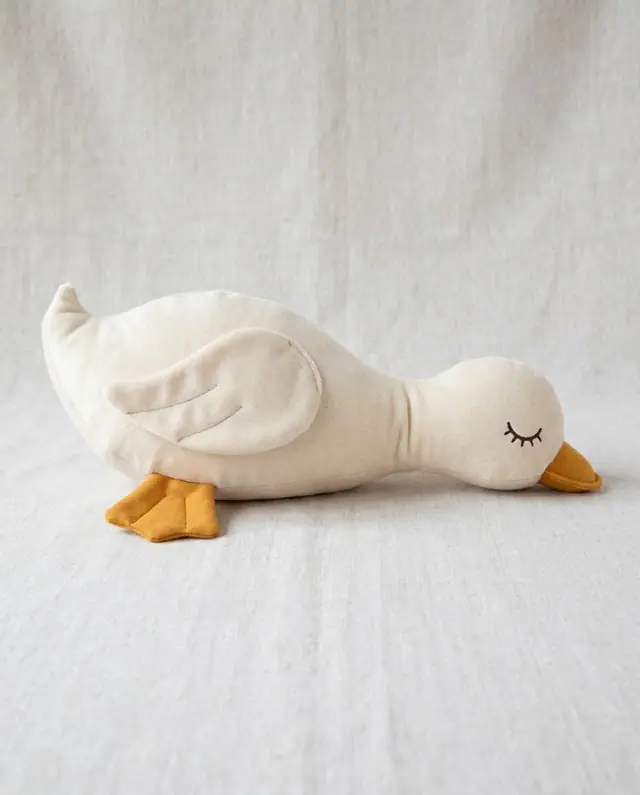
To sew a sleeping duck plush, cut the body, underbody, bill, feet and wing pieces from minky or fleece, sew the closed eyes onto the head panels, then assemble the bill, feet and wings before joining the two body halves with the underbody. Turn through a gap, stuff firmly, close with a ladder stitch, and attach the wings. The Sleeping Duck Plush in the Sewzy app comes in three sizes (12½, 15¾ and 19 in) and is rated intermediate.
TL;DR
- Sizes: Small 12½ in, Medium 15¾ in, Large 19 in.
- Fabric: minky, fleece, or plush for the body. Felt or cotton for the bill and feet. The pattern lists exact amounts for each size.
- Difficulty: intermediate. Curved seams, an underbody insert and working with minky are the challenging parts.
- Eyes: no button eyes or safety eyes. The closed eyes are stitched, so there are no hard plastic parts on the face.
- Price: Premium, in the Sewzy app.
Sew the Sleeping Duck Plush from this guide, step by step, in the Sewzy app
Pick your size, print it from your phone, and follow every step with a sewing coach beside you.


Why a sleeping duck?
Sleeping plushies double as comfort toys and nursery decor. The closed eyes make this duck look calm and cuddly, and there are no plastic eyes to pop off. At 19 in (Large), it works as a bedtime buddy. At 12½ in (Small), it fits in a gift basket or a stocking.
What you need
- Body fabric: minky, fleece, or cuddle fabric in white, yellow, or any color you want your duck to be. Minky is softest but shifts under the presser foot. Fleece is easier to handle.
- Bill and feet: orange or yellow felt, or a sturdy cotton.
- Eyes: embroidery thread for the closed eyes (a scrap of dark fabric also works if you prefer appliqué).
- Wings: same body fabric, or a contrast color.
- Stuffing: polyester fiberfill. Stuff firmly for a plump duck; loosely for a floppy one.
- Thread: matching polyester thread. Use a walking foot or Teflon foot for minky.
Overview of the sewing steps
The full step-by-step instructions are in the pattern in the Sewzy app. Here is what each stage involves.
- Print and cut. Print the pattern pieces at 100% scale. Pin or trace onto your fabric and cut. Mark notches and darts.
- Mark the pieces. Transfer all markings: eye placement, bill position, foot position, and wing position.
- Sew the closed eyes. Stitch the closed eyes onto the head area of each body panel with a satin stitch or tight zigzag. Transfer the eye marks first so both eyes sit level.
- Assemble the bills. Sew the two bill pieces together, turn right side out, and press flat. The bill is inserted into the head seam later.
- Assemble the feet. Sew each pair of foot pieces, clip the curves, and turn. Light stuffing or a layer of felt inside keeps them from going flat.
- Assemble the wings. Sew each pair, clip, turn, and press. Leave the wings unstuffed so they stay floppy.
- Join the two body halves. Pin the bill into the head seam and baste. Sew the two body side panels together along the top (back) seam, catching the bill at the front.
- Attach the feet to the underbody. Pin and baste the feet to the underbody piece at the marked positions, raw edges aligned.
- Sew the underbody in. Pin the underbody to the joined body, matching notches. Sew around the entire underbody seam, leaving a gap of about 3 to 4 in for turning.
- Turn and stuff. Turn the duck right side out through the gap. Stuff with fiberfill, starting with the head and bill area. Pack it firmly but not rock-hard.
- Close the gap with a ladder stitch (also called a slip stitch). Pull the thread tight so the stitches disappear.
- Attach the wings. Hand-sew each wing to the body at the marked position with a few strong stitches. The wings should hang loosely.
Tips for sewing with minky
- Use a walking foot. Minky shifts and stretches under a regular presser foot. A walking foot feeds both layers evenly.
- Pin generously. Use clips or pins every inch. Minky is thick and slippery; it will creep if you do not hold it.
- Cut with the nap. Minky has a direction (stroke it; one way is smooth, the other rough). Cut all pieces with the nap going the same way, or the color will look different on each side of the duck.
- Lengthen the stitch. A 3 mm stitch length prevents minky from bunching. The standard 2½ mm is too tight for this fabric.
- Vacuum after cutting. Minky sheds fine fibers everywhere. Cut it on a surface you can wipe down.
Common mistakes
- Forgetting to clip the curves. The duck body has deep curves at the head and belly. Without clips every ½ in, the seam will pucker when you turn it.
- Understuffing. A limp duck looks sad, not sleeping. Stuff until the body is firm and round, especially at the head.
- Attaching the bill crooked. Baste the bill in place and check from the front before sewing the final seam. Move it if it is off-center.
More plush projects in Sewzy
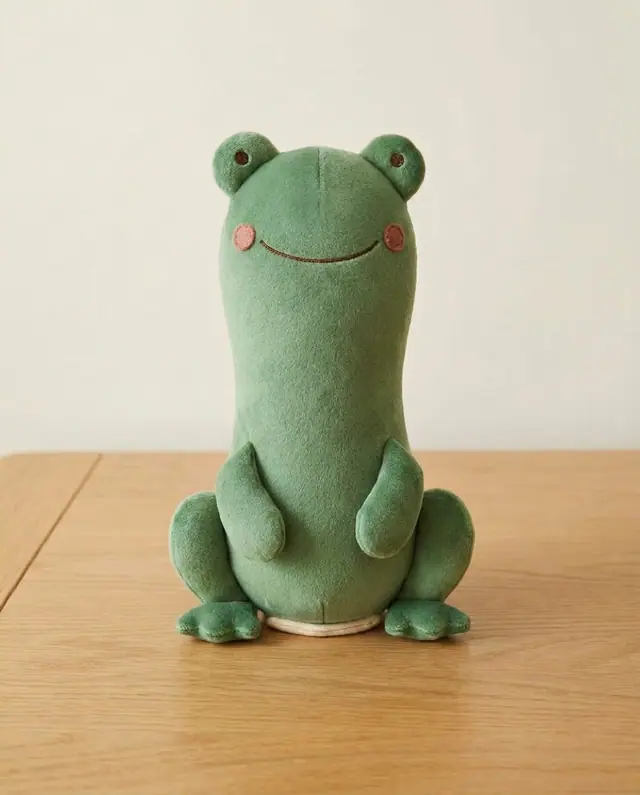
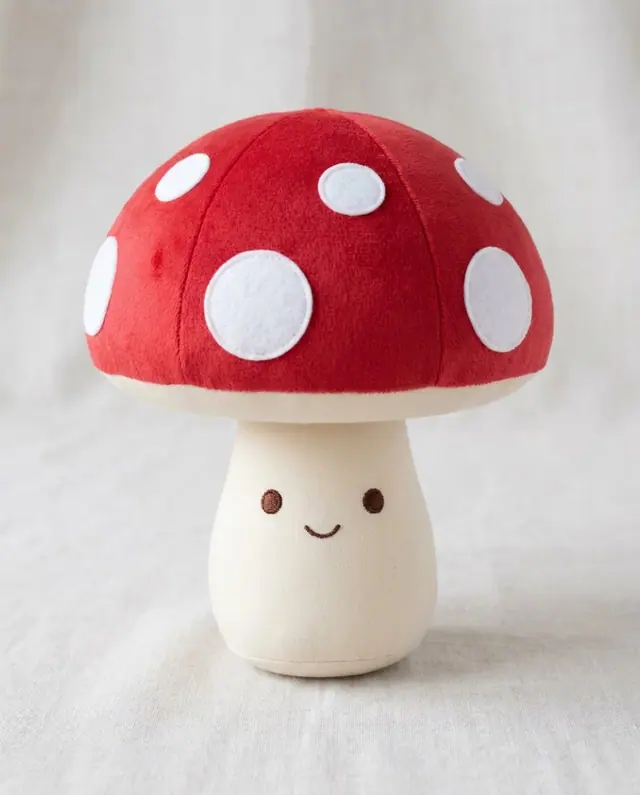
If this is your first plush, start with the beginner plush guide to learn the basics of turning, stuffing and closing. Other animal plushies in the app include the capybara plush (3 sizes), the sitting frog, the mushroom plush, and the frog plush step-by-step guide. For gift ideas, see gifts to sew for kids.
 10 gifts to sew for teachers (desk to classroom)6 min read
 How to topstitch: a beginner's guide to straight lines6 min read
 How to sew with minky without the mess (beginner guide)7 min read