Sewzy
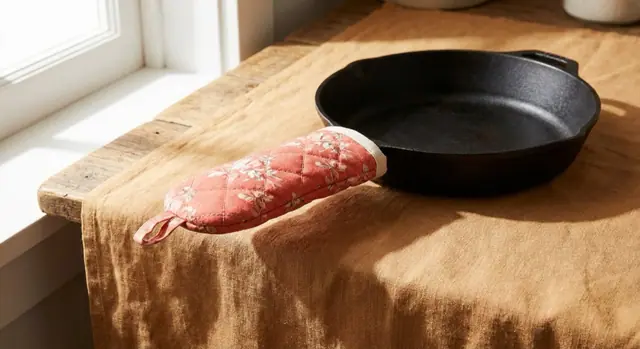
To sew a pot handle cover, quilt a stack of cotton and batting, sew two outer halves, turn them, sew a matching lining, nest the outer inside the lining and sew the open end. Then turn the cover through a gap in the lining and close the gap. The Pot Handle Cover is in the Sewzy app in two sizes, Skillet and Dutch Oven, and takes about 2 hours.
Get the pattern: Pot Handle Cover sewing pattern, with every size and a step-by-step guide.
TL;DR
- The Pot Handle Cover is an intermediate pattern in the Sewzy app, with sizes for a Skillet and a Dutch Oven.
- It takes about 2 hours and uses a ⅜ in (1 cm) seam allowance, which is included in the pattern.
- Use 100% cotton only. Never leave the cover on a handle inside the oven.
- For the outer use quilting cotton, canvas, denim or felted wool, with a cotton lining and Insul-Bright plus cotton batting, or two layers of cotton batting.
- It is a useful gift for a housewarming or Christmas, especially with a matching potholder.
Sew the Pot Handle Cover from this guide, step by step, in the Sewzy app
Pick your size, print it from your phone, and follow every step with a sewing coach beside you.


What is a pot handle cover?
A pot handle cover is a padded sleeve that slides over the handle of a cast iron skillet or Dutch oven. Cast iron handles get very hot on the stove, and a quilted cover gives you something to grip while you move the pan. The Sewzy pattern is a quilted outer and a lining, joined at the open end, with a hanging loop so the cover can be stored on a hook.
What do I need to sew it?
The catalog lists the following. The pattern gives the exact amounts for each size, so check the pattern for yardage.
| Item | What the pattern calls for |
|---|---|
| Outer fabric | 100% cotton (quilting cotton, canvas or denim) or felted wool |
| Lining | Cotton |
| Padding | Insul-Bright plus cotton batting, or two layers of cotton batting |
| Thread and needle | Thread and a 90/14 needle for thick layers |
| Loop (optional) | ½ in twill tape |
| Seam allowance | ⅜ in (1 cm), included |
What are the safety rules?
This is a heat project, so the materials matter.
- Use 100% cotton. The outer, lining, thread and batting should be cotton. The one exception the pattern lists is Insul-Bright, used inside the layers as a heat barrier. For an all-cotton cover, use two layers of cotton batting instead. Other synthetic fibers can melt against hot metal.
- Never leave the cover on a handle inside the oven. The pattern is clear on this. It is for gripping the handle, not for baking. Keep the cover away from a flame or a hot burner as well.
- Keep it dry and clean. A damp or greasy cover is a hazard on a hot handle. Wash it when it gets soiled.
How do I sew a pot handle cover step by step?
The pattern has 12 steps. Here they are in plain words.
- Print and cut. Print the pattern for your size and cut out the paper cover shape. You are done when you have a paper cover in your size.
- Cut the layers. Cut the six rectangles the pattern lists. You are ready to stack when all six are cut.
- Stack and quilt. Layer the pieces into two stacks and quilt each one with diamonds. A walking foot and a 90/14 needle help with thick layers.
- Cut the two outer halves. Lay the paper shape on each quilted stack and cut two quilted halves.
- Cut the lining and the loop. Cut two lining halves and a strip for the loop.
- Make the hanging loop. Sew the strip into a loop. When it is done, the loop sticks out about 1½ in.
- Sew the outer halves. Sew the two quilted halves together and leave the open end unsewn.
- Clip and turn the outer. Clip the curves so they lie flat, trim the open edge, and turn the outer right side out. You now have a quilted outer.
- Sew the lining. Sew the lining halves together, and leave a gap in the seam. The gap is how you will turn the cover at the end.
- Nest the outer in the lining. Slide the outer into the lining so the open edges meet level all round.
- Sew the open end. Stitch all around the open end, joining the outer and the lining.
- Turn and close the gap. Pull the cover through the gap in the lining, push the lining inside the outer, and close the gap by hand. Your cover is finished with the lining on the inside.
What are the common mistakes?
- Using polyester batting or fabric. It can melt on a hot handle. Stay with 100% cotton, plus the Insul-Bright the pattern lists if you use it.
- Skipping the heat barrier. The pattern lists Insul-Bright plus cotton batting, or two layers of cotton batting. Do not leave the padding out.
- Using a standard needle. Thick quilted layers can break a small needle. The pattern calls for a 90/14 needle.
- Not clipping the curves. Uncut curves pucker when you turn the outer. Clip before you turn.
- Forgetting the gap in the lining. If you sew the lining shut, you cannot turn the cover at the end.
- Leaving the cover on in the oven. The cover is not oven safe, so take it off before you open the oven door.
Which size should I make, Skillet or Dutch Oven?
The pattern comes in two sizes, named for the pans they are made for. Print the page for your size and hold the paper cover shape over your pan handle before you cut any fabric. If the paper slides on easily and covers the whole grip, cut your fabric. If you cook with both pans, make one of each.
What helps when quilting and turning thick layers?
- Use a walking foot. It feeds the top and bottom layers together so the quilted diamonds do not shift.
- Stitch slowly. Go through the quilted layers at an even pace and let the needle do the work instead of pushing the fabric.
- Clip the curves, not the seam. Cut small snips up to, but not through, the stitching so the curves lie flat after turning.
- Take your time turning. Ease the quilted outer through with your fingers. A chopstick or a blunt turning tool helps with the corners.
Is a pot handle cover a good gift?
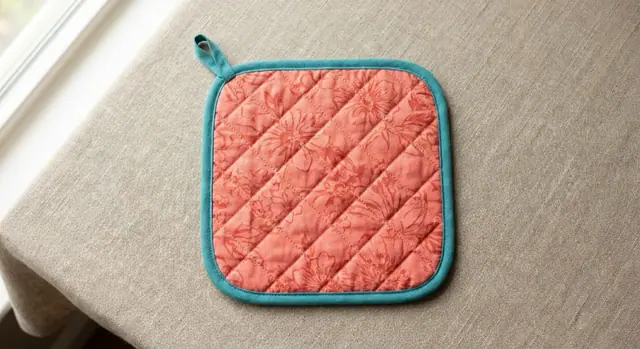
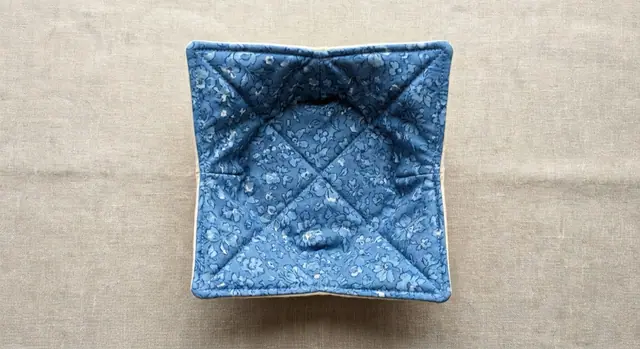
It is a very good housewarming or Christmas gift, because anyone with a skillet or Dutch oven can use it. It also looks good with a quilted set. Make a Skillet cover and a Dutch Oven cover in the same fabric, add a Potholder (a free pattern) and a small card about the safety rules. The Bowl Cozy is another free pattern that pairs well with it.
If you want to try the quilting technique first on a smaller project, read the quilted potholder sewing guide. For another kitchen project that also uses Insul-Bright, see how to sew an oven mitt, and for a quick gift, how to sew a bowl cozy. For the full kitchen and home range, browse the home sewing patterns.
 Baby's first Christmas gifts to sew: 7 handmade ideas7 min read
 Memory bunny pattern: sew a keepsake bunny from clothes8 min read
 How to understitch: keep facings and linings flat7 min read
 Secret santa gifts to sew: 8 ideas in 10 to 60 minutes6 min read