Sewzy
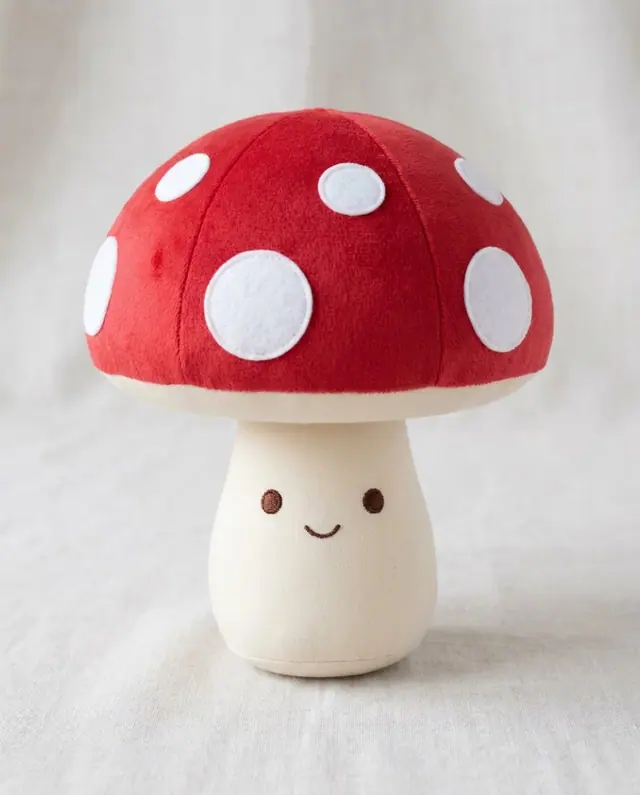
To sew a mushroom plush, sew six cap pieces (called gores) into a dome, add a gill ring around the rim, then turn and stuff the cap. Embroider the face on the flat stem piece, sew the stem into a tube, sew in a stiffened round base, turn and stuff the stem, then ladder-stitch the stem to the cap. Felt spots stitched on the cap finish the toadstool look. The Sewzy Mushroom Plush comes in three sizes, 5½, 8¼ and 11 inches tall, and takes about 2 to 3 hours.
TL;DR
- Sizes: Small 5½ in, Medium 8¼ in, Large 11 in tall.
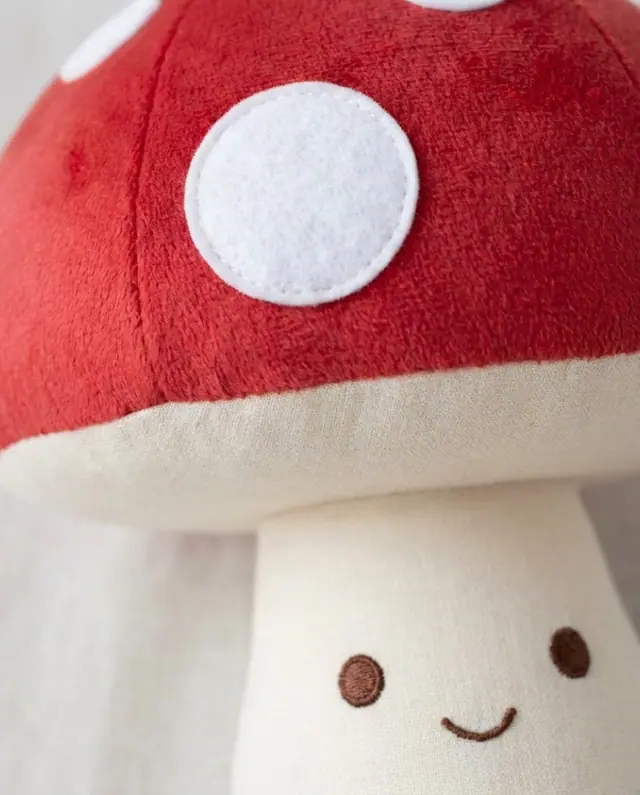
- Fabric: minky, fleece or velboa for the cap; a cream fabric for the gill ring, stem and base; white felt for the spots.
- Base: two layers of fusible interfacing or firm felt, so it stands up.
- Face: sewn eyes and smile in floss. No buttons, beads or plastic eyes.
- Time: about 2 to 3 hours, confident beginner.
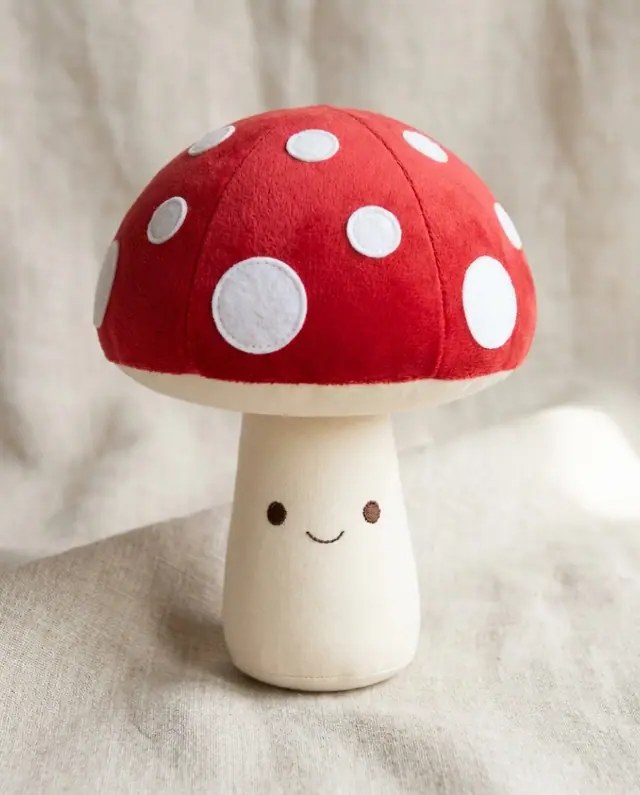
Mushroom plush sizes and fabric
| Small | Medium | Large | |
|---|---|---|---|
| Height, stuffed | 5½ in | 8¼ in | 11 in |
| Cap across | 6 in | 9 in | 12 in |
| Stem across | 2¾ in | 4 in | 5¼ in |
| Cap fabric | ¼ yd | ¼ yd | ⅓ yd |
| Cream fabric | ¼ yd | ¼ yd | ½ yd |
| Fiberfill, about | 1 oz | 3½ oz | 8½ oz |
The seam allowance is ¼ inch. Heights are for the stuffed mushroom, so firmer filling moves them a little.
What fabric is best for a mushroom plush?
A soft pile fabric, such as minky, fleece or velboa, makes a cuddly cap; red with white spots is the classic toadstool, but brown, pink or mustard caps are lovely too. Use a cream or off-white fabric for the stem, gill ring and base. With minky, cut one layer at a time and use clips instead of pins, then brush the pile out of the seams at the end.
What you need
- Cap fabric and cream fabric, as in the table.
- White felt for 3 large and 4 small spots.
- Dark embroidery floss for the eyes and smile.
- Fusible interfacing (2 layers) or firm felt for the base.
- New polyester fiberfill, a hand needle, chalk, clips and a soft brush.
How to sew a mushroom plush, step by step
The pattern has 12 steps with pictures. Here they are in short.
- Print and cut all the pieces in your size and snip the notches.
- Sew the face on the flat stem piece: two eyes and a smile.
- Sew on the spots. Stitch the felt spots onto the cap pieces twice around, keeping them away from the seams.
- Sew the cap dome from the 6 gores.
- Add the gill ring to the rim of the cap, leaving a hole in the middle.
- Turn and stuff the cap into a firm, round dome.
- Sew the stem tube with the face inside.
- Sew the base in and stiffen it.
- Turn the stem so the base sits flat and firm.
- Stuff the stem firmly.
- Join the stem and cap with a ladder stitch, topping up the stuffing before you close the gap.
- Finish by brushing out the pile. It should stand up on its own.
New to plush? How to sew a plushie covers curves and stuffing, and how to sew a stuffed animal by hand shows the ladder stitch. The face uses the stitches in embroidery stitches for beginners.
Tips for a round cap and a steady stem
- Match the gore points carefully at the top of the cap so the dome is round, not pointed.
- Stuff in small pieces and keep going until the cap feels firm.
- Stiffen the base with two layers of interfacing or firm felt, so the mushroom stands.
- Top up the stuffing just before closing the last gap; the join is where it tends to sag.
Safety
The pattern is not meant as a toy for children under 3. Use sewn eyes only, never buttons, beads or plastic eyes, and check the seams and eye stitching before each use.
A cozy gift
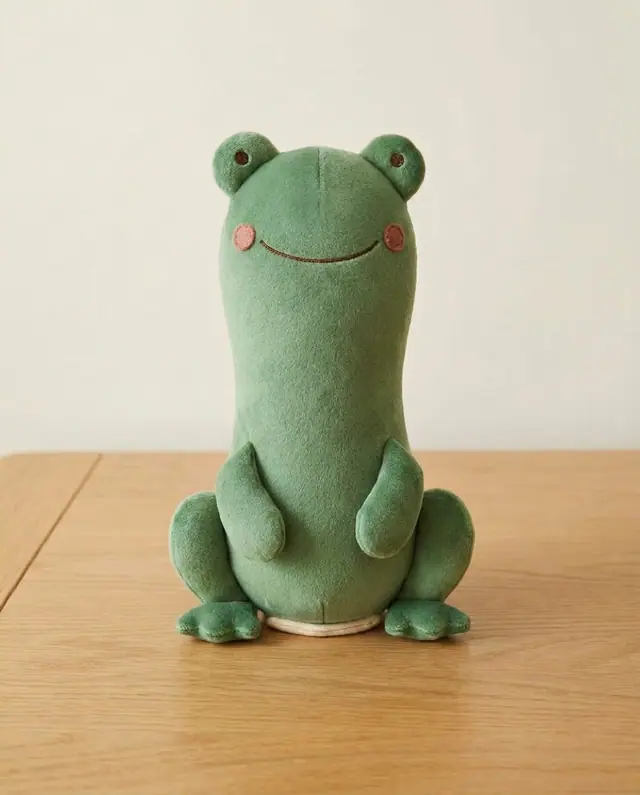
Mushroom plushies are a favorite with teens and adults for shelves and beds, and three sizes make a sweet family of toadstools. Pair one with the frog plush for a woodland set, or see how to sew a capybara plush for another favorite. The Mushroom Plush is a Premium pattern in the Sewzy app, with all three sizes and a picture for each step.
 Winter sewing projects: 14 cozy things to make6 min read
 How to sew fabric Christmas ornaments (4 shapes)6 min read
 Gifts to sew for men: 10 things he will actually use6 min read
 How to sew a baby bib (free pattern)5 min read