Sewzy
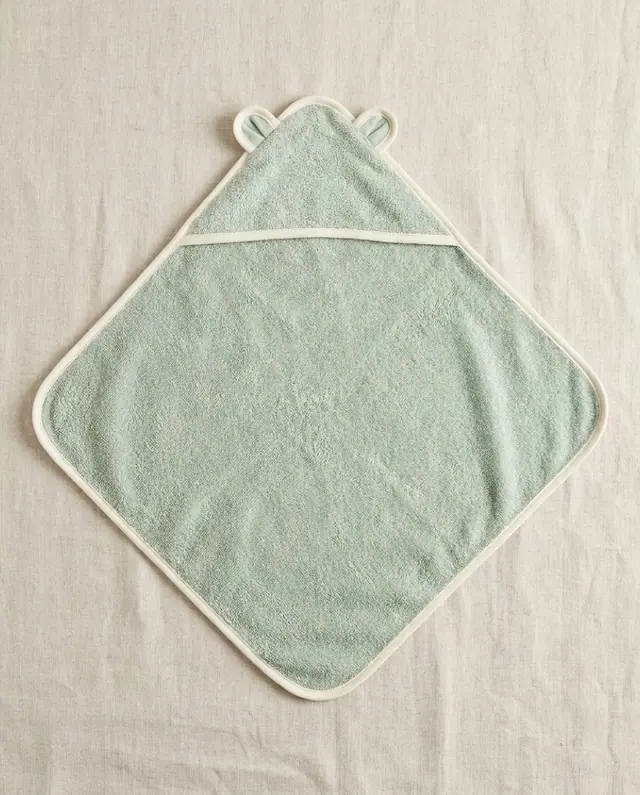
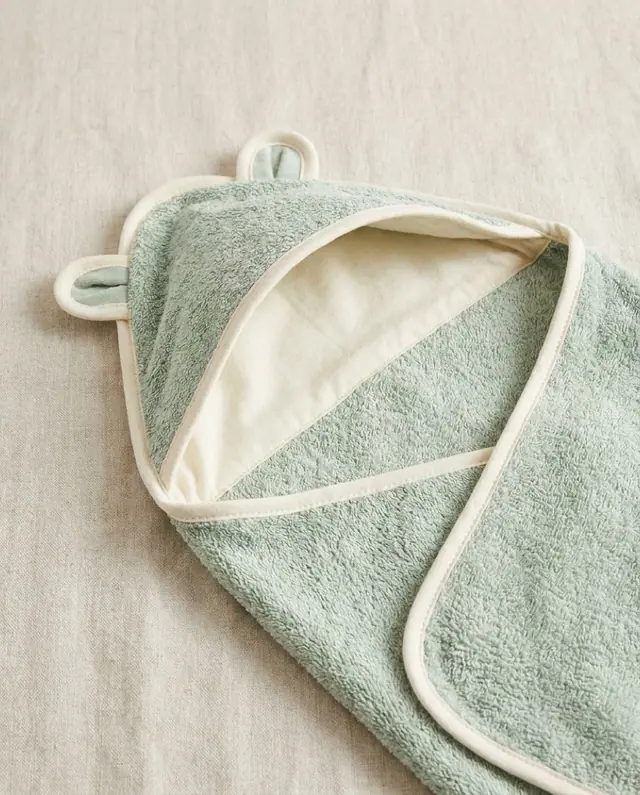
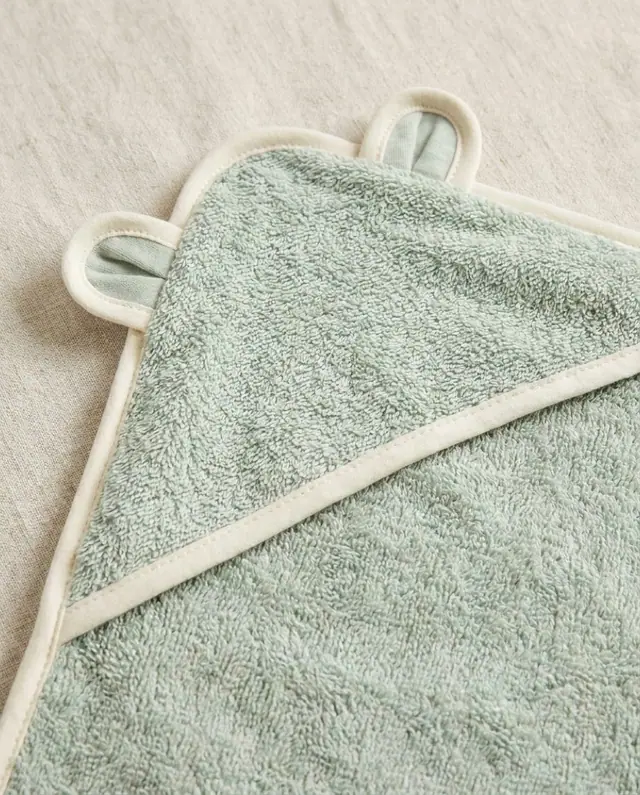
To sew a hooded towel, cut a square or rectangle of terry and a triangle-shaped hood, bind the front edge of the hood, then lay the hood on one corner of the towel and baste it in place. Round all four corners, sew bias binding around the whole edge and join the ends, then stitch two small fabric ears onto the hood. The Sewzy Hooded Towel comes in Baby, Toddler and Kid sizes and takes about an hour.
TL;DR
- Sizes: Baby 30 x 30 in (0-12 months), Toddler 36 x 36 in (1-4 years), Kid 40 x 48 in (4-10 years). Between sizes, go up.
- Fabric: cotton or bamboo terry, or waffle toweling, 58 in wide: ⅞ yd, 1⅛ yd or 1½ yd.
- Edges: ½ inch finished double-fold bias binding, about 4 to 6 yards depending on size.
- Ears: two fabric bear ears, stitched on firmly. No buttons, beads or ties.
- Time: about an hour, beginner.
Hooded towel sizes and fabric
| Baby | Toddler | Kid | |
|---|---|---|---|
| Age | 0-12 months | 1-4 years | 4-10 years |
| Finished towel | 30 x 30 in | 36 x 36 in | 40 x 48 in |
| Hood, each short side | 12 in | 14 in | 16 in |
| Terry, 58 in wide | ⅞ yd | 1⅛ yd | 1½ yd |
| Cotton lining, optional | ⅜ yd | ⅜ yd | ⅜ yd |
| Bias binding to buy | 4⅛ yd | 4⅞ yd | 5¾ yd |
| Or cotton to make your own binding | ⅜ yd | ⅜ yd | ½ yd |
The hood has no seam allowance, because its front edge is bound; the ears have ⅜ inch included. Wash and dry the terry twice before cutting, because it shrinks and sheds lint.
What you need
- Terry and binding, as in the table, plus an optional cotton lining for the hood and inner ears.
- Matching thread, a fabric marker and sharp scissors.
- Clips, since pins leave holes in terry.
- A saucer to round the corners, and a walking foot if you have one.
How to sew a hooded towel, step by step
The pattern has 12 short steps with pictures. Here they are in groups.
- Measure, print and cut. Print at 100% and check the test square. Cut the towel by measurement, then 1 hood (and a lining if you like) and 4 ears.
- Make the ears. Sew the ears in pairs, leaving the bases open. Turn them, press and pleat the bases.
- Bind the hood front. Wrap binding over the long front edge of the hood and stitch it.
- Place and baste the hood. Lay the hood on one corner of the towel, corners matching, and baste both short sides.
- Round the corners. Trace around a saucer at all four corners, through the hood corner too, and trim.
- Bind the towel. Sew binding around the whole edge, easing it around the curves, then join the two ends so the edge lies flat.
- Stitch the ears on. Sew each ear to the hood inside its mark with small, firm stitches.
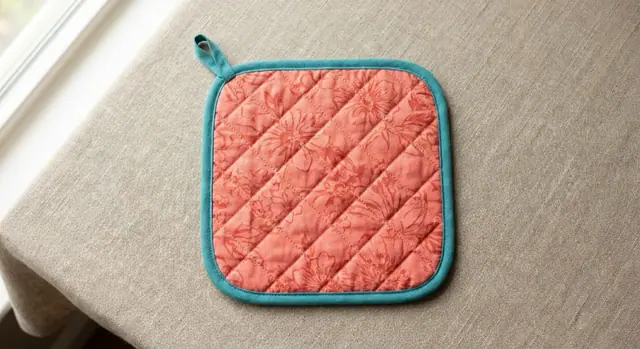
Binding curves is easier with bias binding, which stretches around them. If binding is new, practice on a Potholder first; see the quilted potholder guide. The free bias binding calculator works out lengths for other projects.
Tips for sewing terry
- Use clips, not pins.
- Lengthen the stitch a little and go slowly over the thick hood corner.
- Shake out lint as you cut, and clean the machine afterwards.
- A walking foot keeps the layers feeding evenly under the binding.
Safety
There are no buttons, beads or ties on this towel, and none should be added. The ears are the only extras: stitch them on firmly with tiny stitches and tug them before you hand it over. Supervise children in and around the bath as always.
A baby shower favorite
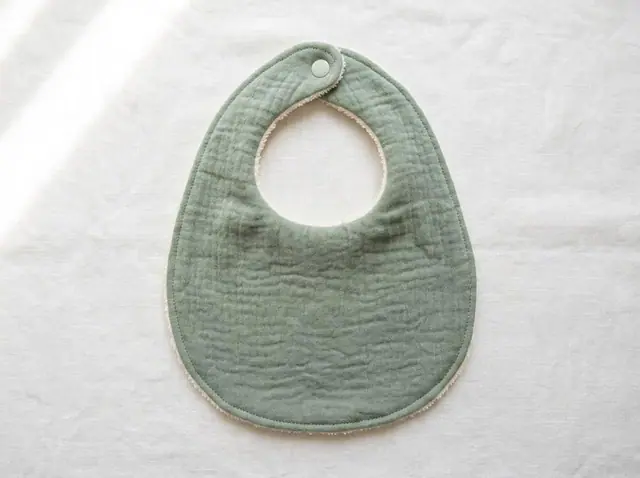
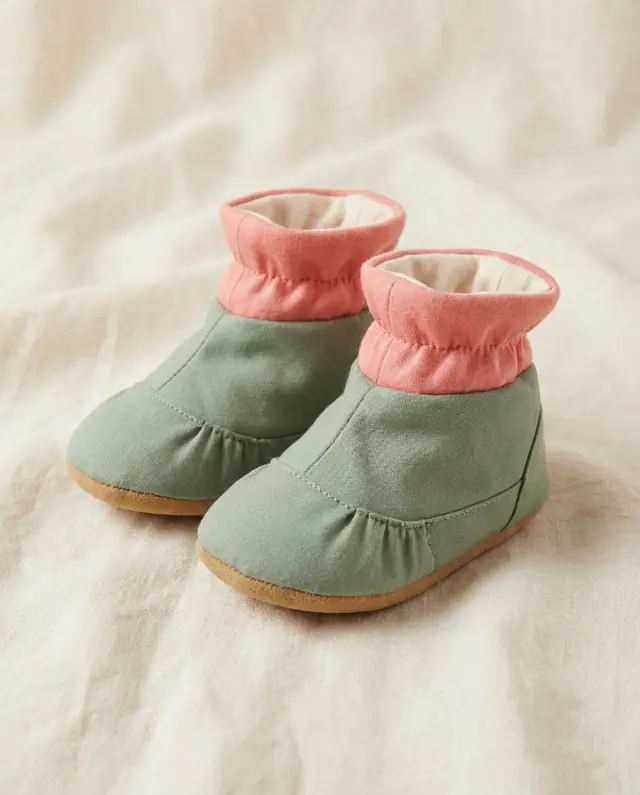
A hooded towel is one of the most useful baby gifts. Add a name with how to embroider letters and names, stitched on the hood before you attach it, and pair it with a Baby Bib and a pair of Baby Booties. More ideas are in baby shower gifts to sew and how to sew baby booties. The Hooded Towel is a Premium pattern in the Sewzy app, with all three sizes and a picture for each step.
 Winter sewing projects: 14 cozy things to make6 min read
 How to sew fabric Christmas ornaments (4 shapes)6 min read
 Gifts to sew for men: 10 things he will actually use6 min read